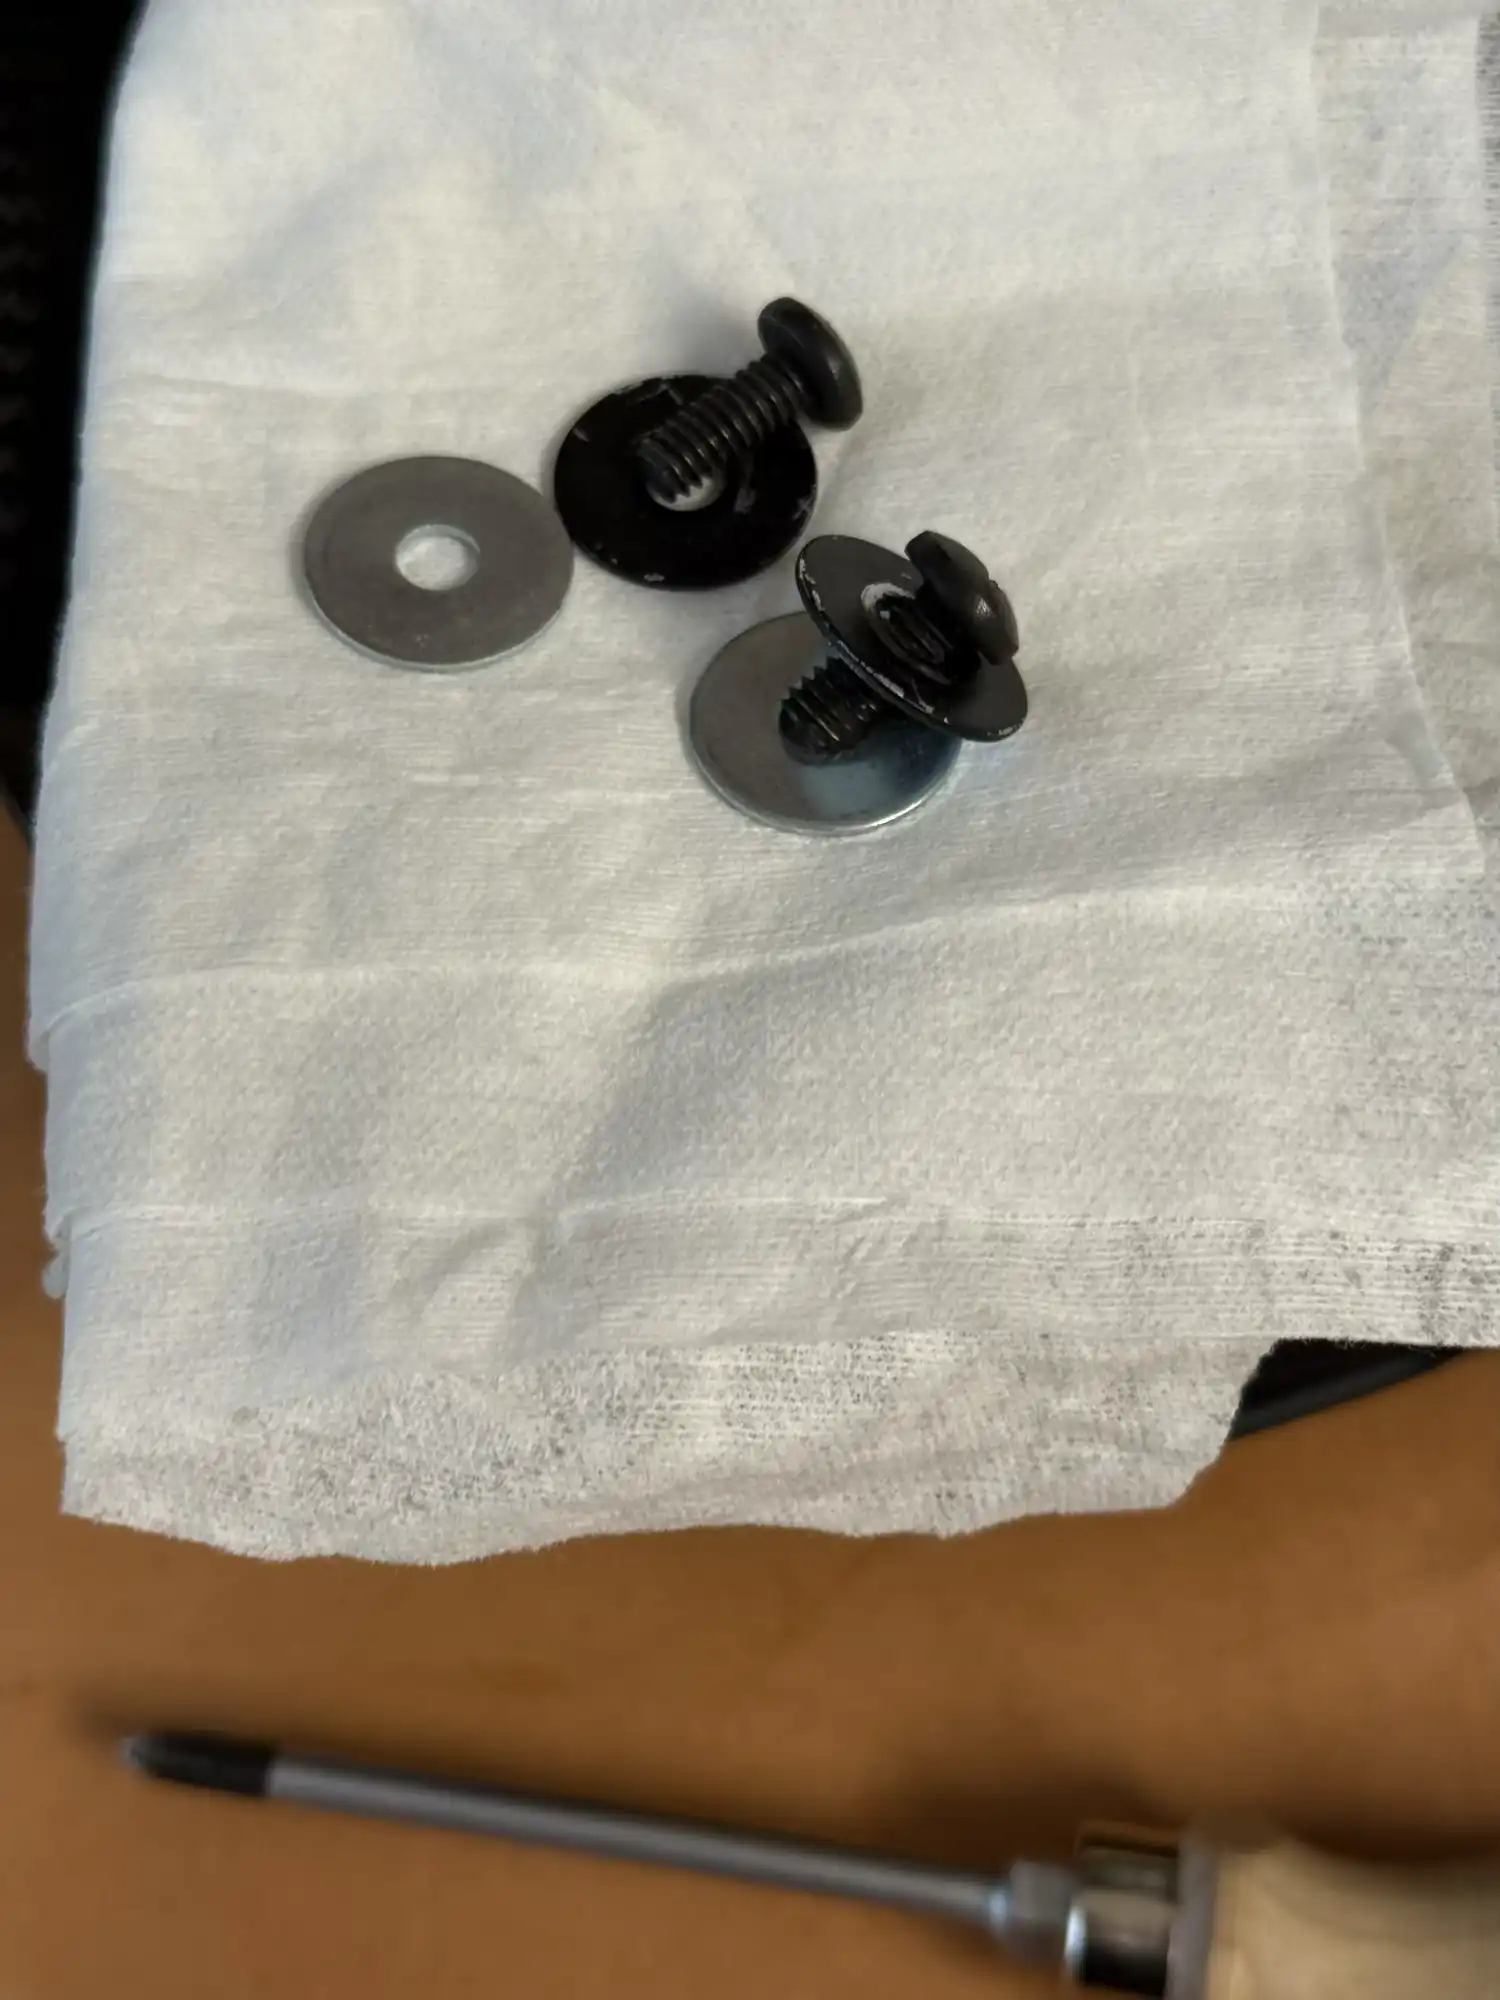
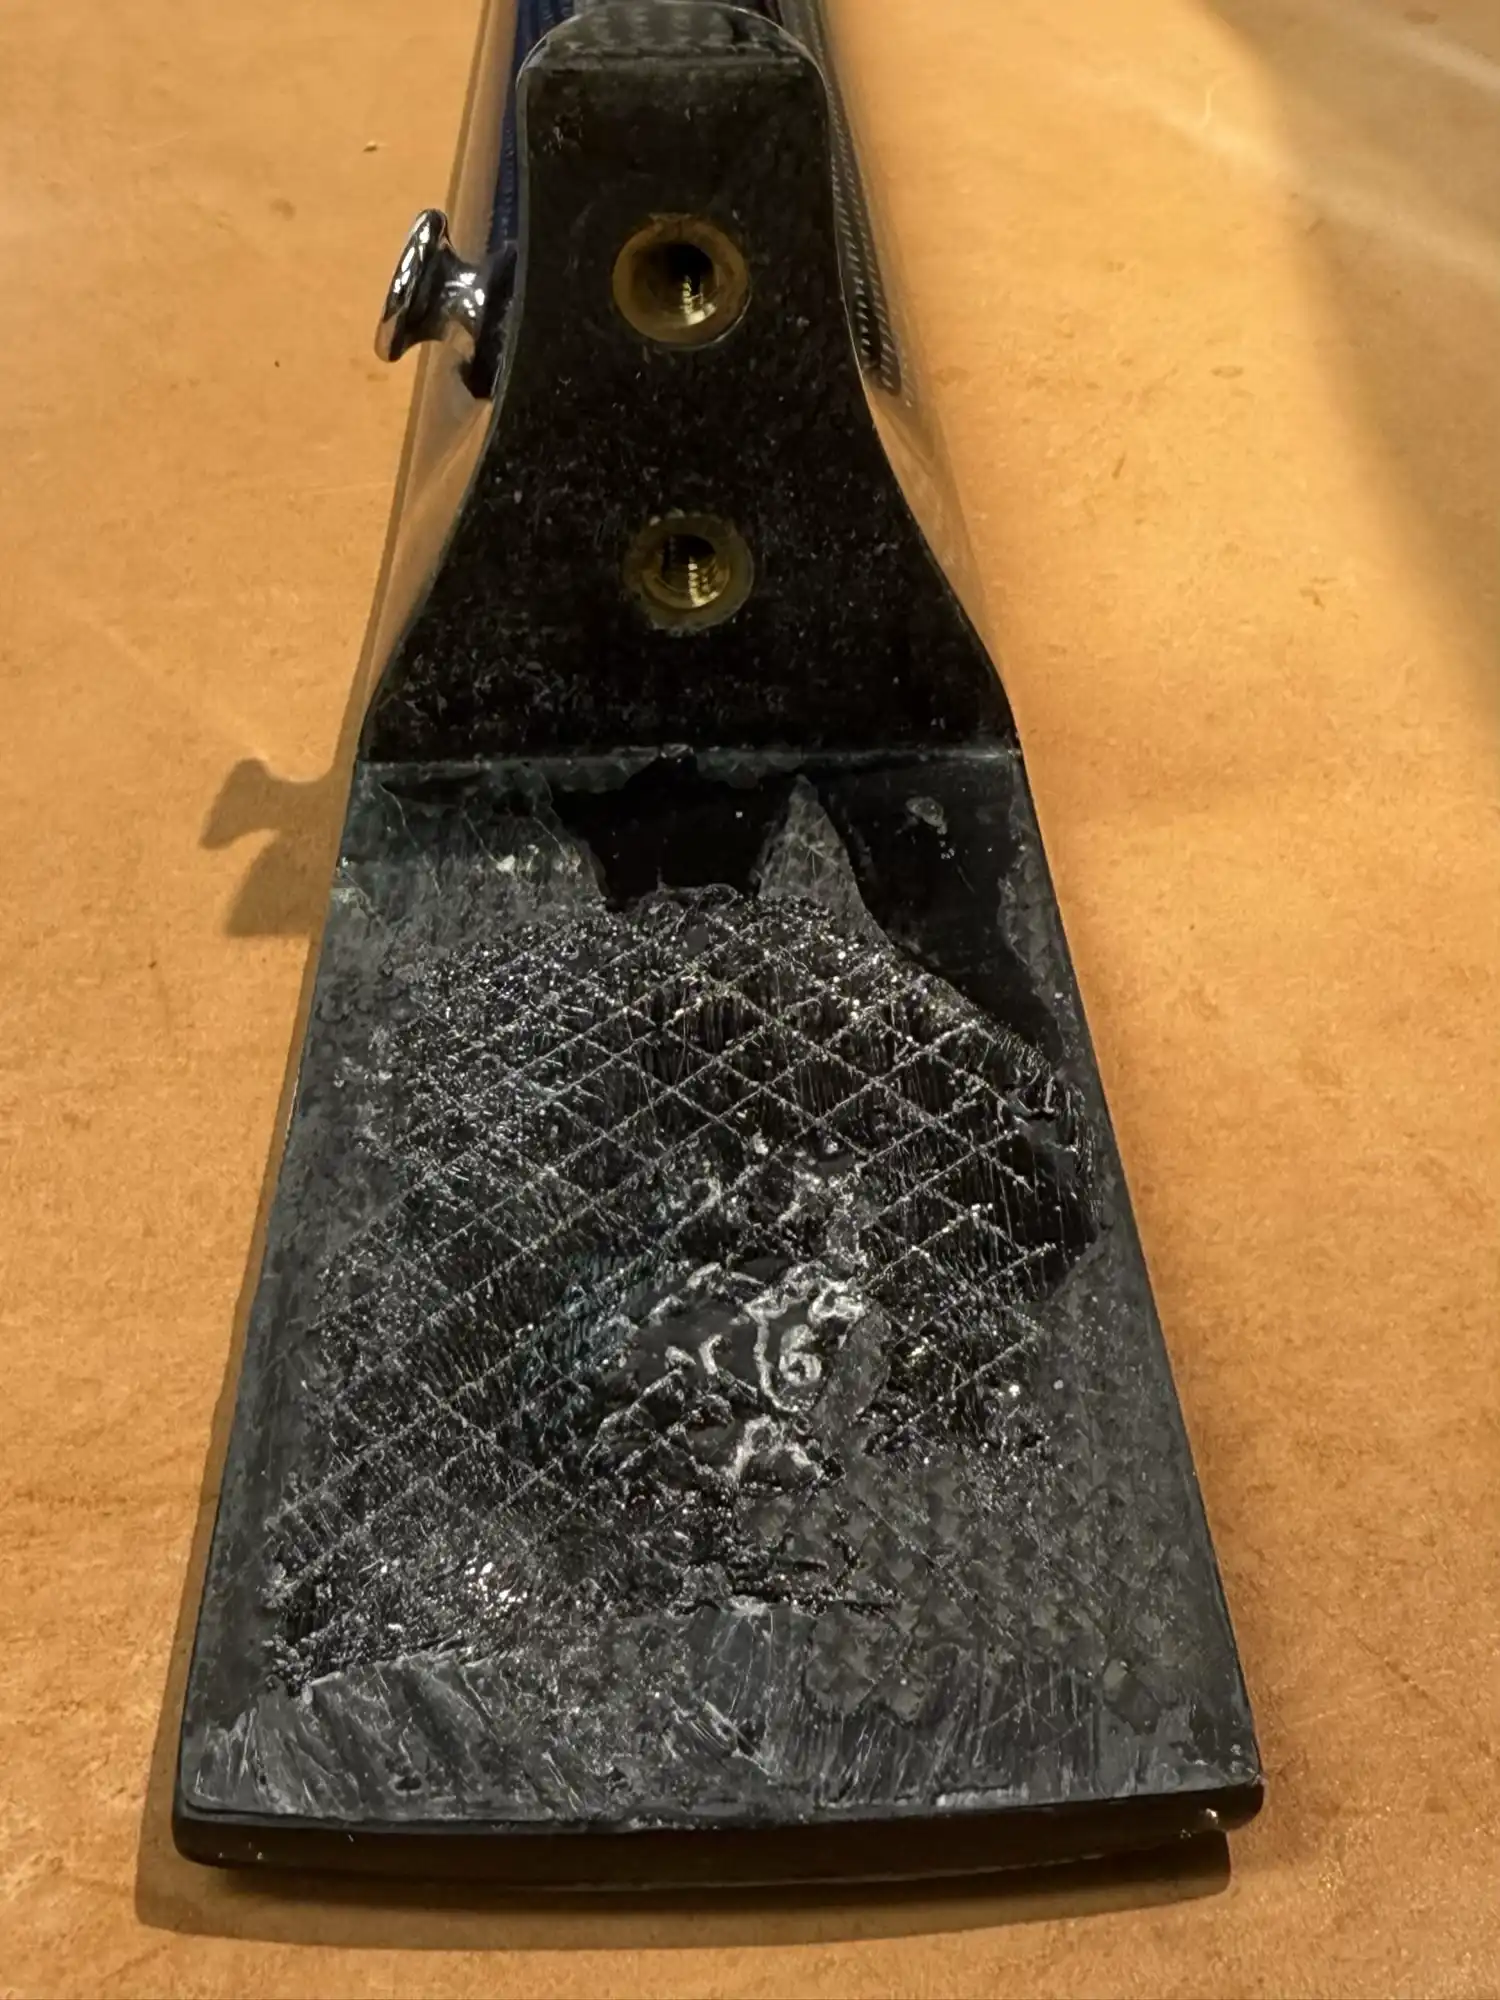
Well, we won't be utilizing that same proprietary aerospace bonding process to put things back together, so take that into consideration when you contemplate taking the neck off. This neck will go back on with epoxy. But let's get it off, first.
Originally out of caution, and eventually out of habit, I lay a mat of hi-temp silicone on the upper bout, with a section cut out to expose the fretboard extension.
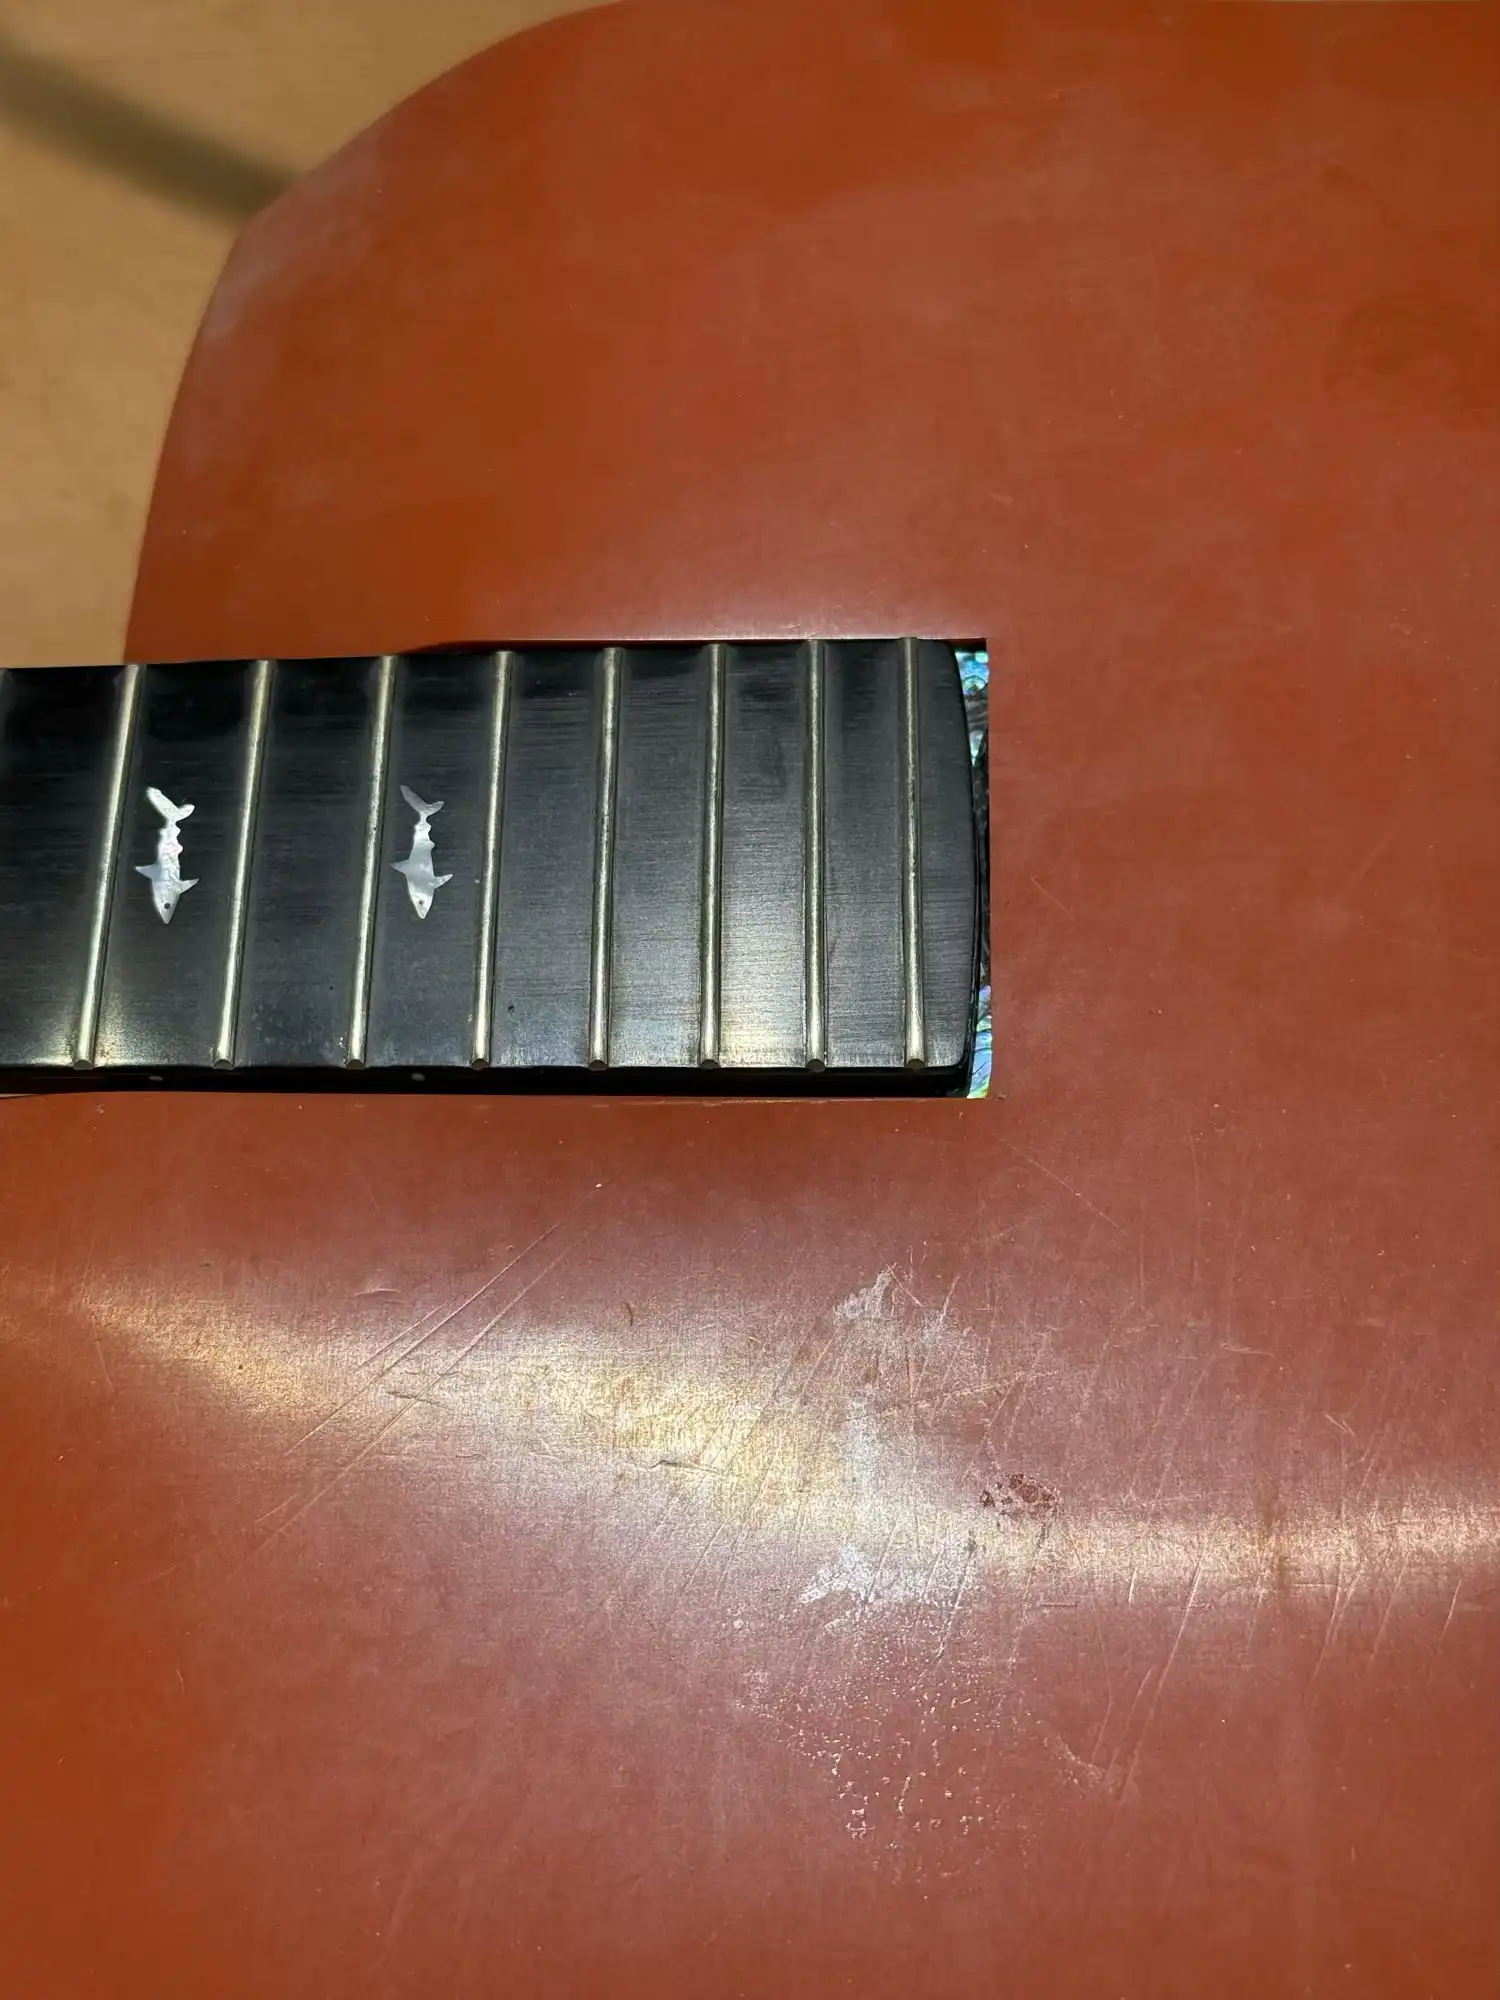
Protective Mat
I lay a thermocouple-controlled heating blanket atop the fretboard extension.
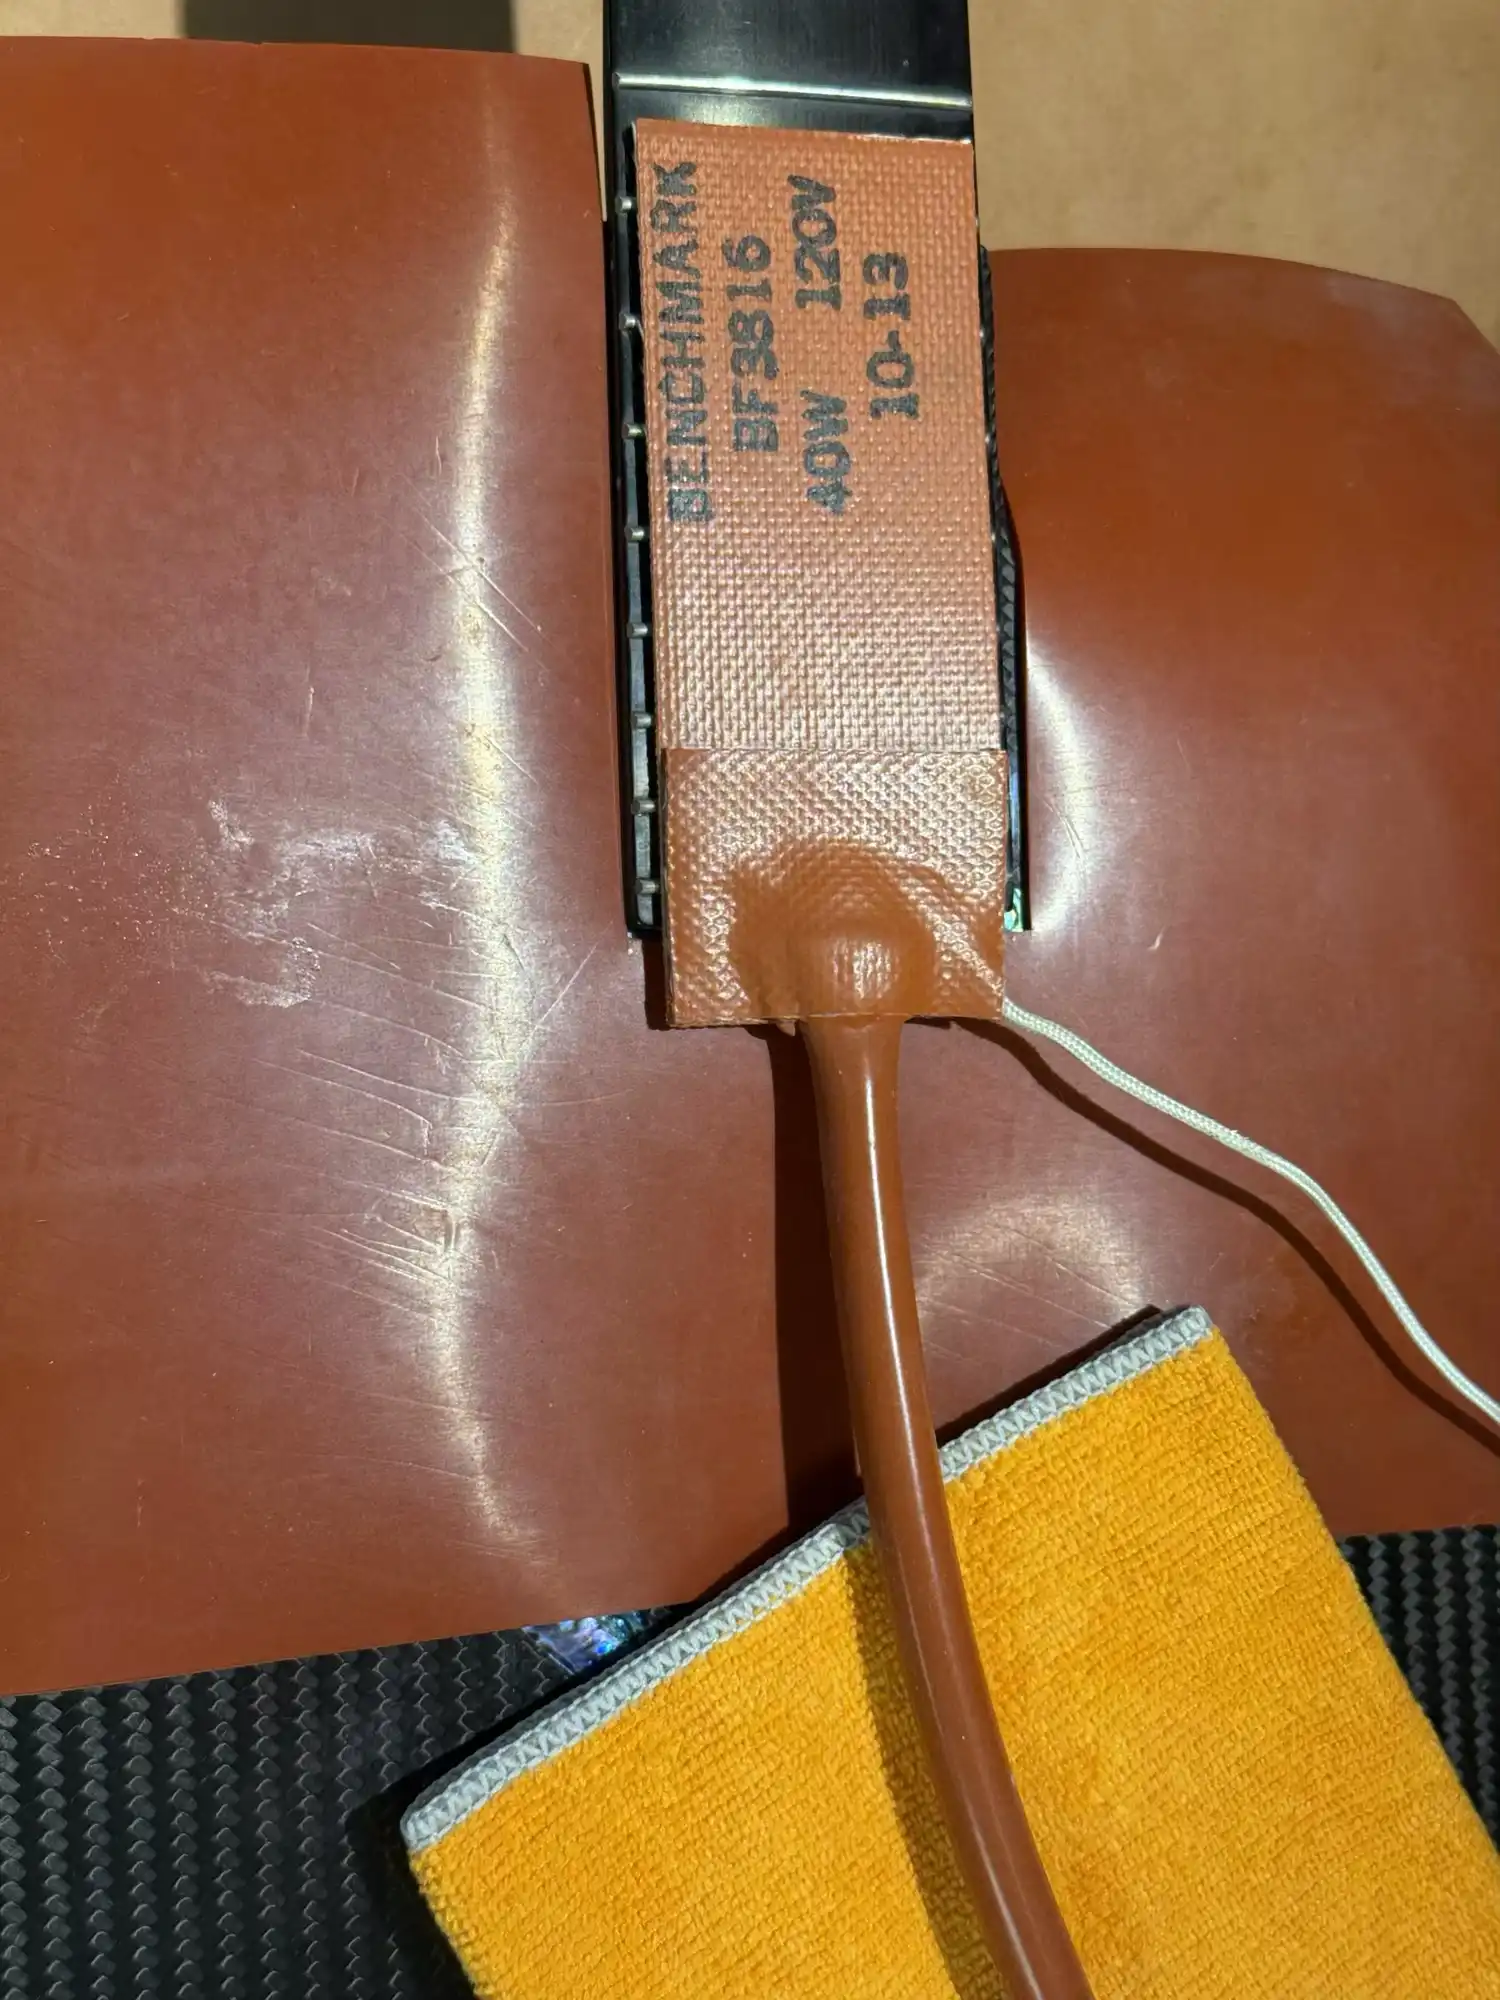
Heat Blanket
I lay a fretboard radius sanding block on top of the heating blanket, and weigh it down with a 1 kg weight. I want maximum transfer of heat.
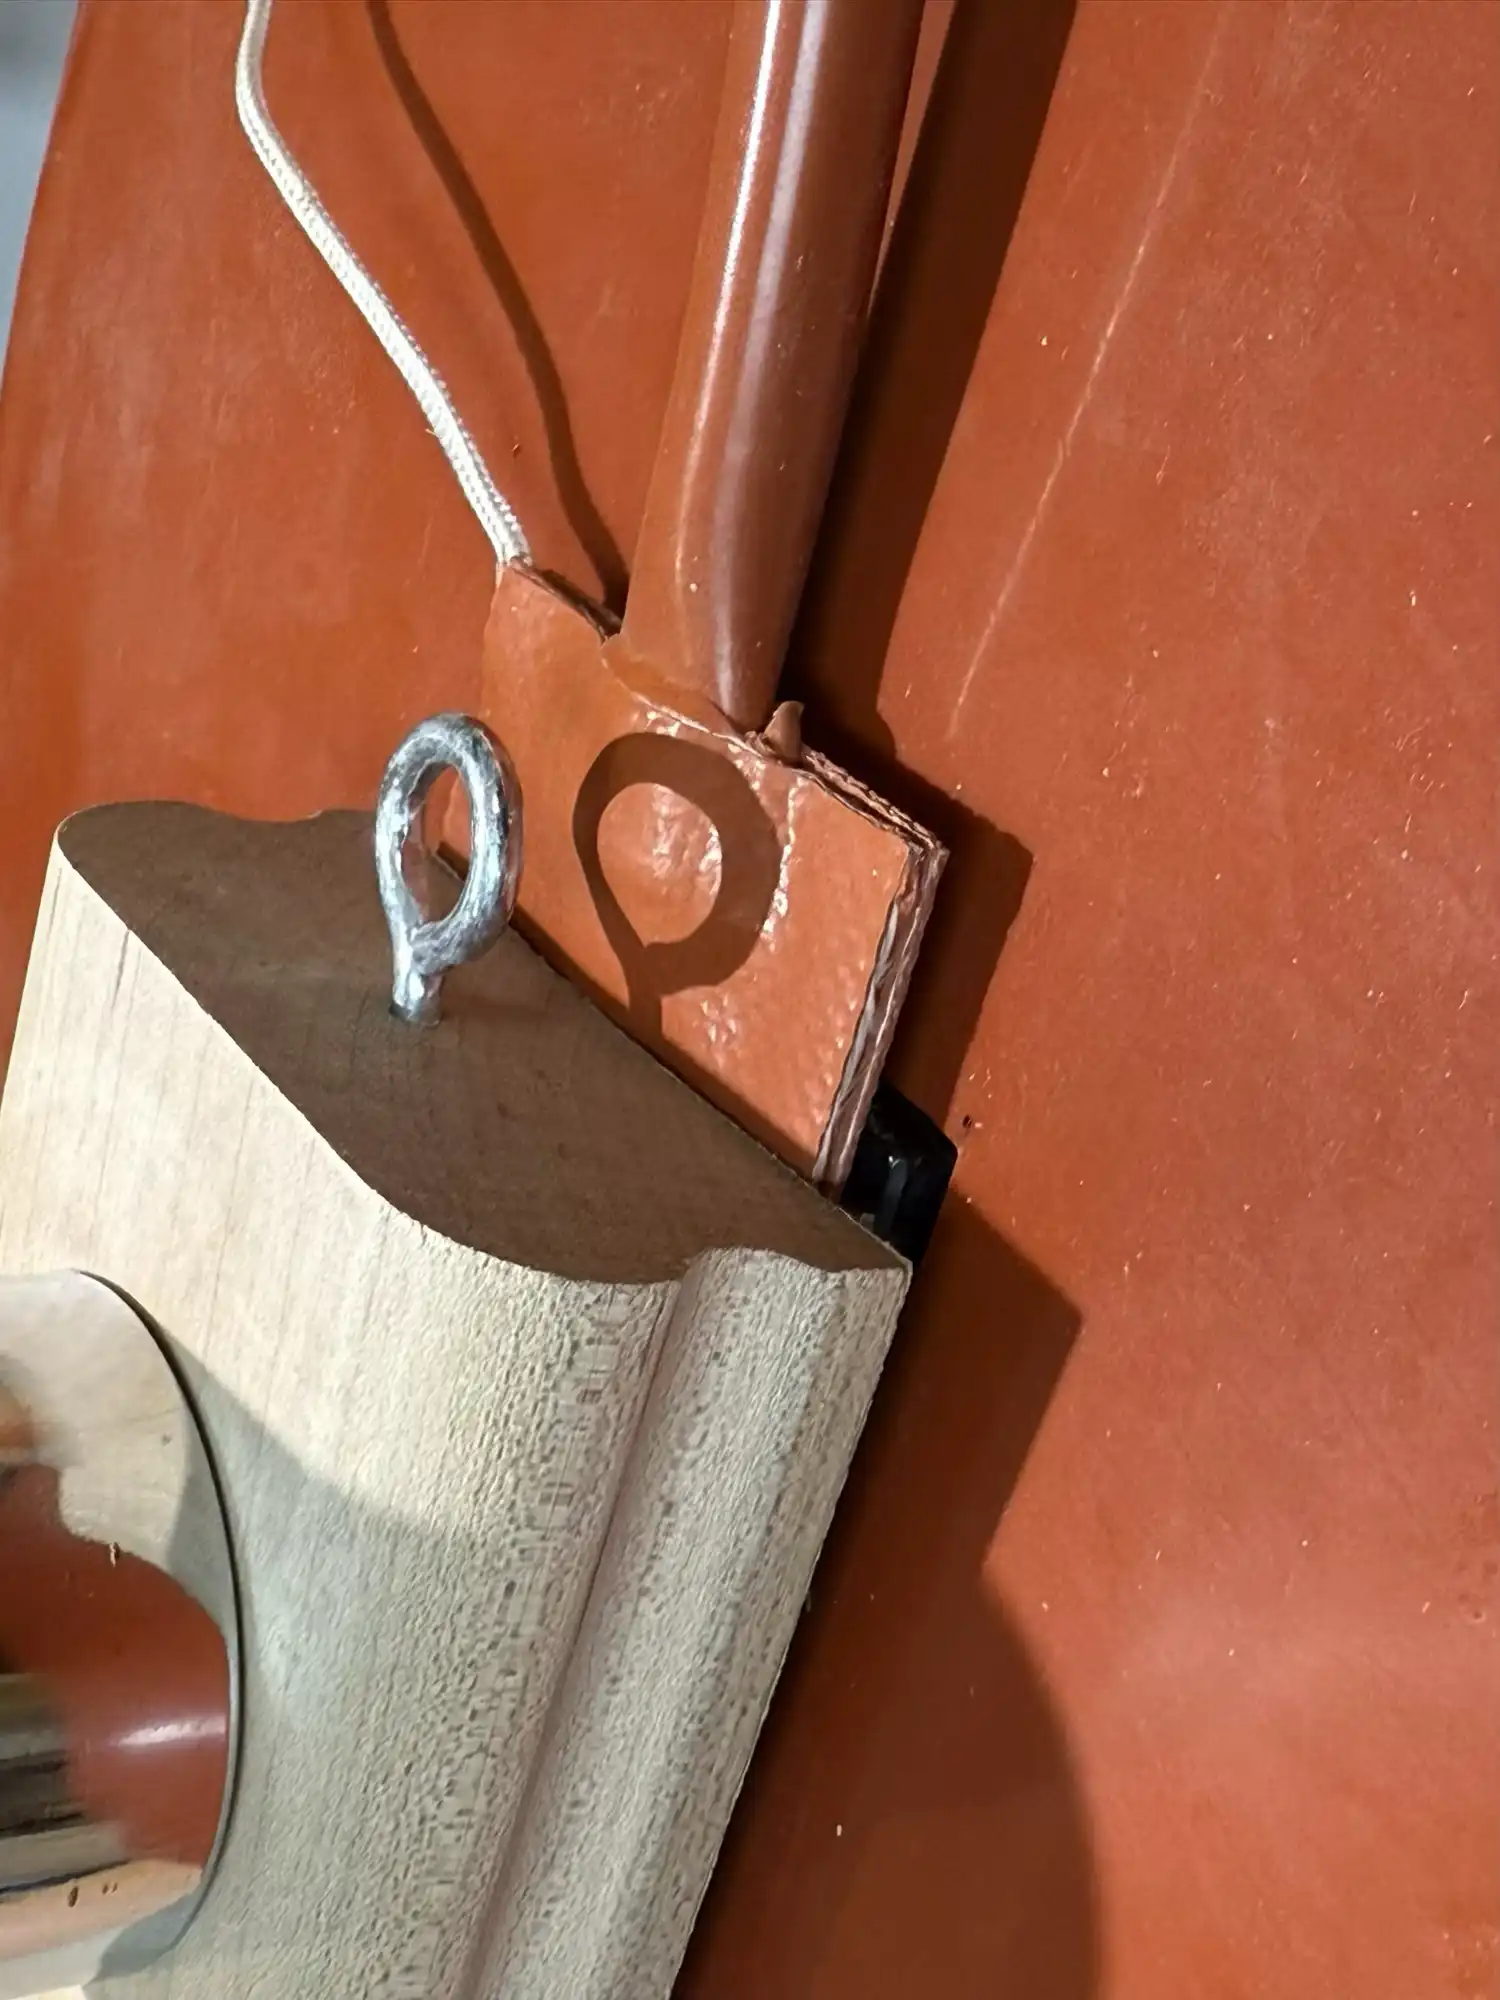
Heating the Extension
If there was a secret to safely and effectively removing this fretboard extension, it is getting the heat right. 220° F (104.5° C) is the number of success for these guitars!
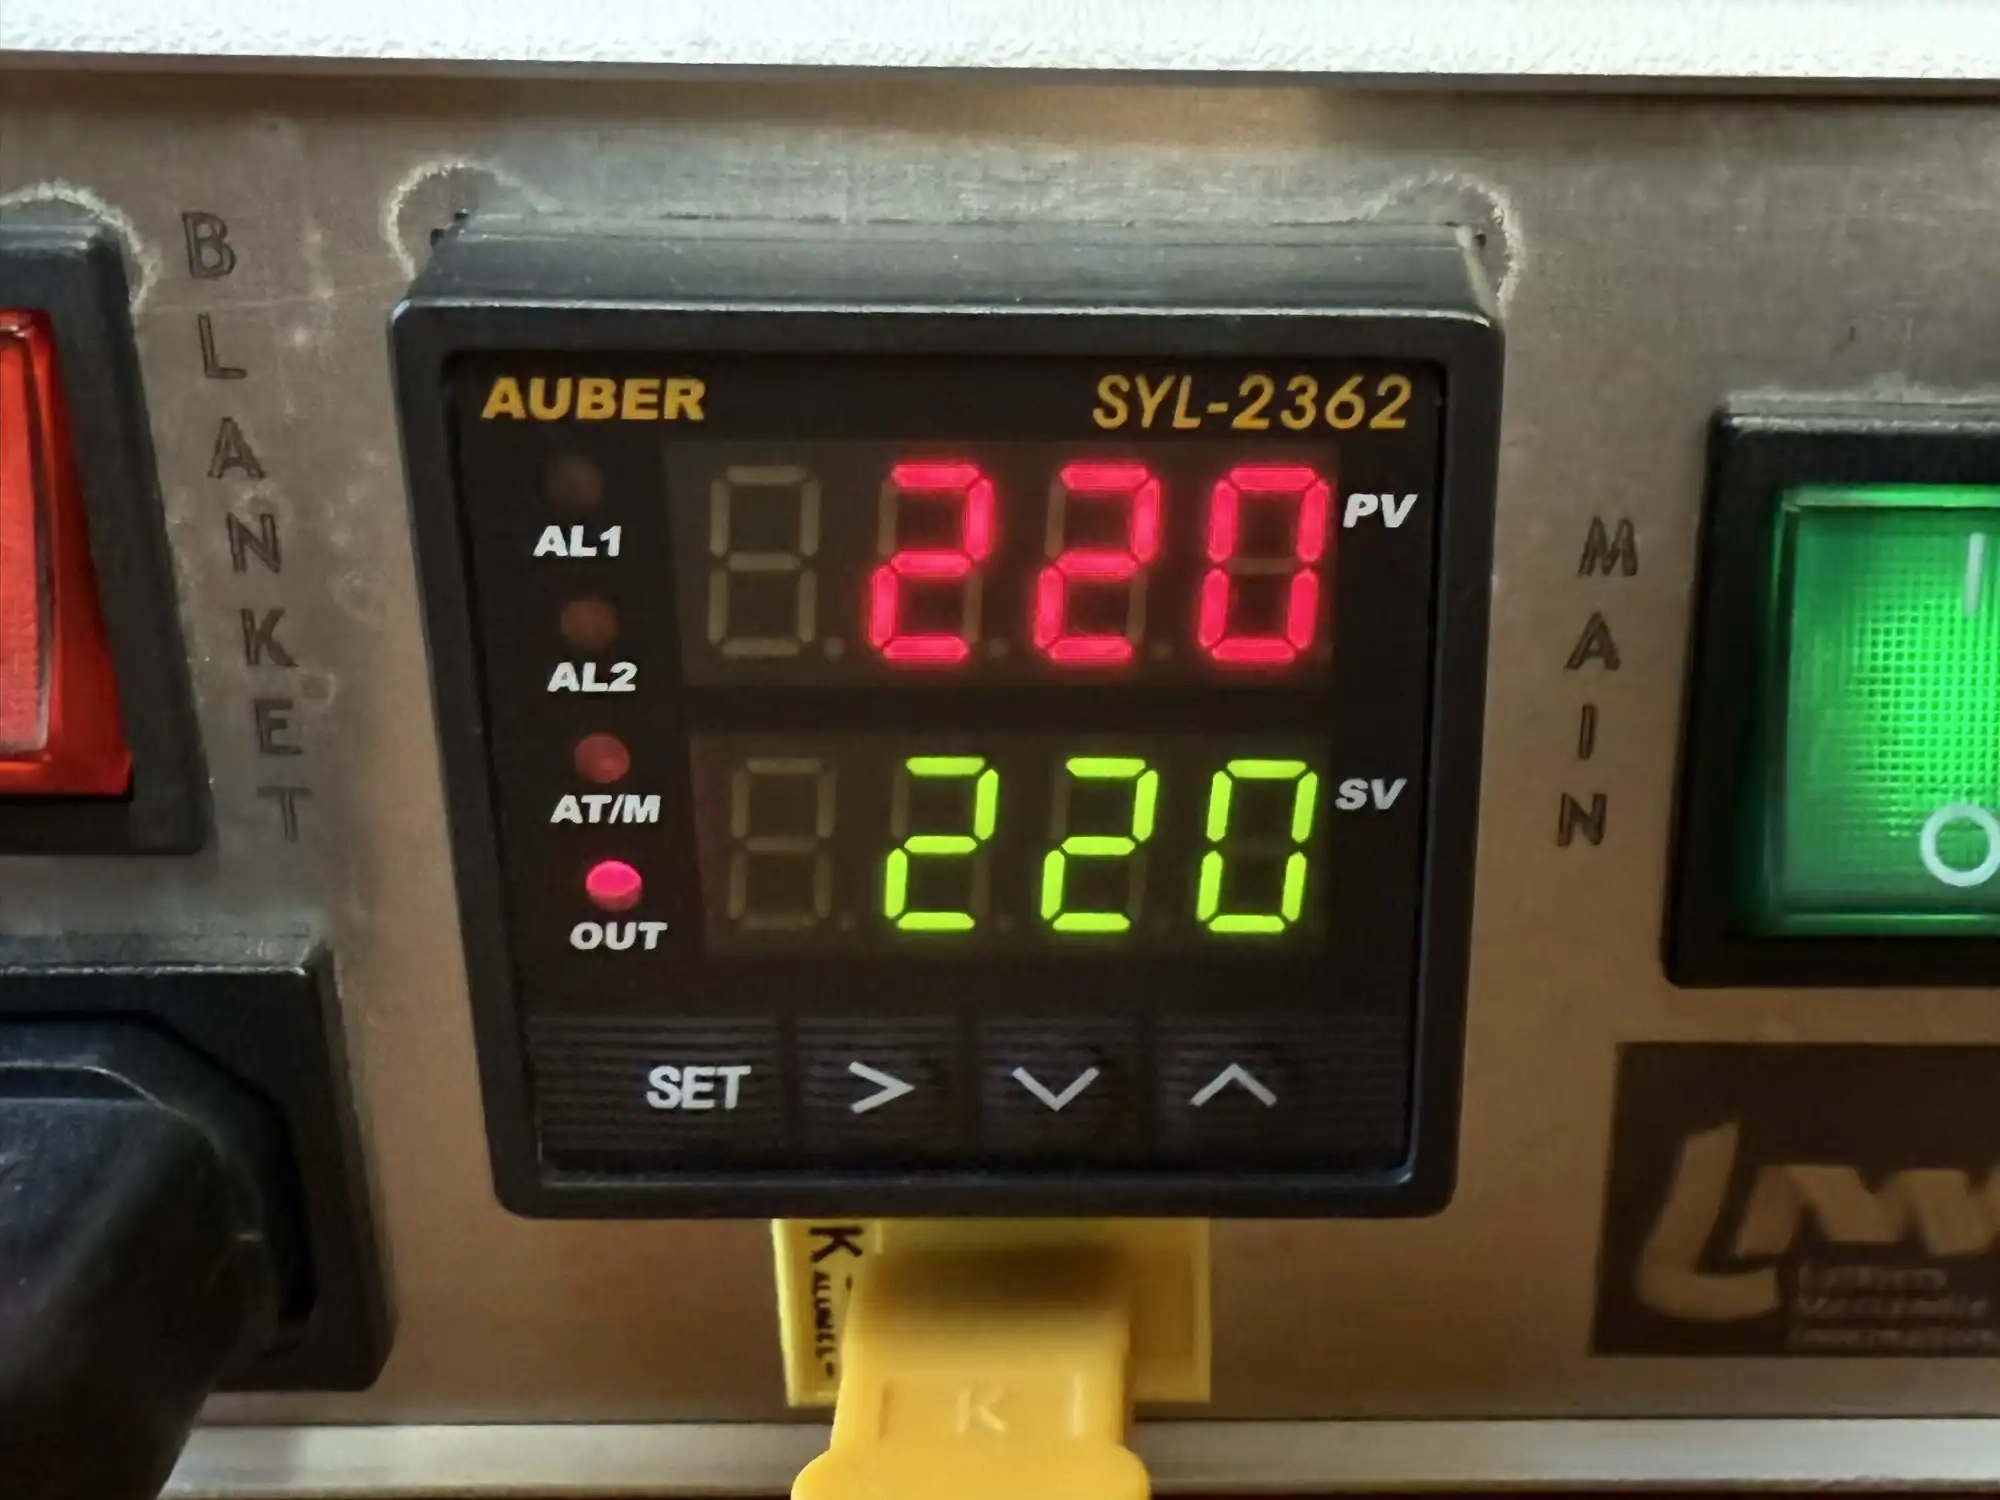
Heat Blanket Temperature
After ≈ 5 minutes, I am able to insert a small palette knife.
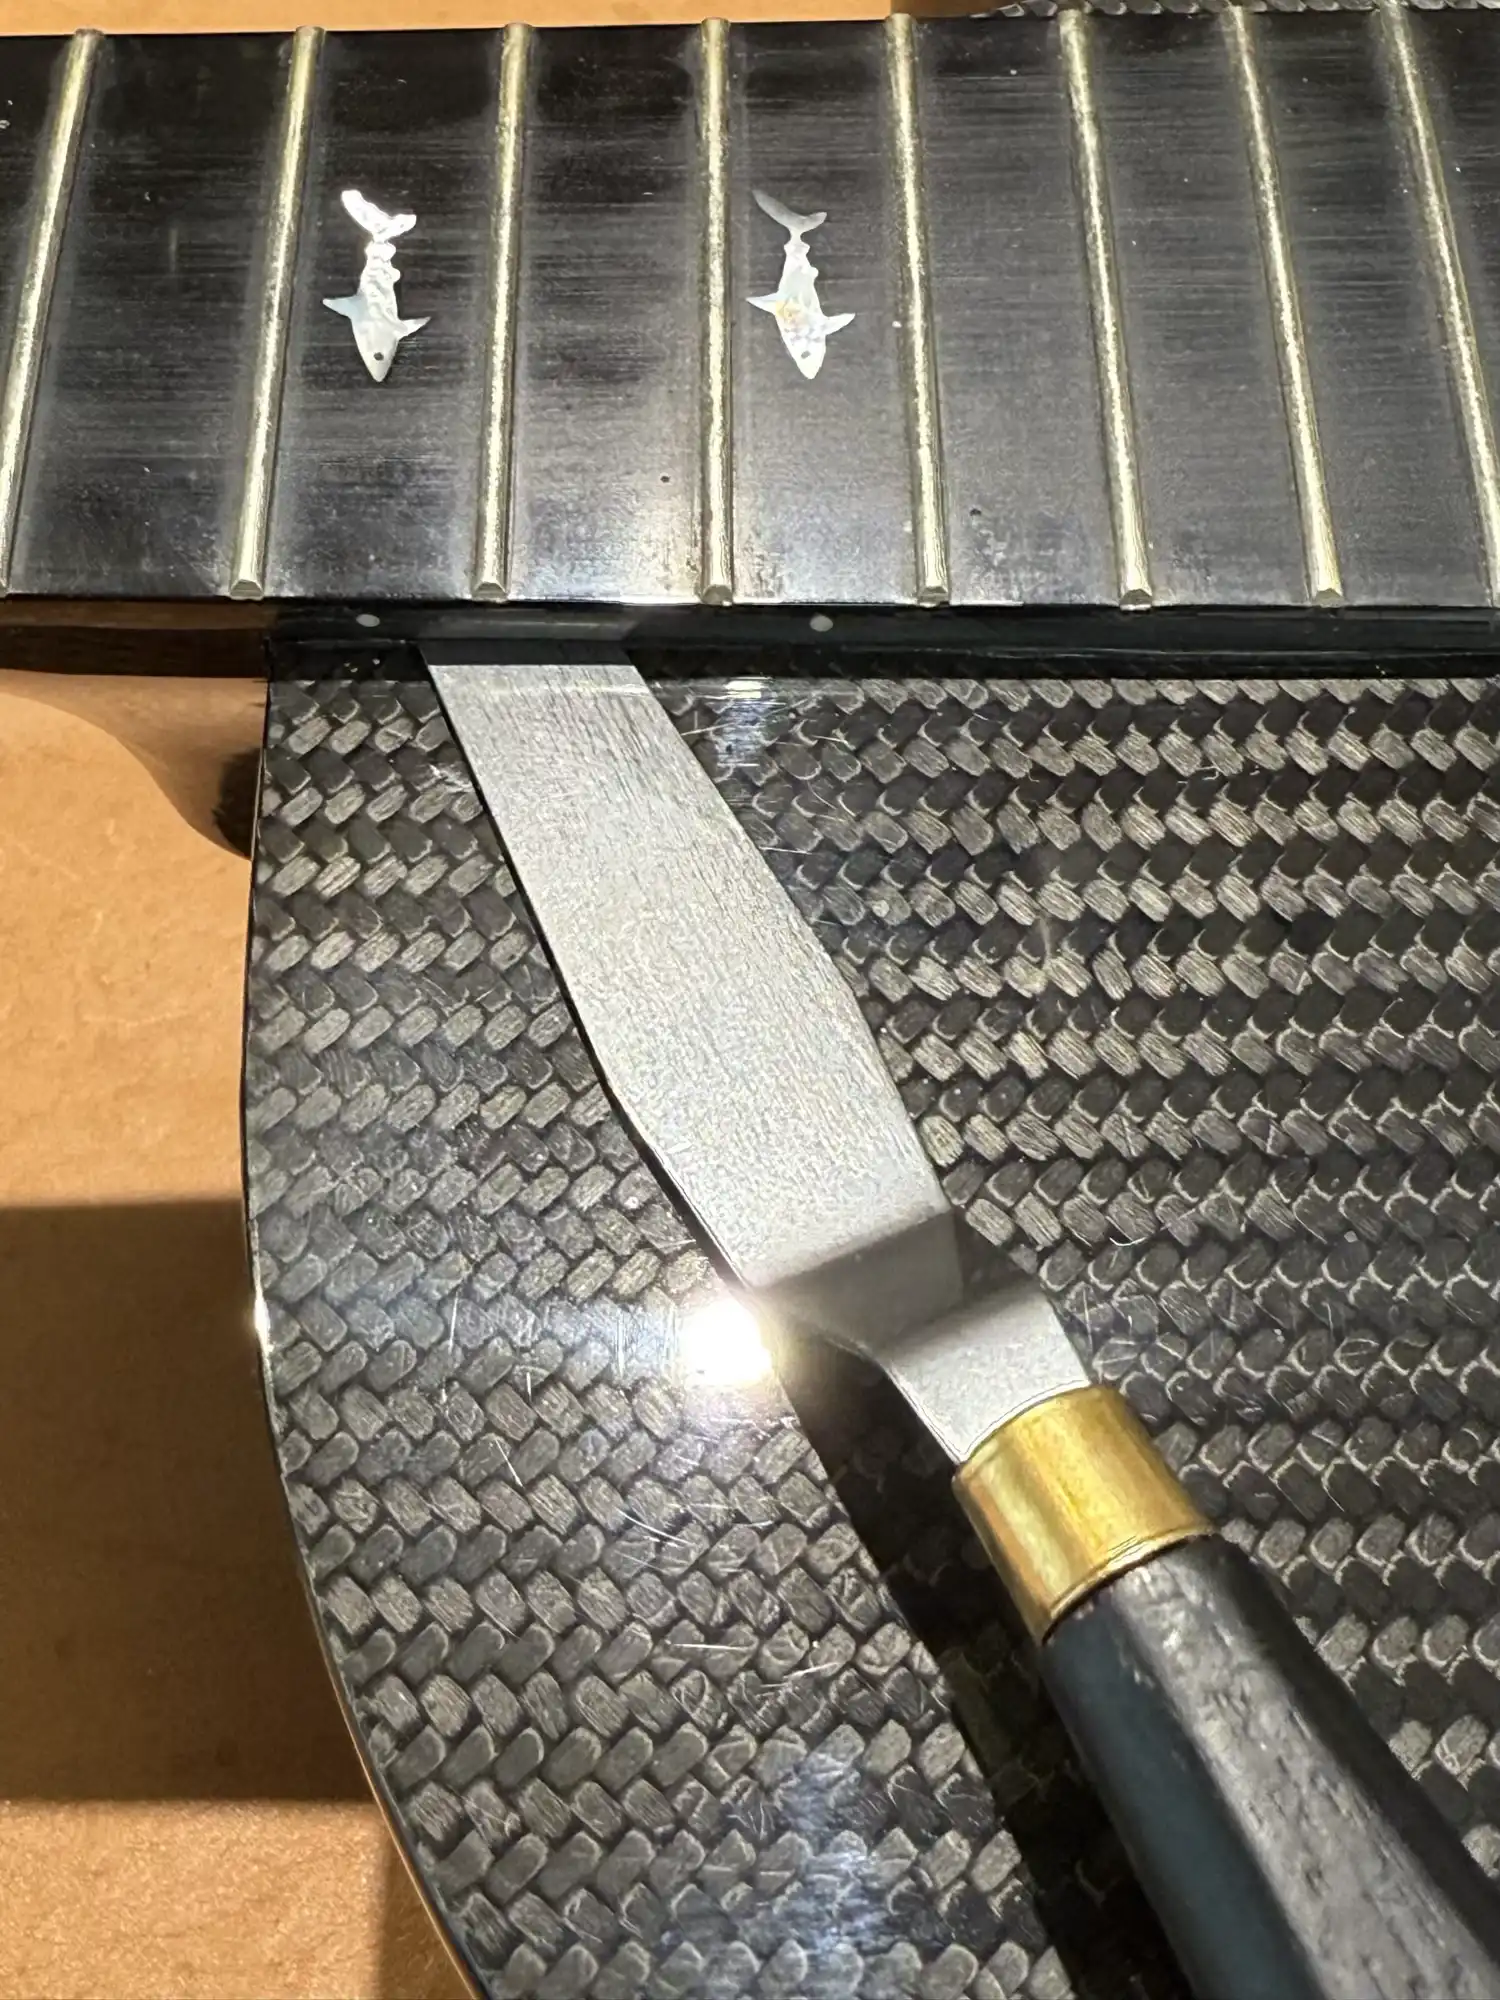
Palette Knife
After another 5 minutes, or so, the fretboard extension is beginning to separate from the soundboard.
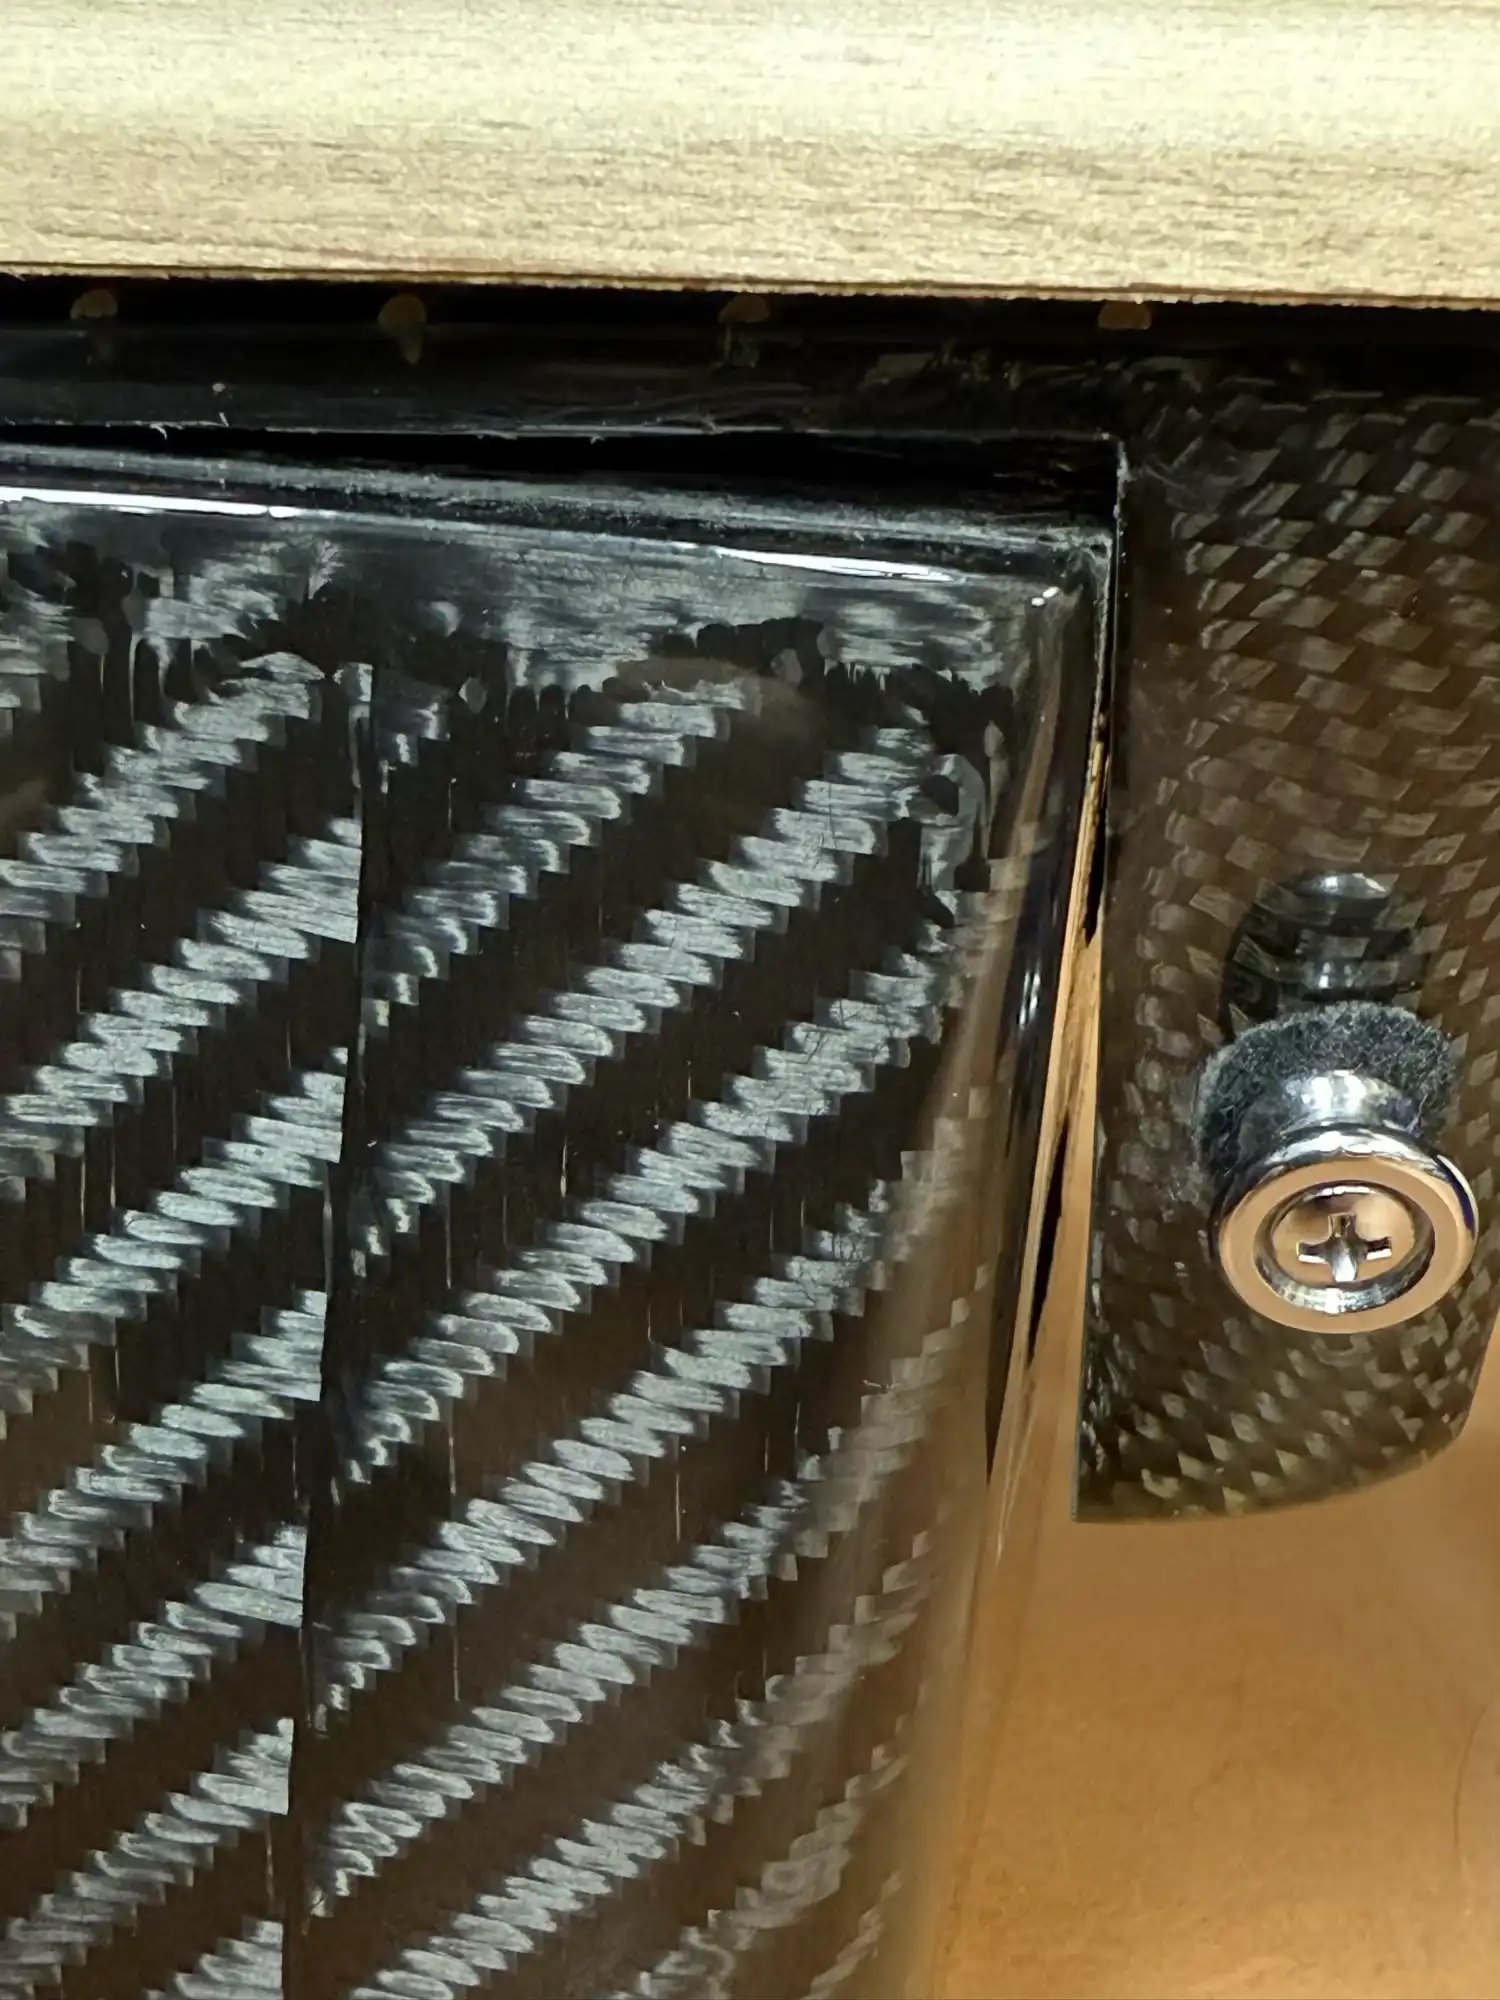
Beginning Separation
Patience, grasshopper! Don't be in a hurry. Let the heat do it's work and you will be rewarded.
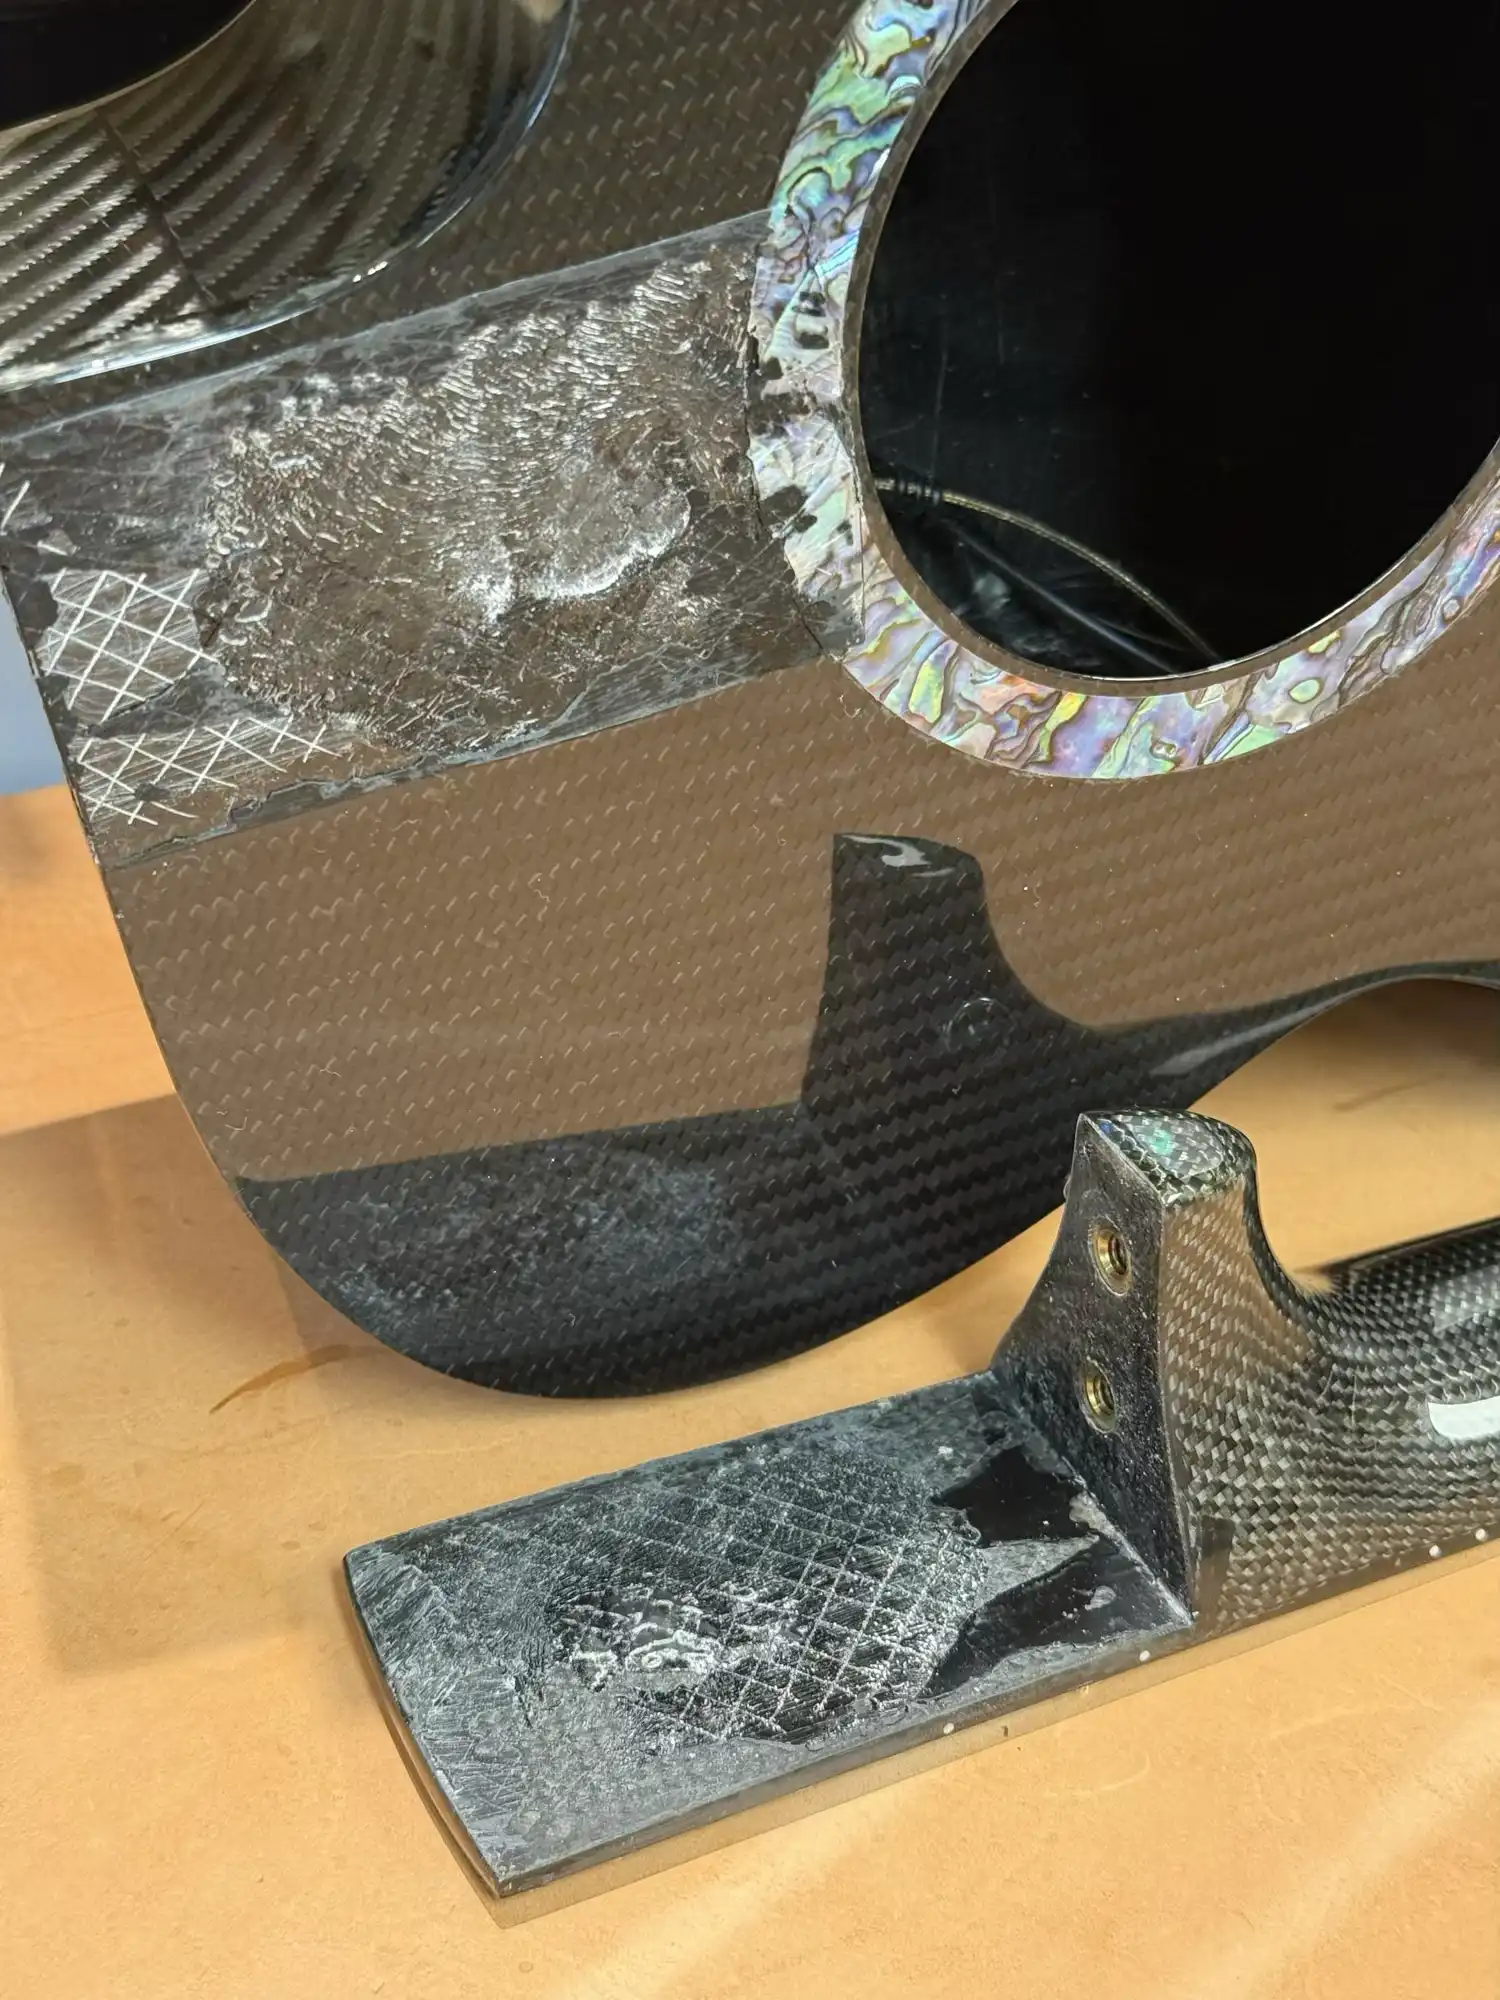
Neck Removed
A word of caution: The heat will also soften the shell inlay, to which the fretboard extension is directly "bonded". Take extra time/precautions to not pull the inlay out.
The RainSong does not utilize a neck block. The neck is secured directly to the sides of the shell, which is reinforced in this area. Note the adhesive on the side, in portions of the heel footprint.
I believe this is the result of squeeze-out when the neck was originally applied, not the result of heating the fretboard extension for removal. I need to clean this off prior to fitting the neck.
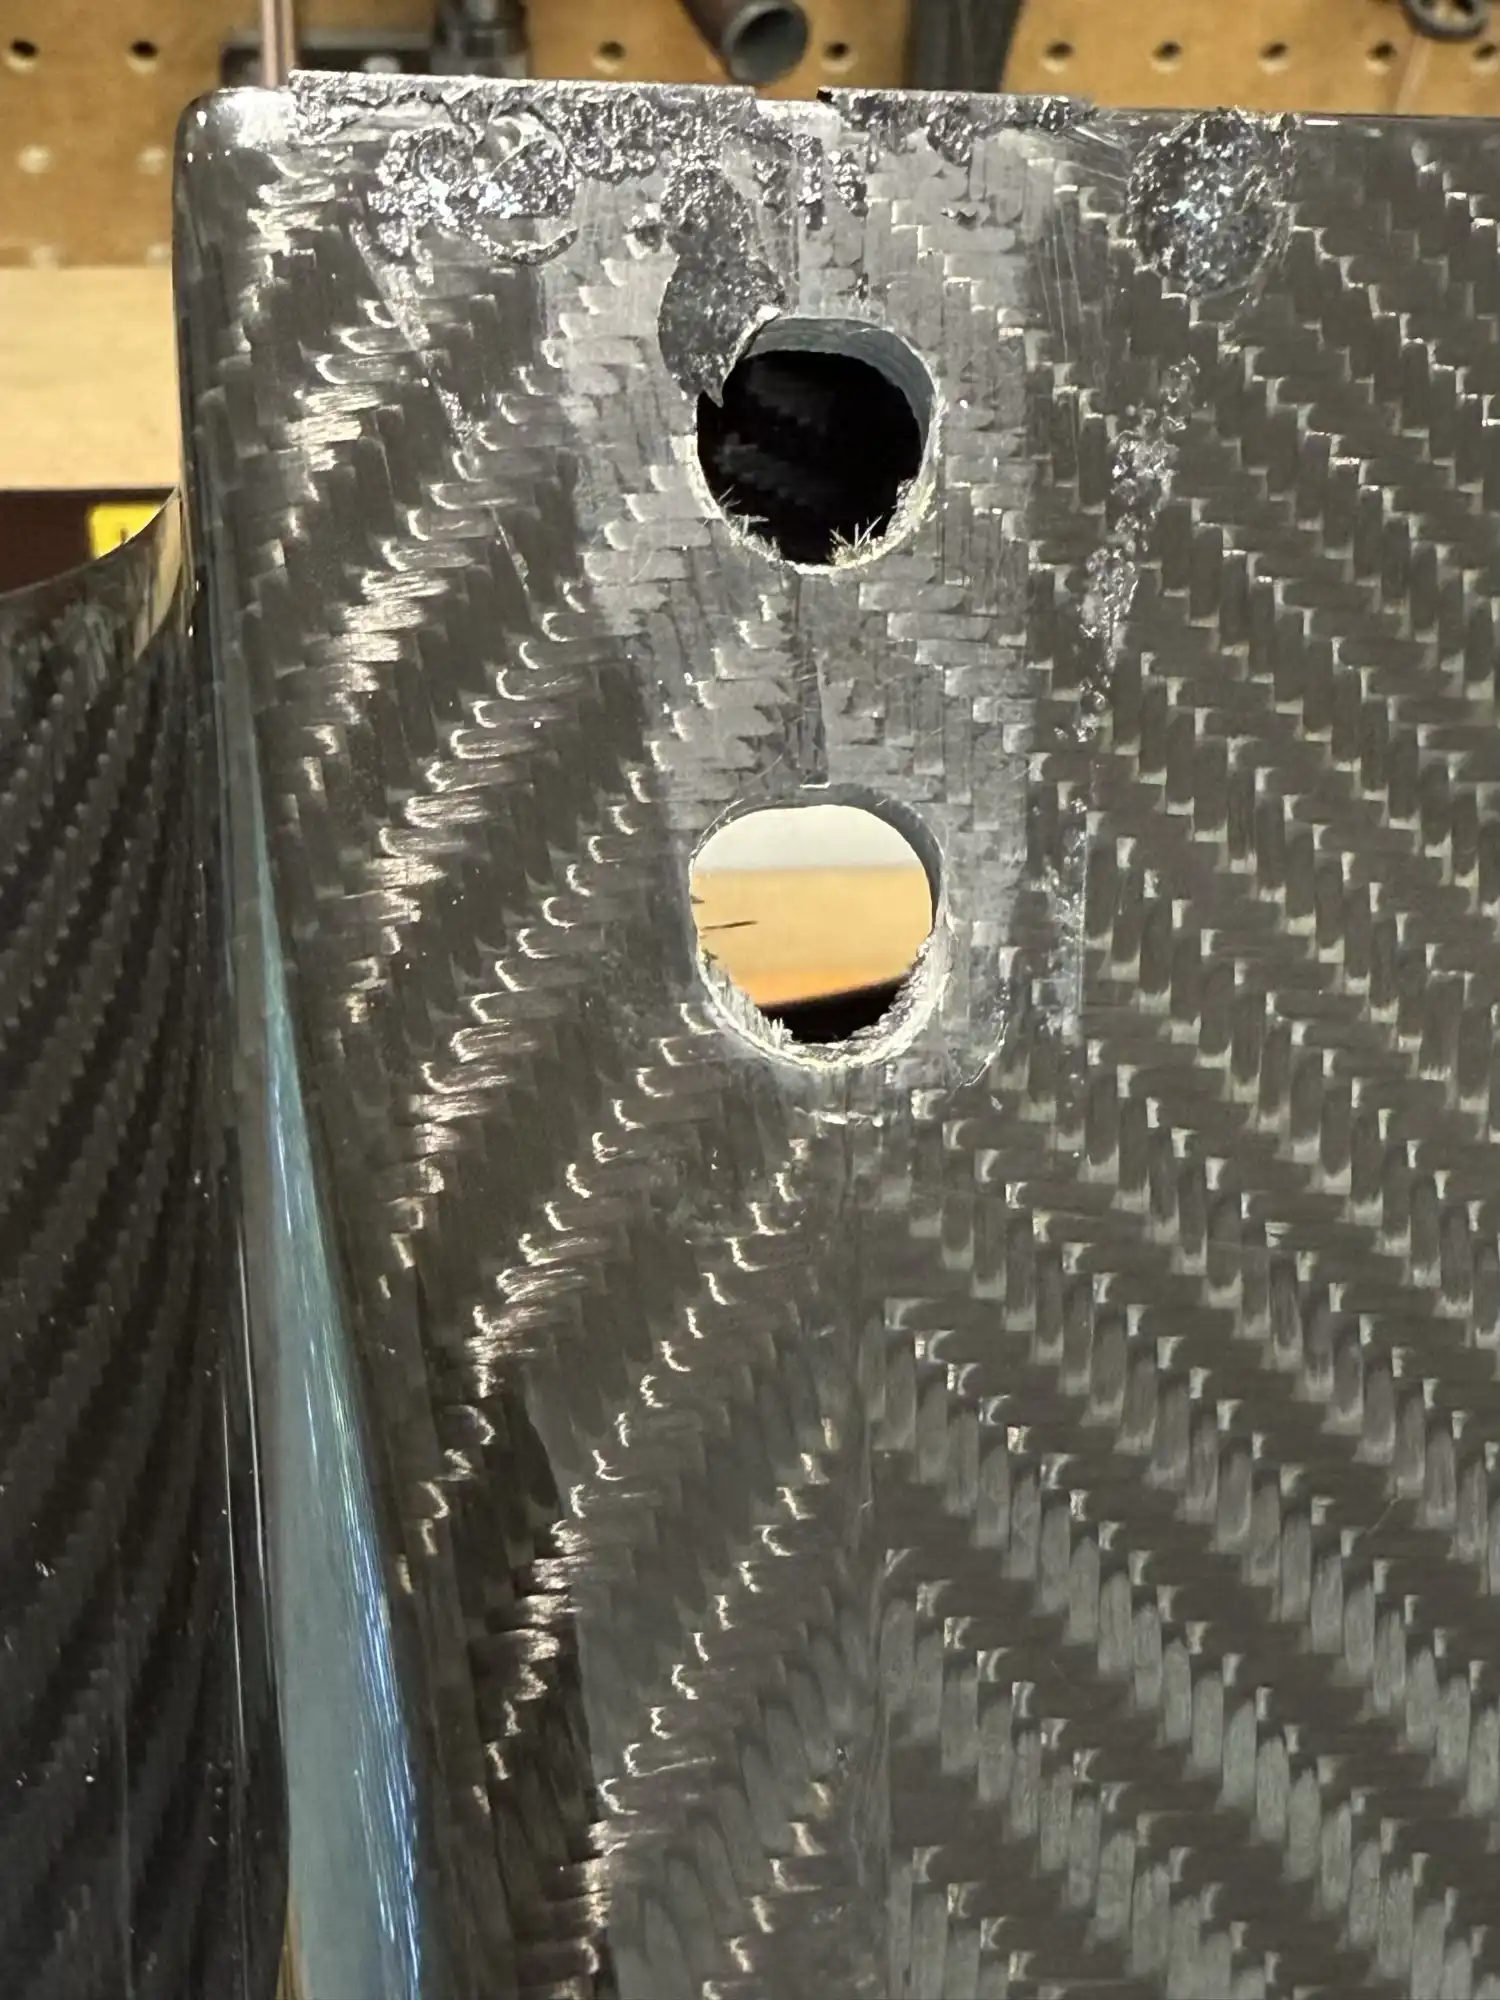
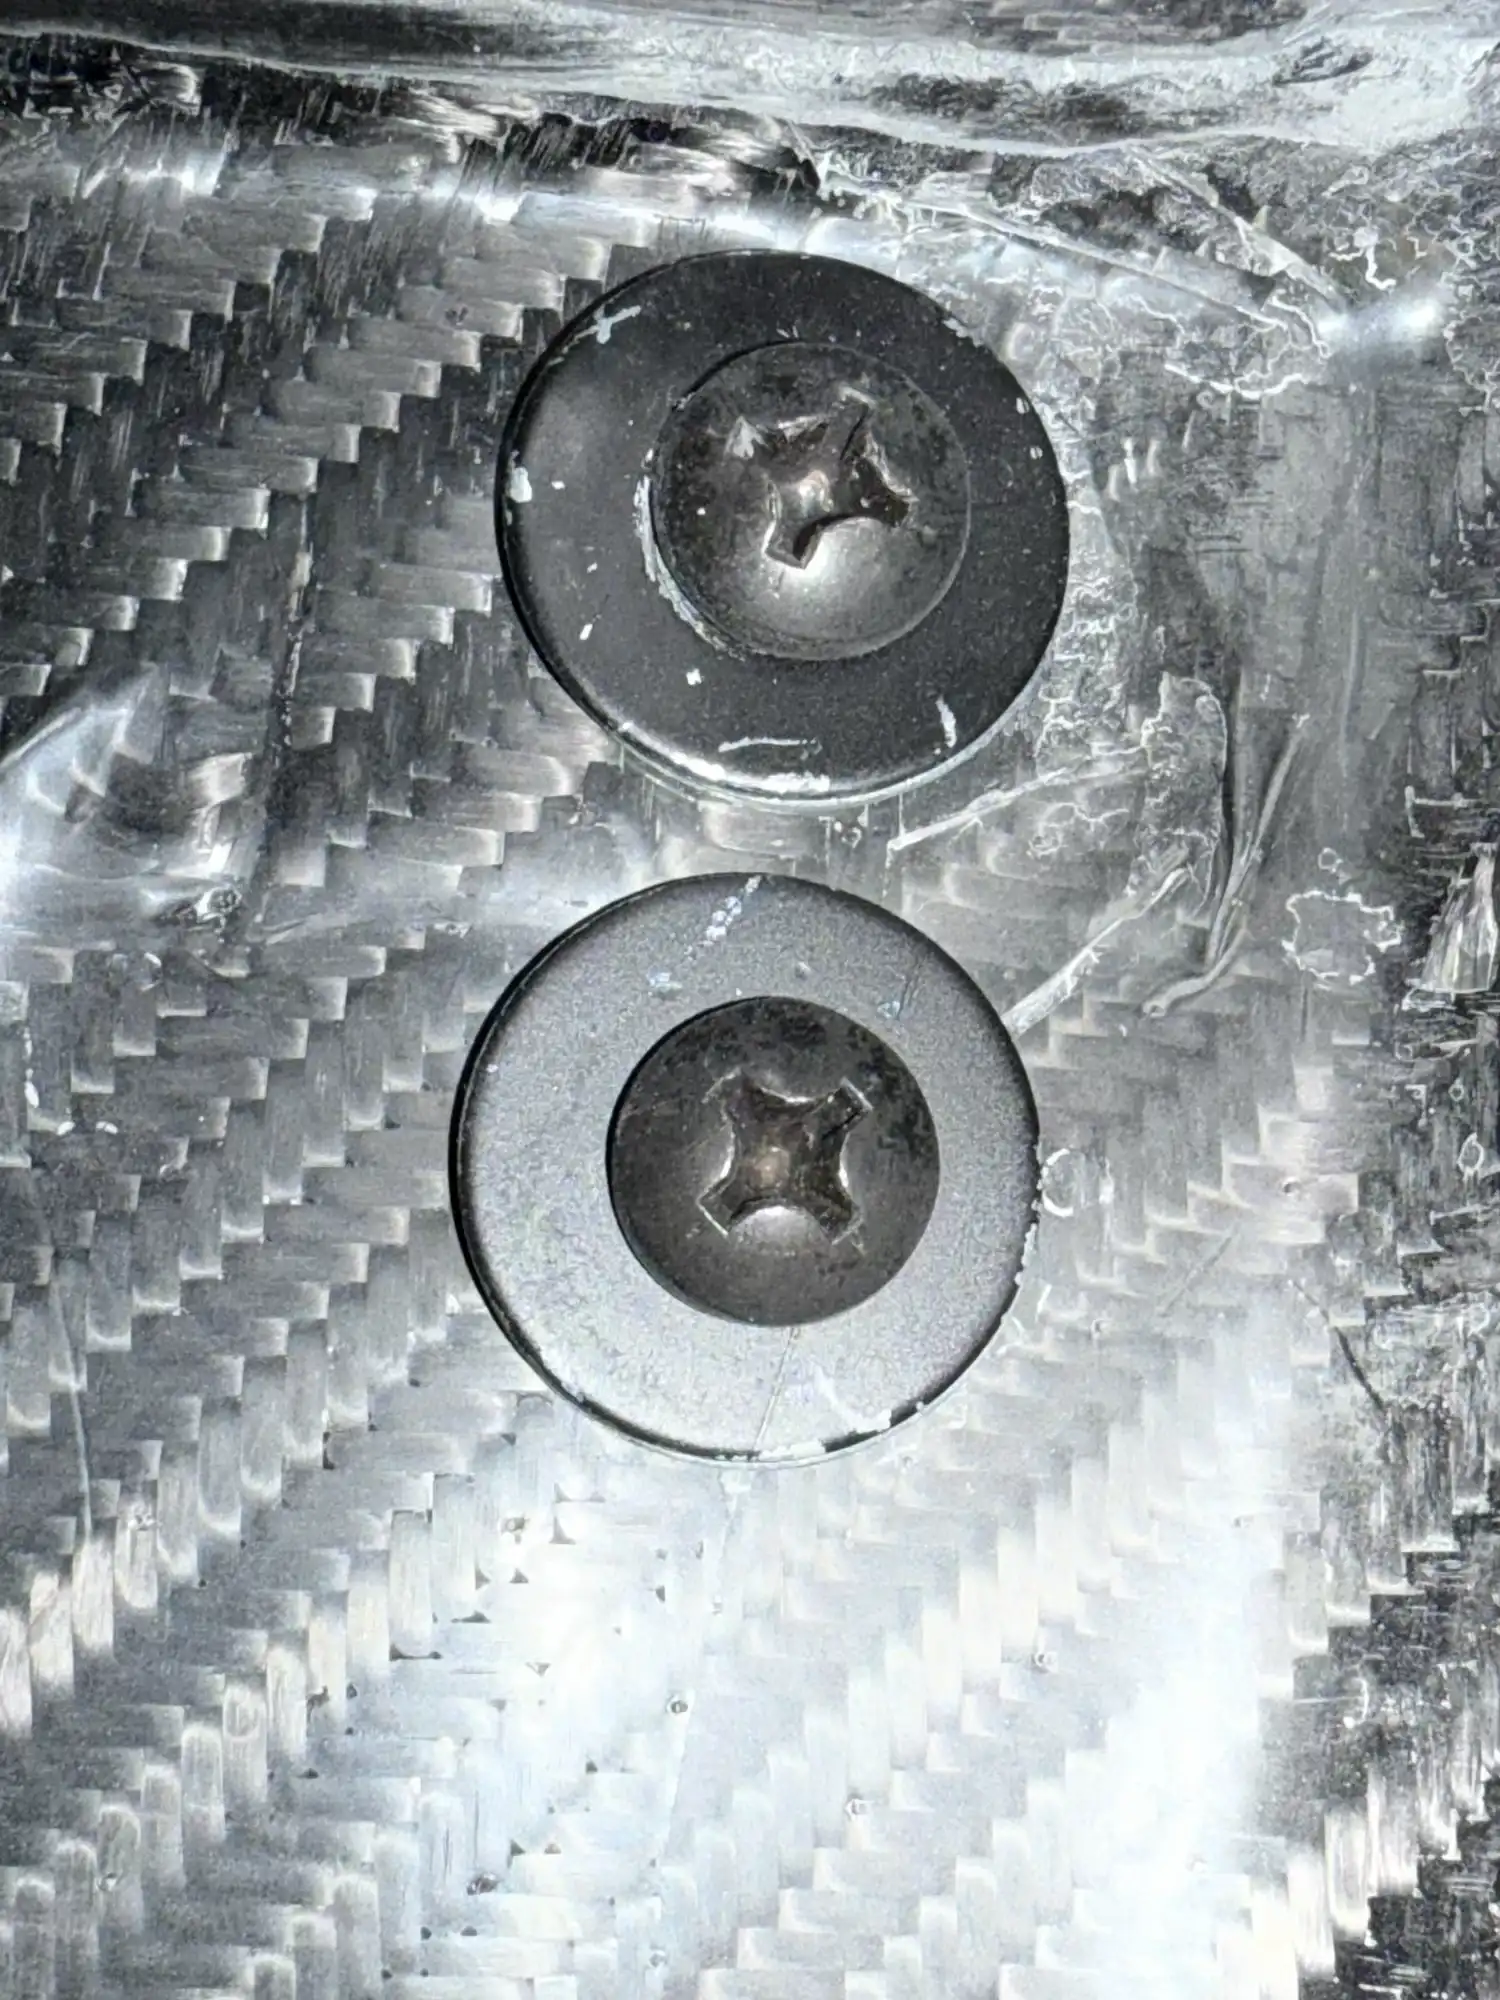
Bolt Holes