On this page
RainSong Necks
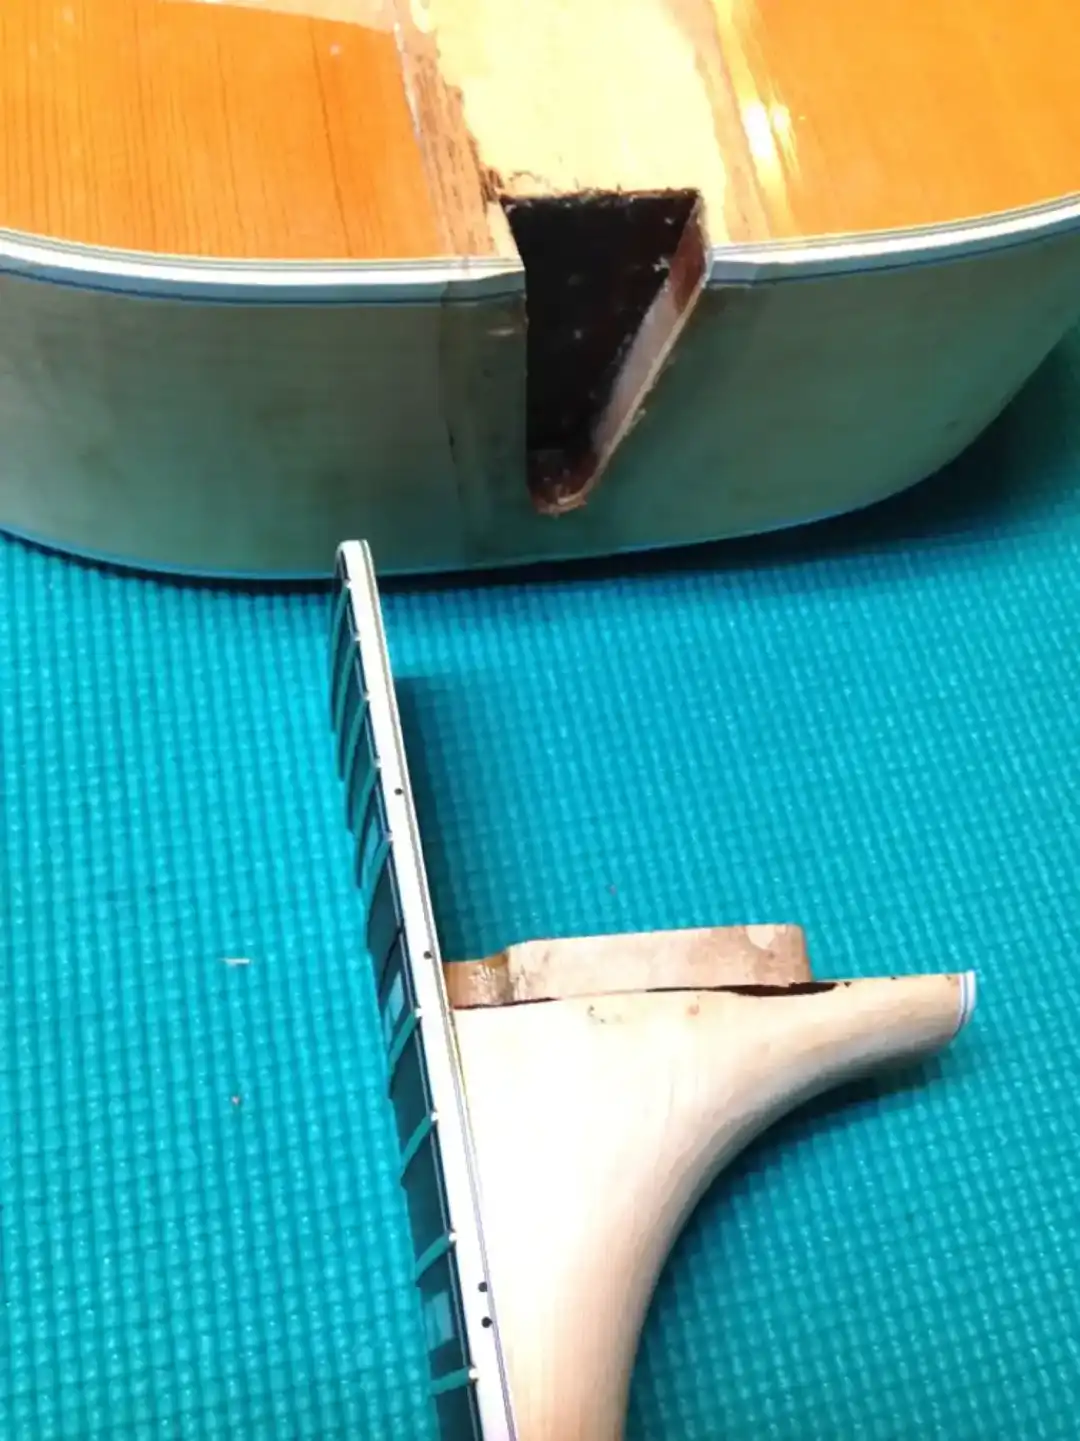
I reset the neck on my 1999 RainSong WS1000 and documented the process. This all carbon fiber guitar is a bit unique by today's standards. Much like an all wooden Martin made prior to 1985, the RainSong did not feature an adjustable truss rod in its neck, not until a few years later.
Unlike the pre-1985 Martin necks, the RainSong N1 neck was comprised entirely of carbon fiber. Most Martin necks would eventually bow under string tension, whether they featured an ebony stay, a T-bar truss, or a 3/8" square tube embedded beneath the fretboard. Not so with the RainSong.
To my knowledge, a RainSong N1 neck and fretboard are one unified component. They were not constructed independently and then glued together, later. The idea was to produce the stiffest neck possible, a neck that required no adjustment.
Why did the company later add the N2 neck with an embedded 2-way adjustable truss rod, if the N1 was sufficient to resist string tension? It was due to public demand for "tweak-ability", and the ubiquitous "belief in relief", not due to some failure in the design. In the company's own words:
The purpose of a truss rod in the N2 is to allow customization of the relief to individual preferences.
To this day, I get requests from RainSong owners who wish to lower the action on their guitars fitted with N1 necks. There is no truss rod to tighten in order to induce a back bow, with the result being the closing of the distance between the string plane and the section of the fretboard most affected. Not that anyone should be using a truss rod to adjust for string action, but I digress. What is needed is an altering of the neck geometry.
In short, a RainSong neck reset is totally straightforward, and I will lay it out for you in this article.
My Other RainSong Articles
Around ten years after the birth of my 1999 RainSong WS1000, an unfortunate encounter between the guitar and an un-loving baggage handling process deformed my RainSong case and broke the built-in preamp. I worked up the courage to attempt to swap out the factory-installed, but now broken, LR Baggs OnBoard Element pickup system with a newly purchased LR Baggs Stagepro Anthem system. Both of these pickups feature a "barn door" style preamp, meaning there is a large hole cut into the side of the upper bout where the controls of the preamp are immediately accessible to the player.
At the time, the Anthem used a different form factor from the Element, and this required me to first enlarge the hole and then fashion a bezel to hold the new preamp. The larger OnBoard Element pickup system has since been replaced with the StagePro Element, and these systems (the StagePro Element and the StagePro Anthem) are interchangeable without modification to the opening in the guitar's side. If you are interested, I documented the ordeal in an article titled » How to Retrofit a Baggs Onboard Element with a Stagepro Anthem .
Shortly after replacing the pickup, I had the clever idea to attempt a complete refret, including modifying the radius of the fretboard, along with replacing the TUSQ nut and saddle with bone. I put it off for about a year, as I was worried about the outcome, having never before worked with a carbon fiber fretboard. My fear proved to be entirely unjustified, and the effort was one of the easiest refrets I have every performed. If you would like to read about it, I documented the project here » RainSong Refret .
Burning Questions
Though that isn't a question, I do take the time to explain what is actually going on with many early RainSong guitars such that they would warrant a neck reset in the article, below.
I go into detail about assessing the need for a neck reset in my article, appropriately titled » Neck Resets .
Absolutely! That's what this article is all about.
No, not at all! The early necks had no truss rods. Later necks featured an adjustable truss rod. This information is primarily applicable to any RainSong guitar whose neck is bolted on and whose fretboard extension is glued to the soundboard, so that covers both the N1 and N2 necks. It may also apply to your favorite brand carbon fiber guitar (you may want to check with the manufacturer for more details, if available).
Why Reset the Neck?
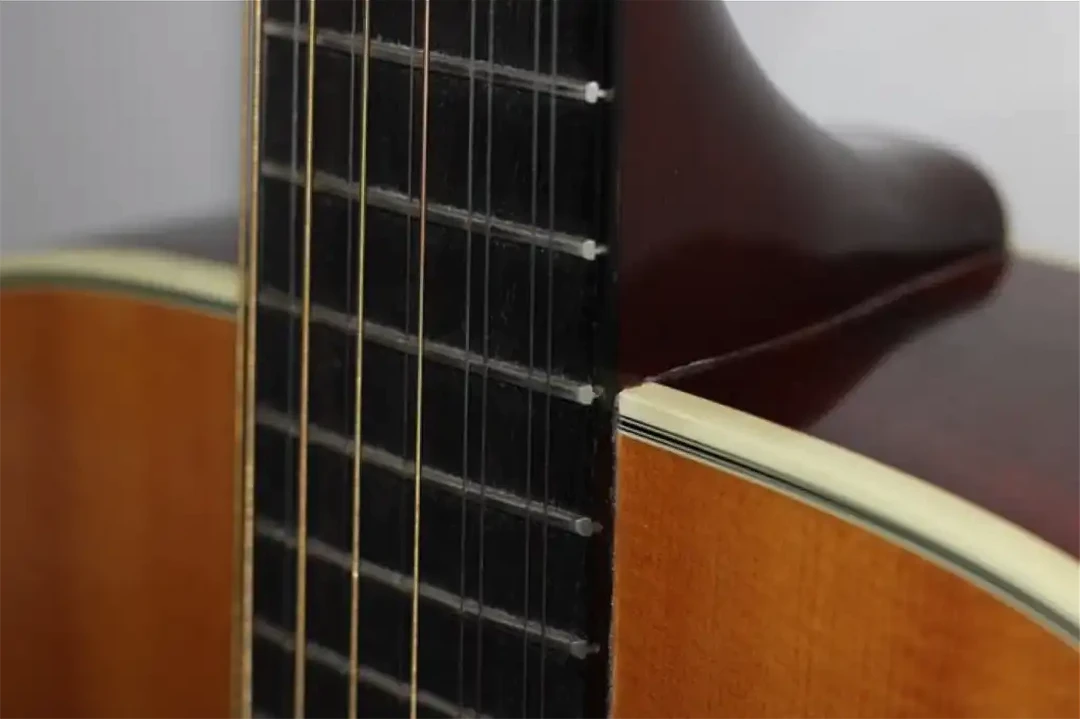
The action height (measured at the 12th fret) is 0.111 inches. That is just barely over factory allowed tolerances (0.1093, or 7/64", or 2.8mm). It is too high for my taste, as I prefer a lower action. If you read my article on my Rainsong Refret, you'll know that I replaced the original TUSQ saddle with bone, and I made the saddle taller in order to raise the overall string height (for sound).
Measuring Action Height
Put another way, my personal preference is to have a lower action height and an optimal overall string height (measured in front of the bridge). I refuse to shorten the saddle (the one that I deliberately made taller). There is nothing structurally "wrong" with the guitar that has caused the action to raise.
The top has not bellied
The bridge has not rotated
The neck has not bowed
The neck block has not shifted (the RainSong doesn't even have a neck block)
This RainSong N1 neck is all carbon fiber, with no embedded truss rod. I mention this because there persists an unfortunate, yet preponderant belief that truss rod adjustments and sanding down saddle heights are acceptable alternatives to correcting errant neck geometry. Look at the photo, below: this guitar has "plenty of saddle" left!
Caption
And I'm not touching it! I want that torque across the crest of the saddle in order to transfer the maximum amount of string energy to the soundboard. Lowering a saddle reduces that.
Overall String Height
For a given guitar , there are optimal measurements, such as optimal soundboard stiffness/thickness, optimal bridge mass/height, optimal saddle height, etc. I love how this guitar sounds, and I know that sound is negatively impacted by lowering the saddle ('cause I've already tried it).
The nut slot height is perfect. The fret plane is perfect (the neck is dead flat, with tiniest tiny bit of relief occurring as the strings are tensioned). There is no (as in, ZERO) deflection in the soundboard when the strings are tensioned/loosened.
I reiterate: nothing is "wrong" with this guitar. I just want a lower action and, to get it, I need to alter the neck geometry. I take a couple of measurements to reference later, when I go to adjust the heel to lay the neck back, ever-so-slightly.
How to Reset the Neck
The N1 neck is bolted on using two Phillips 1/4-20 x 5/8" pan head ("stove") bolts, accessible through the soundhole. I removed them.
Neck Bolts (Inside)
Neck Bolts (Removed)
The fretboard extension is securely glued to the soundboard. It may be more accurate to say, "securely bonded", as RainSong went to special effort to describe the process. In their own words:
We use the same technology in bonding our bridges and necks that are used in aircraft, rockets, and satellite equipment. Stronger than wood glue and off-the-shelf epoxy, these high-tech materials and techniques smoothly transfer energy from the string to the soundboard, resulting in greater sonic detail, a broader dynamic range, and a cleaner tone.
Well, we won't be utilizing that same proprietary aerospace bonding process to put things back together, so take that into consideration when you contemplate taking the neck off. This neck will go back on with epoxy. But let's get it off, first.
Originally out of caution, and eventually out of habit, I lay a mat of hi-temp silicone on the upper bout, with a section cut out to expose the fretboard extension.
Protective Mat
I lay a thermocouple-controlled heating blanket atop the fretboard extension.
Heat Blanket
I lay a fretboard radius sanding block on top of the heating blanket, and weigh it down with a 1 kg weight. I want maximum transfer of heat.
Heating the Extension
If there was a secret to safely and effectively removing this fretboard extension, it is getting the heat right. 220° F (104.5° C) is the number of success for these guitars!
Heat Blanket Temperature
After ≈ 5 minutes, I am able to insert a small palette knife.
Palette Knife
After another 5 minutes, or so, the fretboard extension is beginning to separate from the soundboard.
Beginning Separation
Patience, grasshopper! Don't be in a hurry. Let the heat do it's work and you will be rewarded.
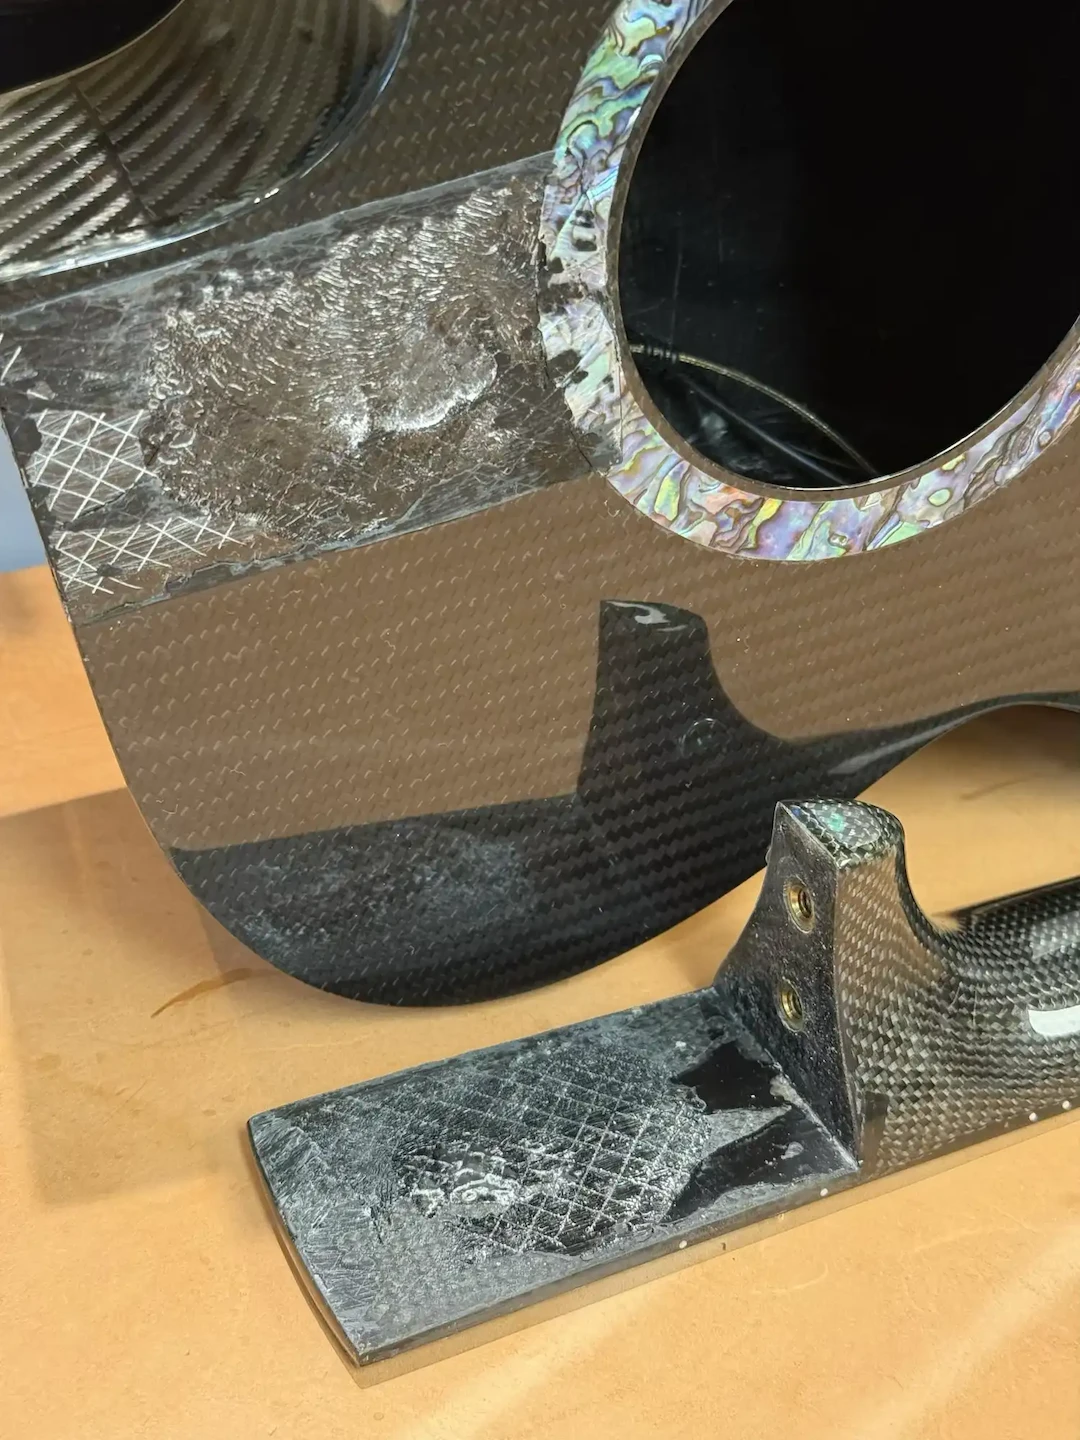
Neck Removed
A word of caution: The heat will also soften the shell inlay, to which the fretboard extension is directly "bonded". Take extra time/precautions to not pull the inlay out.
The RainSong does not utilize a neck block. The neck is secured directly to the sides of the shell, which is reinforced in this area. Note the adhesive on the side, in portions of the heel footprint.
I believe this is the result of squeeze-out when the neck was originally applied, not the result of heating the fretboard extension for removal. I need to clean this off prior to fitting the neck.
Bolt Holes
Making the Adjustment to the Angle
The heel material does not respond well to chisel work, so I resort to filing/sanding. This gives me control to accurately remove the slight "wedge" of material needed to lay the neck back, lowering the action. I remove no material from the heel, directly beneath the fretboard (doing so would alter the scale length, which would mess up the intonation).
I am taking off ≈ 1/64" (0.4mm) at the base of the (short) RainSong heel. A few test fits gets me where I want to be. This is a butt joint bolt-on neck, so fitting is super easy.
Be aware that there are two bolt anchors secured in the heel. They file (or sand) easily, but will definitely dull a chisel or plane blade.
Bolt Anchors
Back when I re-fretted this neck, I had assumed that fall-away had already been engineered into the end of the board, courtesy of RainSong. In a startling revelation, I realized that the fretboard had simply been bent down onto the soundboard and bonded. When I released the fretboard extension, the fretboard returned to dead flat.
I am angling the neck back just a bit, which exacerbates the existing gap beneath the extension. I have toyed with the notion of shimming the extension, but I think I will live with ever-so-slightly increasing the fallaway by simply securing the fretboard extension back down to the soundboard.
I taped off the heel as a visual guide.
Taped Heel
Thanks to the overall rigidity of the RainSong design, and the easy bolt-on neck, fitting the heel can be a rapid, iterative process.
80-grit sandpaper adhered to a flat, wooden block makes short work of removing the resin material. I followed up with a few strokes of 120-grit.
Sanding Blocks
I re-secured the fretboard extension to the soundboard using 3M Scotch-Weld 2216 epoxy. It is the same adhesive I use when securing a carbon fiber D-Tube in a neck. Make sure to tape off the soundboard outside the area you will be applying the adhesive to, and stay back from the heel ≈ 3/8" (10mm).
New Action Height
I wish there was more to it, but resetting the neck on a RainSong is really straightforward.