Setting up a steel string acoustic guitar to be all that it can be requires knowledge of the construction and maintenance process(es) of the instrument, quality tools and the skills to use and maintain them, experience to answer questions, offer suggestions, make recommendations as well as informed decisions, and respect for and knowledge of the player into whose hands the guitar will be placed.
And here you were thinking that anyone with a string winder should be able to do a good job!
Measuring String Height
The purpose of an acoustic guitar setup is to improve the playability of the instrument - as perceived by the person who will be playing it.
Several things must come together for an acoustic steel string guitar to be considered eminently playable. Factors such as body size and shape, overall weight, neck width and depth (or "thickness"), as well as features like arm bevels, cutaways and sound ports all contribute to my perception of a comfortable guitar. However, these design elements and features have already been established by the time the guitar maker, luthier or guitar technician takes on the task of performing a proper setup.
Ensuring correct neck geometry is absolutely essential in order to deliver a well-set up guitar. The perfectly flat plane of the strings, secured at one end at the headstock and (typically) secured at the other end onto or into the bridge, must be close enough to the fretboard to be pleasant to play while not being so close that strings make constant contact with the frets, causing a "buzzing" sound. It would be great if we could just stop there, but there are more considerations to be factored in when setting that neck angle properly.
In addition to an accurate neck set angle, there are a few adjustable elements that are controllable, either in part or fully. How well these elements are addressed will ultimately determine the playability of any given guitar. These are the elements that fall under the general category of a guitar "setup" and include such items as:
Before we jump in and start making changes, however, we need to perform an assessment of the condition of the instrument. Much like an automobile, a guitar is the sum of many parts. When excessive wear and/or mis-alignment(s) are present, these must be addressed if we are hoping for high-performance results.
A wooden guitar neck is essentially a straight plane. I say essentially, as a given guitar neck may have just the slightest amount of forward bow in it, depending upon a player's preference for relief. Relief refers to a deliberate introduction or allowance of concavity along the surface of the fretboard/fret plane in an attempt to mitigate string buzz, the result of the strings contacting the metal frets as they oscillate. Additionally, the fretboard extension, that part of the fretboard that extends beyond the point where the neck joins the body, may include fall-away. This is a slight, but deliberate sloping of the fretboard away from the path of the oscillating strings.
On a guitar having a perfectly flat neck, depending on the overall stiffness of the neck and the gauge of the strings, some forward bow will likely occur due to the pull of the strings. If additional bow is desired, more relief can be introduced by planing, carving or sanding material away from the fretboard, or by bending the entire neck forward using an internal mechanical device: the dual-action (or 2-way) truss rod (if your guitar is so equipped). When plucking or strumming the strings, a very light string attack requires little or no relief, whereas very aggressive string attack may require greater relief.
Check for Neck Bow
Many guitars, upon inspection, have necks that appear to suffer from excessive bow, often forward but sometimes backward. Excessive back (convex) bow will cause the strings to lay on the fretboard against the frets, making the guitar unplayable. On guitars whose necks have a single action truss or compression rod, it may be possible to simply loosen the tension on the rod and allow the strings to pull the neck forward enough to counteract the back bow. If the neck is equipped with a dual-action truss rod, it is usually possible to deliberately bow the neck forward. If the neck continues to curl backward, the condition of the neck will need to be addressed, first.
Excessive forward (concave) bow, a visible curling forward of the neck, will raise the action to a point where the guitar quickly becomes unplayable. Most modern guitar necks are equipped with a means of countering the pull of the strings on the neck, and an excessive forward bow may be able to be corrected by tightening the truss rod in the neck. If such corrections fail to make the guitar playable, a neck reset is probably in order.
Occasionally a neck will twist enough that one side or the other is raising the strings much higher than it should. Looking down the fretboard from one end of the guitar or the other and comparing the plane of the headstock/nut against the plane of the bridge/soundboard should help to confirm or alleviate any suspicion of twist. In some cases, the bridge has been planed or sanded into a wedge shape, either originally by design or during some re-design, intervention, repair, etc. If so, it is the plane of the soundboard alone, not the top of the bridge, that I must compare with the plane of the nut in order to determine if I am dealing with neck twist, or not.
Neck Twist - Nut View
Neck Twist - Saddle View
Severe twist may or may not be correctable. In lieu of straightening or replacing a twisted neck, sometimes cleverly messing with the geometry of the neck, body, bridge, and saddle is sufficient to keep a guitar playable without killing the sound. Sometimes the fretboard can be replaced and planed to counter a twist. Sometimes.
Does the guitar need a neck reset?
For a lengthy discourse on this very topic, please see my article >> Neck Resets.
Seven (7) measurements/assessments will provide me with the information I need to know whether a neck reset is necessary, or not:
1. Establish a flat fretboard plane
2. Assess and address bridge lift (if any)
3. Address bellying
4. Assess saddle height
5. Measure overall string height in front of the bridge
6. Address nut slot height
7. Measure string action height
Let's go back to the beginning and focus on an aspect of playability known as "action," the height of the strings above the frets. Action is an informative indicator regarding what is going on with my guitar and is the leading reason behind the need for the majority of neck resets. When my guitar is uncomfortable to play, or perhaps even unplayable, due to high string action, I need to sequentially walk through the steps necessary to ensure playability. It is time for a proper setup.
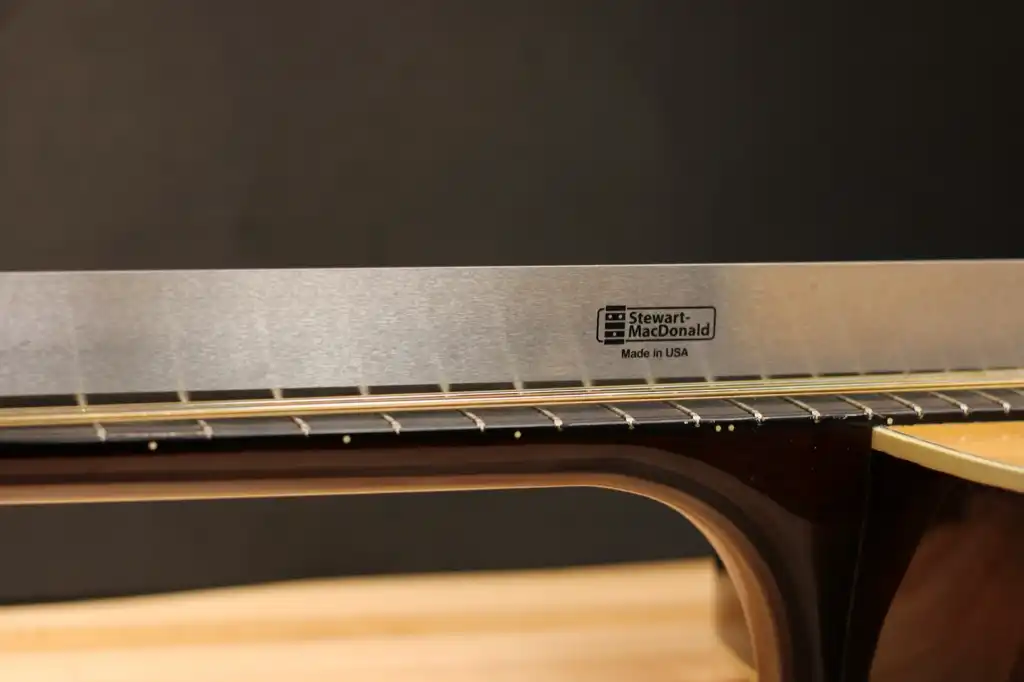
Before I ever even consider issues such as fret height, nut slot depth, or saddle height and completely independent from issues such as bellying, bracing failure or collapse, let alone prior to beginning any dramatic neck alterations which will include neck condition, neck joinery method, neck geometry, etc., it is necessary to establish a reference against which changes can be measured. An ideal reference is a flat fretboard. While it may not be possible, or even preferable (for reasons I will explain, next), to force the fretboard into a perfectly flat surface, I need to be able to reference a flat plane across the surface of the fretboard, before I can proceed. I say fretboard, not neck, not even frets, as the surface of the board is my reference.
Assuming I know what I'm doing, if my attempts to complete a proper setup on my guitar result in the strings either laying on the fretboard buzzing (action is much too low), or being so far away from the fretboard that they cannot be fretted (depressed to make contact with the metal frets) without significant effort and corresponding discomfort/pain (action is much too high), it is highly probable that my guitar requires a neck reset.
There are potentially four (4) adjustable components on my guitar that are considered by many to be applicable to addressing string action height:
Action - String Height Above Fretboard
1. Truss rod - I have written rather extensively about truss rods, the various types and their functionality in my article >> Truss Rod Alternative. In summary, most modern steel string acoustic guitars are fitted with adjustable truss rods that run beneath the fretboard from the nut to the neck heel. The primary function of a truss rod is to counter the tendency of the neck to bow forward. This is not to be confused with a neck stiffener, which serves only to resist forward bow, but provides no mechanical adjustability.
A compression rod is (or, in the case of older Guild 12 strings, twin compression rods are) pressed into a concave bow in deep slots in the neck, fixed into the neck heel, and threaded into a recess in the headstock. Tightening a nut/washer combination against the end grain of the neck forces the rod to straighten which, in turn, forces the neck to bow backwards. Loosening the nut (re)submits the neck to the tension of the strings and (typically) results in a forward bow. More or less.
An independent single-action (or 1-way) truss rod secures a threaded rod to a metal beam that sits as a unit in a single, shallow channel in the neck beneath the fretboard. Unlike a compression rod, it is not attached to the neck. A socket on one end may be installed at the headstock or accessed through the soundhole, depending on the builder's preference. Tightening the rod (by turning the socket clockwise) will, as with the compression rod, induce a back bow. Turning the socket counter-clockwise will, as with the compression rod, allow the string tension to pull the neck forward.
A dual-action (or 2-way truss rod) also installs in a guitar neck as an independent component, just like the single-action (or 1-way) version. However, unlike both the single-action truss rod or a compression rod, a dual-action truss rod may also be used to deliberately bow the neck forward. Why would anyone incorporate such a design when, seemingly, the strings are working to pull the neck forward? Necks having dual-action truss rods are typically built much stiffer than their predecessors (for example, carbon fiber rods are often installed on either side of the truss rod channel). Having the ability to "dial in" the desired fretboard flatness is perceived by many to be essential.
This adjustability highlights a secondary function of the dual-action truss rod, that of inducing relief, a small but deliberate forward bow in the fretboard that some builders and/or players feel is necessary to mitigate string-to-fret contact.
It is important to note that, in the case where a guitar with uncomfortably high action is determined to be suffering from too much forward bow, and that guitar is fitted with some form of adjustable truss rod, the forward bow can be reduced (or eliminated) and the action lowers proportionally.
While that may be all a player needs to restore a guitar to functionality, please realize that adjusting string action height is NOT the role of the truss rod. More on this, later.
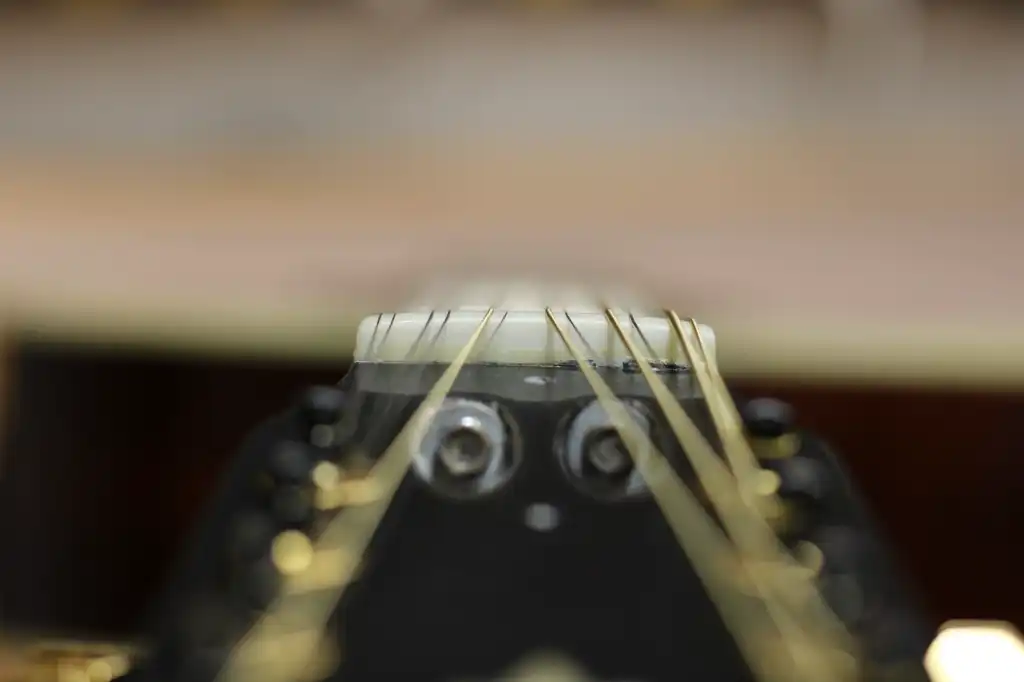
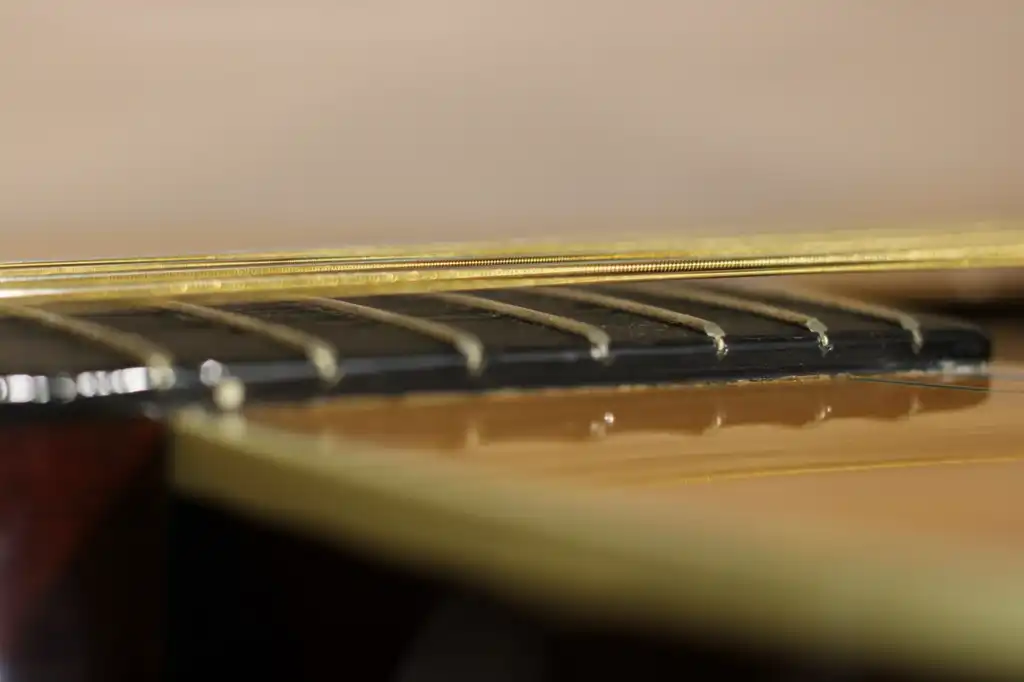
2. Saddle - Unlike a violin or banjo, nearly all acoustic guitars features a saddle that is fitted into a slot in the bridge. As such, it can readily be replaced when worn, or with a different material for tonal purposes. If a player has a particular action preference, and assuming the fretboard is already set to proper relative flatness, the saddle is often seen as the adjustable component to be used to raise or lower the string height.
The strings are set extremely close to the tops of the frets nearest the nut, sometimes clearing the first fret by as little as 3 to 5 thousandths of an inch. However, that distance increases exponentially as you move up the fretboard. Action is typically measured at the 12th fret, where the gap between the top of the fret and the bottom of the string may easily be 30 x greater. In cases of extremely high string action, that gap may be 50 or 60 x greater at the 12th fret than it is at the 1st fret.
Lowering the saddle height is usually accomplished by sanding or filing the bottom of the saddle in order to avoid altering any deliberate contouring for intonation purposes. Before breaking ou the sandpaper, however, take a moment to familiarize yourself with some geometry. We are measuring action height at a point half-way between the nut and the saddle (typically the 12th fret). If we wish to lower the action by a said amount at that 12th fret, we must reduce the height of the saddle by that desired amount times 2. As an exaggerated example, if I wanted to lower my action (at the 12th fret) by 1/8" I would need to remove 1/4" off the height of the saddle (1/8" x 2)! If my guitar has really high action at the 12th fret, you may imagine that I am likely to quickly run out of saddle material in my attempts to make the guitar comfortable to play.
More importantly, viewing the saddle simply as a string height adjustment component ignores a significant factor that governs the overall sonic output of any given guitar: the overall string height measured in front of the bridge. More on this, later.
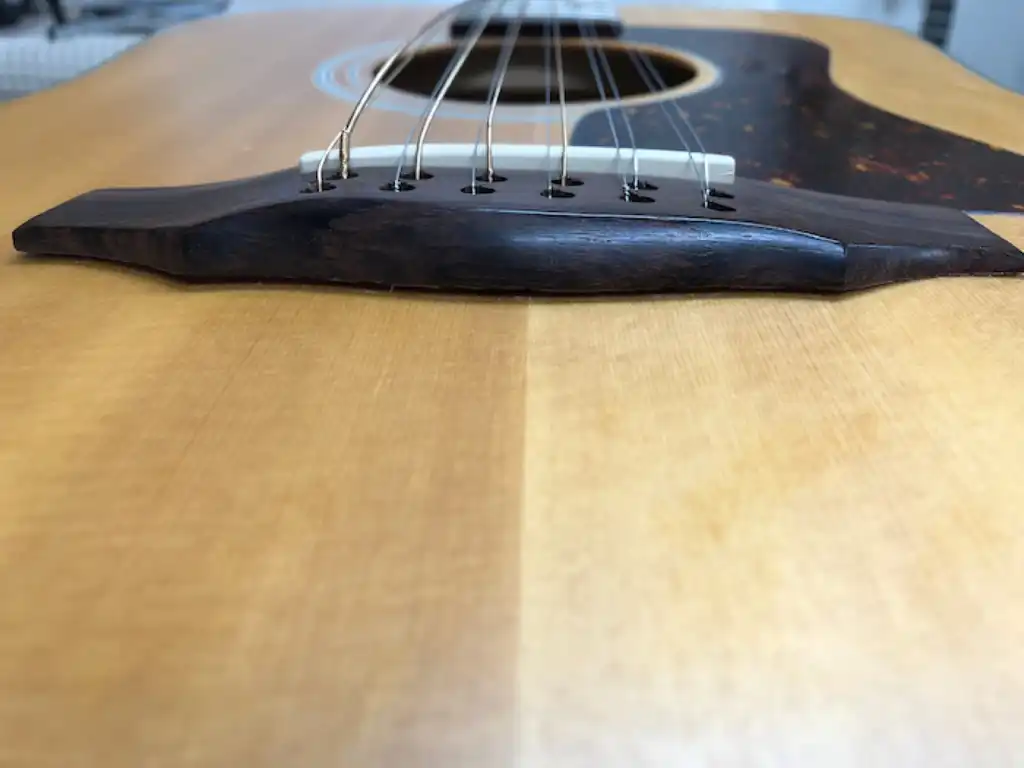
3. Bridge - So what if I have adjusted my fretboard to be as flat as it can go, and I have lowered my saddle down to as far as it can go, but I still have a little bit too high of a string action? Is there anything left for me to adjust? A more serious modification made in an attempt to get the string height as low as possible (not recommended, by the way) involves reducing the height of the bridge (by planing/shaving/sanding). The idea behind this is that, in order for me to have enough saddle emerging from the surface of the bridge to get a solid string connection on, knowing I cannot raise the saddle any higher (my action height is still too high), I need to lower the bridge height.
It certain cases, can resorting to such drastic measures make a guitar playable, again? Yes, but such playability comes at a price. The bridge is an external brace on my soundboard. Altering its size will alter the tone of my guitar. I won't say, 'Never' but, rarely does reducing the height of an existing bridge yield positive sonic results.
4. Frets/Fretboard - You will recall that we started this exercise in an attempt to reduce the distance between the plane of the strings and the surface of the frets. What if we could simply raise the frets up closer to the strings? Installing taller frets is one method to attempt to return a guitar to playability. This does not work for everyone, though, as A.) We are talking about relatively minute height differences that are often insufficient to overcome extremely high action conditions, and B.) A radical adjustment in playing technique is required for the tallest of frets, and most players don't care for the "feel."
A similar solution involves swapping out the fretboard with a thicker one, one that perfectly resolves both the string action height issue as well as maintains the payer's preference for fretwire. The potential downside to this is the resultant increase in overall neck depth (or "thickness"), where my favorite skinny neck nows feels chunky.
If, after taking these four (4) factors into consideration, I am still left with uncomfortably high string action, what next?
Some necks are simply not straight to begin with; as in, they cannot even be forced into a flat condition. Such necks need to be addressed, separately, as a neck reset is not the proper solution. Before giving up on a troublesome neck, it is worth investigating whether it is the neck or the fretboard that is causing the problem. Sometimes a fretboard can be replaced more readily than an entire neck.
Removing the frets and flattening the fretboard lets me literally start from a level playing field. This is the right time to address the condition of the overall fretboard, such as its overall thickness, adjust the radius, increase or reduce fall-away, and determine the optimal fret height and fret material for the replacement frets.
If my action is really high, and I lower the height of my frets, the result is an even higher action. Sometimes, by installing taller frets and thereby reducing the distance between the tops of the frets and the bottoms of the strings, I can put off resetting the neck just a bit longer.
Once I know my neck/fretboard is straight, my next step in setting up proper action is to address the nut slots. This step pertains to fretboards whose nut acts as fret zero. The difference between a guitar that feels like a wire cheese slicer on my fingertips and a fretboard that "plays like butter" starts at the nut slots, specifically, in the distance between the top of the first fret and the bottom of the string as it rests in its respective slot in the nut. There should only be enough distance (the slots should only be close enough to the fretboard) to prevent the strings from resting on the first fret. A common test that can be conducted without using measuring tools (such as a dial indicator or feeler gauges) is to depress each string against the 3rd fret and "tap" each fretted string against the 1st fret. I am hoping to see only the slightest gap between the fretted string and the top of the 1st fret. Anything more than that is an opportunity to lower the nut slot.
Saddle height is not arbitrary, at least not if I am wanting my guitar to be all it can be. Reaching for the sandpaper to shorten the height of the saddle, in an effort to lower the action to make my guitar easier to play, is rarely the best solution if I am expecting maximum volume and optimum tone from my guitar. Assuming my neck/fretboard is flat, and assuming the strings are properly seated in nut slots that have been filed to the proper height (as low as they can go without buzzing), and assuming the saddle slot in the bridge is both cut to proper depth for that bridge and is perfectly flat across the bottom, the amount of saddle that extends above and beyond the top of the bridge should be determined by the necessary height of the strings off of the soundboard, not the fretboard.
To produce both maximum volume and optimum tone, it is necessary to achieve maximum and optimum height of the strings off of the soundboard in front of the bridge. Establishing the string height for player comfort is the primary role of the neck geometry, not the saddle.
To that end, you may see the benefits of having an easily adjustable neck, such as a bolt-on neck, where the neck joint can quickly be altered and shimmed. Action can be adjusted at the neck joint, leaving the saddle and bridge to perform at their respective peaks.
Break angle is a term that refers to the angle at which the string, emerging from the bridge (or tailpiece), "breaks" across the saddle as it continues its path to the nut. There is an additional break angle that can be identified as the string leaves the back of the nut in a trajectory to the post of the machine head (tuner), but that is a separate topic. Having sufficient break angle as the string leaves the back of the saddle is essential, but probably not for the reason you are accustomed to hearing.
Break Angle
On a brand new guitar having a pinned bridge, it is common to see the strings bend downward at the back of the saddle in a rather sharp angle. If we visit that same guitar 40 years later, it is common to see the strings emerge from the pin holes and lay flat across a saddle that is completely buried in its slot. Very often on guitars such as this, bridges get modified. Angled slots (ramps) are cut into the bridge at the front of the bridge pin holes, such that the string leaving the (nearly non-existent) saddle can once again bend downward behind the saddle.
A rather silly chase has ensued, arguing over an "optimal break angle to improve volume/tone", a chase that persists to this day. I fell for this one, not realizing that all I was achieving by ramping the pin slots on a dead sounding guitar was a (proper) anchoring of the string across the saddle. This was always most dramatically demonstrated when a saddle had been lowered (in an attempt to further delay a neck reset), and was almost level with the surface of the bridge, such that the string was no longer making optimal contact with the saddle, but able to bounce across the saddle as the strings were plucked.
When you contrast the geometry of a string laying flat across the top surface of a bridge, barely coming into contact with the saddle, with that of a sharper downward angling of a string behind the saddle (achieved through whatever means) in order to ensure optimal contact between string and saddle, it should be apparent that the latter configuration will result in an improvement in volume/tone over the former.
Too sharp of an angle behind the saddle may result in frequently broken strings. If the saddle extends far enough out of the slot, an extremely sharp angle may physically break the saddle or, more commonly, may split out the front of the bridge.
What if, by ramping slots into the bridge pin holes, you can get that break angle seemingly just right, and your volume/tone has improved a bit, but you are now getting some buzzing as the strings are touching the front of the bridge, due to the saddle being buried in the slot? And, to add insult to injury, what if you still need to lower that saddle a bit more, as the action is not quite low enough? In even greater effort to hold off on that neck reset, you shave the bridge down to expose a little more saddle. The problem is solved, right? The buzzing is gone, the action is lowered, the neck reset is pushed out to a distant future date and you can live with the sound of the guitar.
Congratulations. That may be all you need or want. But your guitar is NOT fine. It needs a neck reset.
It comes as quite the surprise to most players should they ever realize the actual mechanics of what is happening when the strings on their guitar are fretted or plucked. For the typical steel string acoustic guitar, a string is anchored at the bridge and is tightened at the machine head (tuner).
When fretted, it is wrongly assumed that the string is merely stretched as it is pushed or pulled away from its straight path as it makes contact with the fret wire. When strummed, the string will swing away from that straight path. We all know that the shortest distance between two points is a straight line, so there is a common assumption that the string must simply be stretching, or lengthening, in order to swing back and forth.
Imagine yourself holding the end of a large, long rope that you have tied to a tree. Stretch it taut and have a friend run and throw himself at the rope in an attempt to get you to break your grip. The rope doesn’t stretch, at least, nowhere near as much as you move forward, toward the tree. As you then move back to your original position the rope is pulled straight again. Since your friend is hanging onto the rope, that momentum has them then pulling the rope in the opposite direction, which pulls you forward again. Naturally, you counter and pull the rope straight, and so on.
When the string is plucked (pulled away from that straight line), it is the guitar that is making up for the change in distance. The guitar is moving to accommodate the string. Specifically, the bridge is responding to the oscillations of the strings. This is occurring at extremely high speed, and the movement is very small. But it is really happening.
Torque is a description of rotational force or, better, torque is the rotational equivalent of linear force. Torque is the ability of a force to produce a rotation around an axis.
The bridge and saddle together form a single unit that both supports the strings at an optimal height and transmits the energy of the vibrating strings to the soundboard. Consider a tall violin bridge:
Violin Bridge
If the bridge on an acoustic guitar were fashioned to be tall enough to accomplish the task of supporting the strings at an optimal height without the addition of the saddle, the weight would be detrimental. There would be too great a “mass” for the strings to be able to move sufficiently. There would be a damping effect.
For that motion to occur, for the strings to oscillate, they must be able to be moved out of the straight line path formed from the nut to the saddle.
There must be sufficient torque at the intersection of string and saddle to maximize the string energy transferred via the bridge to the soundboard. Too much torque, applied by the addition of too heavy a gauge of string or by too great a height off the soundboard, risks ripping the bridge (along with the soundboard and bridgeplate beneath it) right out of the guitar! Too little torque, such as we find in guitars using too light a gauge of strings for their particular configuration of bracing, soundboard, bridge and saddle, and/or whose saddles are buried in their bridge slots, results in a weak output. For our purposes, using light or medium gauge strings, torque is determined by the height of the strings off the soundboard, as measured directly in front of the bridge.
In an acoustic guitar bridge, we see both dynamic and static torque at work. Dynamic torque references acceleration, or how quickly the bridge can be made to move. Imagine starting a bicycle race at the bottom of a hill, and the effort required to move bicycle from a resting position. In this camp we find the advocates for lightweight bridges (lighter, not shorter). The idea is to accelerate the bridge quickly into motion. Static torque refers to how an object in motion wants to stay in motion. On a level road it is downright therapeutic to pedal a bicycle once it is underway. In this camp we find the advocates for heavier bridges. We may only be talking about a matter of +/- 15 grams difference between the two camps, but it is enough difference to affect the sound.
After more than 150 years of acoustic guitar development, it has been determined that, for the typical* steel string acoustic guitar, an optimal overall string height in front of the bridge is at least 1/2″, or 12.7 to 14 mm. That string height is determined by the height of the bridge minus the depth of the slot plus the height of the saddle. Bridge heights of 5/16″ will require saddles that project above the bridge by 3/16″. Those same saddles would typically sit into the 5/16″ bridge by 1/2 the bridge height, or 5/32″. Extending the saddle any taller quickly moves into bridge split territory. This combination works well for extra light to light gauge strings. Lighter gauge strings mean lesser string tension at pitch, which means a lighter bridge can be set into motion much faster than a heavy one.
For light to medium gauge strings, a bridge height of 3/8″ (9.5 mm) with a saddle projecting above the bridge by another 1/8″ (3.25 to 3.5 mm) is very popular. That saddle will be setting in a slot cut 3/16″ into the bridge. Heavier gauge strings mean greater string tension at pitch, which means a little heavier bridge can still be accelerated quickly into motion.
* = "Typical" acoustic steel string guitars feature a string path that runs parallel to the surface of the soundboard, a soundboard that has been braced to structurally resist the tendency of the strings to rotate the bridge forward. The 1/2" height requirement may not apply to guitars built with elevated fingerboards, whose string paths approach the bridge at a more acute angle.
To reiterate: In order to experience maximum sonic output from such a typical acoustic guitar, the measured angle of the string breaking over the saddle is of much less importance than is the overall height of the string off of the soundboard. The torque applied from sufficient string height will actually set the bridge into motion in response to the force applied (energy transmitted) as the string oscillates. Break angle serves to lock the string down over the crest of the saddle, such that any shifting and rolling from side to side on the part of the string(s) is eliminated or minimized. Rather than being wasted, maximum energy can then be transmitted down into the bridge (and out across the soundboard).
On a guitar whose saddle has been lowered to the point where it is essentially buried in the saddle slot, the player may experience a terrifically weak output, where both volume and tone suffer markedly WHEN COMPARED to that same guitar where the neck geometry is corrected and the optimal saddle height/string height is restored. Adding a taller saddle may remedy the weak output, but without correcting the neck angle, the action height will then become untenable. This is an easy thing to prove: if you have a guitar with a nearly non-existent saddle, install a taller saddle, one that brings your string height to 1/2″ off of the soundboard (assuming this is possible without splitting out the front of your bridge. If not, you likely need a new bridge). String up the guitar and, realizing that the action is obviously now painfully high, have a listen. I believe you will hear something that is much closer to what your guitar should be sounding like. Of course, you will require a neck reset to be able to comfortably play this fine sounding instrument! The alternative is to re-install the low saddle and live with the weak output.
Shaving a bridge refers to planing, scraping, or sanding material off the top surface of an acoustic guitar bridge, typically while it is still attached to the guitar.
Why do such a thing?
If you are still with me at this point, I trust that you will have a better understanding regarding optimal overall string height. Unless a gross mistake was made during construction, and some monstrously tall bridge was installed, and planing the bridge will keep it in that 5/16 to 3/8″ height range, and the saddle height above the bridge will be in that 1/8 to 3/16″ range, such that total string height is NOT LESS than 1/2″, and string action is perfect for your style of playing . . . it is probably not in you or your guitar's best interest to further lower the bridge height.
The bridge of my guitar is an external brace, adding stiffness and mass to the soundboard. In conjunction with the bridgeplate, the bridge is a fixture, providing me with a means of attaching the strings, as well as holding the saddle in place. The bridge is an acoustic coupler, transmitting the kinetic energy of the plucked and oscillating strings across the soundboard. Altering the mass of the bridge will alter the sound of the guitar, its volume and tone. I know people who would never tolerate anyone even suggesting to shave internal braces on their guitar (let alone actually reach inside the guitar and begin to remove wood), but would never think twice about shaving down the bridge.
As with the saddle, bridge size (or overall "mass" including height, width, weight, and density) is not arbitrary. The bridge must be sized correctly to perform its tasks well. Too large or too small of a bridge will make for poor sound output. On center hole, X-braced guitars, the bridge is sized to rest atop the lower legs of the X. The mass of the bridge is relative to the responsiveness of the internal bracing and soundboard, as well as the tension of the strings. A heavier bridge may require a heavier gauge string to cause it to move. A heavier gauge string will result in greater tension, and put greater demands on the bracing and the soundboard, which must be designed to support the extra load.
"But my guitar repair guy planed my bridge, made a new saddle, ramped the bridge pin holes, put on a new set of the world's greatest strings and now my guitar sounds better than it did before!"
I am sure it does. And it would sound even better, like it was originally designed to sound, had he FIRST established optimal string height, THEN reset the neck so that the action was perfect at that new target string height!
Bridge lift describes a visible gap between the soundboard and the back of the bridge. Such a gap may or may not require attention. Most guitar bodies have a finish applied prior to attaching the bridge. For a proper bond, the bridge needs to be glued to the raw wood surface of the soundboard, not the surface of the finish. To that end, the finish is either carefully removed or prevented from ever being applied in the area where the bridge will lay. It is quite common to leave a small border of finish around the periphery of the bridge, just enough for the bridge to rest on and provide for a clean visual intersection, as opposed to removing finish to the outside edge of the bridge, which would reveal an unsightly trace line all around the bridge. If (or as) the bridge rocks or tilts slightly forward, and depending on several other factors, including how wide that border of finish under the backside of the bridge is, a gap may or may not appear along the back edge, and that gap may or may not be stable for the life of the instrument.
Bridge Lift
Bridges should not require re-gluing. By contrast, fret wear is expected, but having a bridge come unglued should not be considered a common maintenance item.
A significant gap behind the bridge is an indication that something has gone wrong, either as a result of a slow process of failure due to poor materials or construction in the very beginning, or perhaps more sudden damage (like leaving a guitar in the hot car or subjecting an instrument to undue moisture). The strings will likely be raised much higher off the fretboard than they should be. In the simplest of cases, where glue failure is due to insufficient glue and/or loose bracing, glue and clamping may be all that is needed to restore a guitar to playability. In some cases, such as an oily bridge that glue is refusing to bond well with, or too large of a finish border beneath the bridge, it may be better to completely remove the bridge in order to first address those issues. The above are best case scenarios. It may be that the soundboard is too thin or is in process of shearing due to severe grain run-out, or the bracing is simply insufficient to prevent the buckling that is contributing to the bridge lift. More dramatic steps may be necessary to mitigate a catastrophe.
It bears repeating that the thickness of an acoustic guitar bridge, also referred to as its height, is not (rather, should not be) an arbitrary measurement! Employing a production-minded technique certainly not unique to Guild, many guitar makers of yesteryear assembled their instruments by first attaching the necks to the body, and then selecting/making/modifying a bridge to fill the space between the soundboard and the plane of the fretboard (already established by the attached neck). With bridge height being the only criteria, it is easy to understand (years later) why the same model instrument could have such significantly audible distinctions from siblings produced on the same assembly line.
The bridge of an acoustic guitar is a multi-functional component. The bridge is (typically) responsible for pinning the strings in place. The bridge supports the saddle. The bridge, the only exterior brace on the soundboard, in conjunction with the bridgeplate (for pinned bridges), forms a unit that is responsible for transmitting kinetic energy generated by the plucked string(s) onto and across the soundboard, which is sandwiched between the two. It is crucial for the mass of a given bridge (taking into account the mass of the bridgeplate beneath it) to be sufficient to drive the top, to set the soundboard in motion. It is quite easy to rob the sonic life out of a guitar by adding or modifying a bridge that is improperly sized. Too small or too light a bridge will produce a very weak output.
Likewise, too large/too heavy of a bridge can either act to dampen transmitted energy or completely overdrive the top.
Assuming the goal is to achieve the maximum sonic potential of a given soundboard, a crucial factor in determining the optimum size/mass of its bridge/bridgeplate is the overall stiffness of that soundboard after bracing. Overall soundboard stiffness will be determined by the material(s) used in the construction of the soundboard, as well as by the pattern, dimensions, and stiffness of the bracing.
The bridge must first be matched to the soundboard on which it will reside, and then the neck geometry can be determined. Not vice-versa.
If, in order to stave off the apparently inevitable neck reset and to keep the instrument playable, overall string height has been lowered by reducing the bridge’s height (by planing or "shaving"), it is quite possible that the bridge is now undersized. This typically translates into a quieter, lackluster sounding guitar. Efforts to improve the tone and/or volume, such as increasing the string gauge (moving from lights to mediums, or from mediums to heavy gauge), replacing plastic bridge pins with bone, or replacing bone bridge pins with brass or titanium, will be short-lived solutions. The fix is in - to restore such a guitar it will now be necessary to remove both the neck and the bridge, pair a new bridge (and possibly bridgeplate) with the soundboard, and reset the neck.
Bellying describes a condition where the lower bout section of the soundboard, the part directly behind the bridge, is pulled markedly upward by the tension of the strings. This is typically the result of the bridge rocking slightly forward, and can be due to several factors:
Bridge lift may accompany bellying, though not always. Is bellying ever acceptable? More than one luthier thinks so, with the maxim, "No belly, no tone" being echoed by both pros and novices, alike. If so, how much bellying is “too much?” Slight to modest bellying is simply the result of the pull of the strings on the bridge and the related structural integrity of a given guitar that resists the tendency of that string pull to fold the instrument in half. So long as everything stays in place, all is well and may remain so for the life of the instrument.
However, if the belly increases, it is quite possible that something is (or several "somethings" are) wrong. The string action will have been raised, as either the bridge is now tilting forward like a surfer catching a wave, or the entire soundboard is lifting. Resetting a neck on such an instrument may be a short-lived solution, as that belly may not be done lifting. Prior to assuming a neck reset is immediately necessary, it may be prudent to first address the belly bulge. Where bellying is the result of components having shifted away from their original positions, it is possible to "flatten" that belly using heat with a series of cauls. Sometimes bracing can be (or should be) re-glued and this is sufficient to deflate a bulging belly. Where bellying is the result of insufficient bracing and/or a soundboard does not have sufficient stiffness to stay flat, more drastic measures may be called for. Only after addressing bellying should you proceed with a neck reset.
Contrast the Fender Stratocaster with the Gibson Les Paul. Again, the longitudinal axis of the body is shown in by the green line, and the red line follows the string path. Note how the neck deviates from the longitudinal axis of the body, and the headstock deviates from the longitudinal axis of the neck. Compared with the Strat, the "chord" formed by the string path in relation to the longitudinal axis of the neck/body unit demonstrates a sharper angle of incidence.