
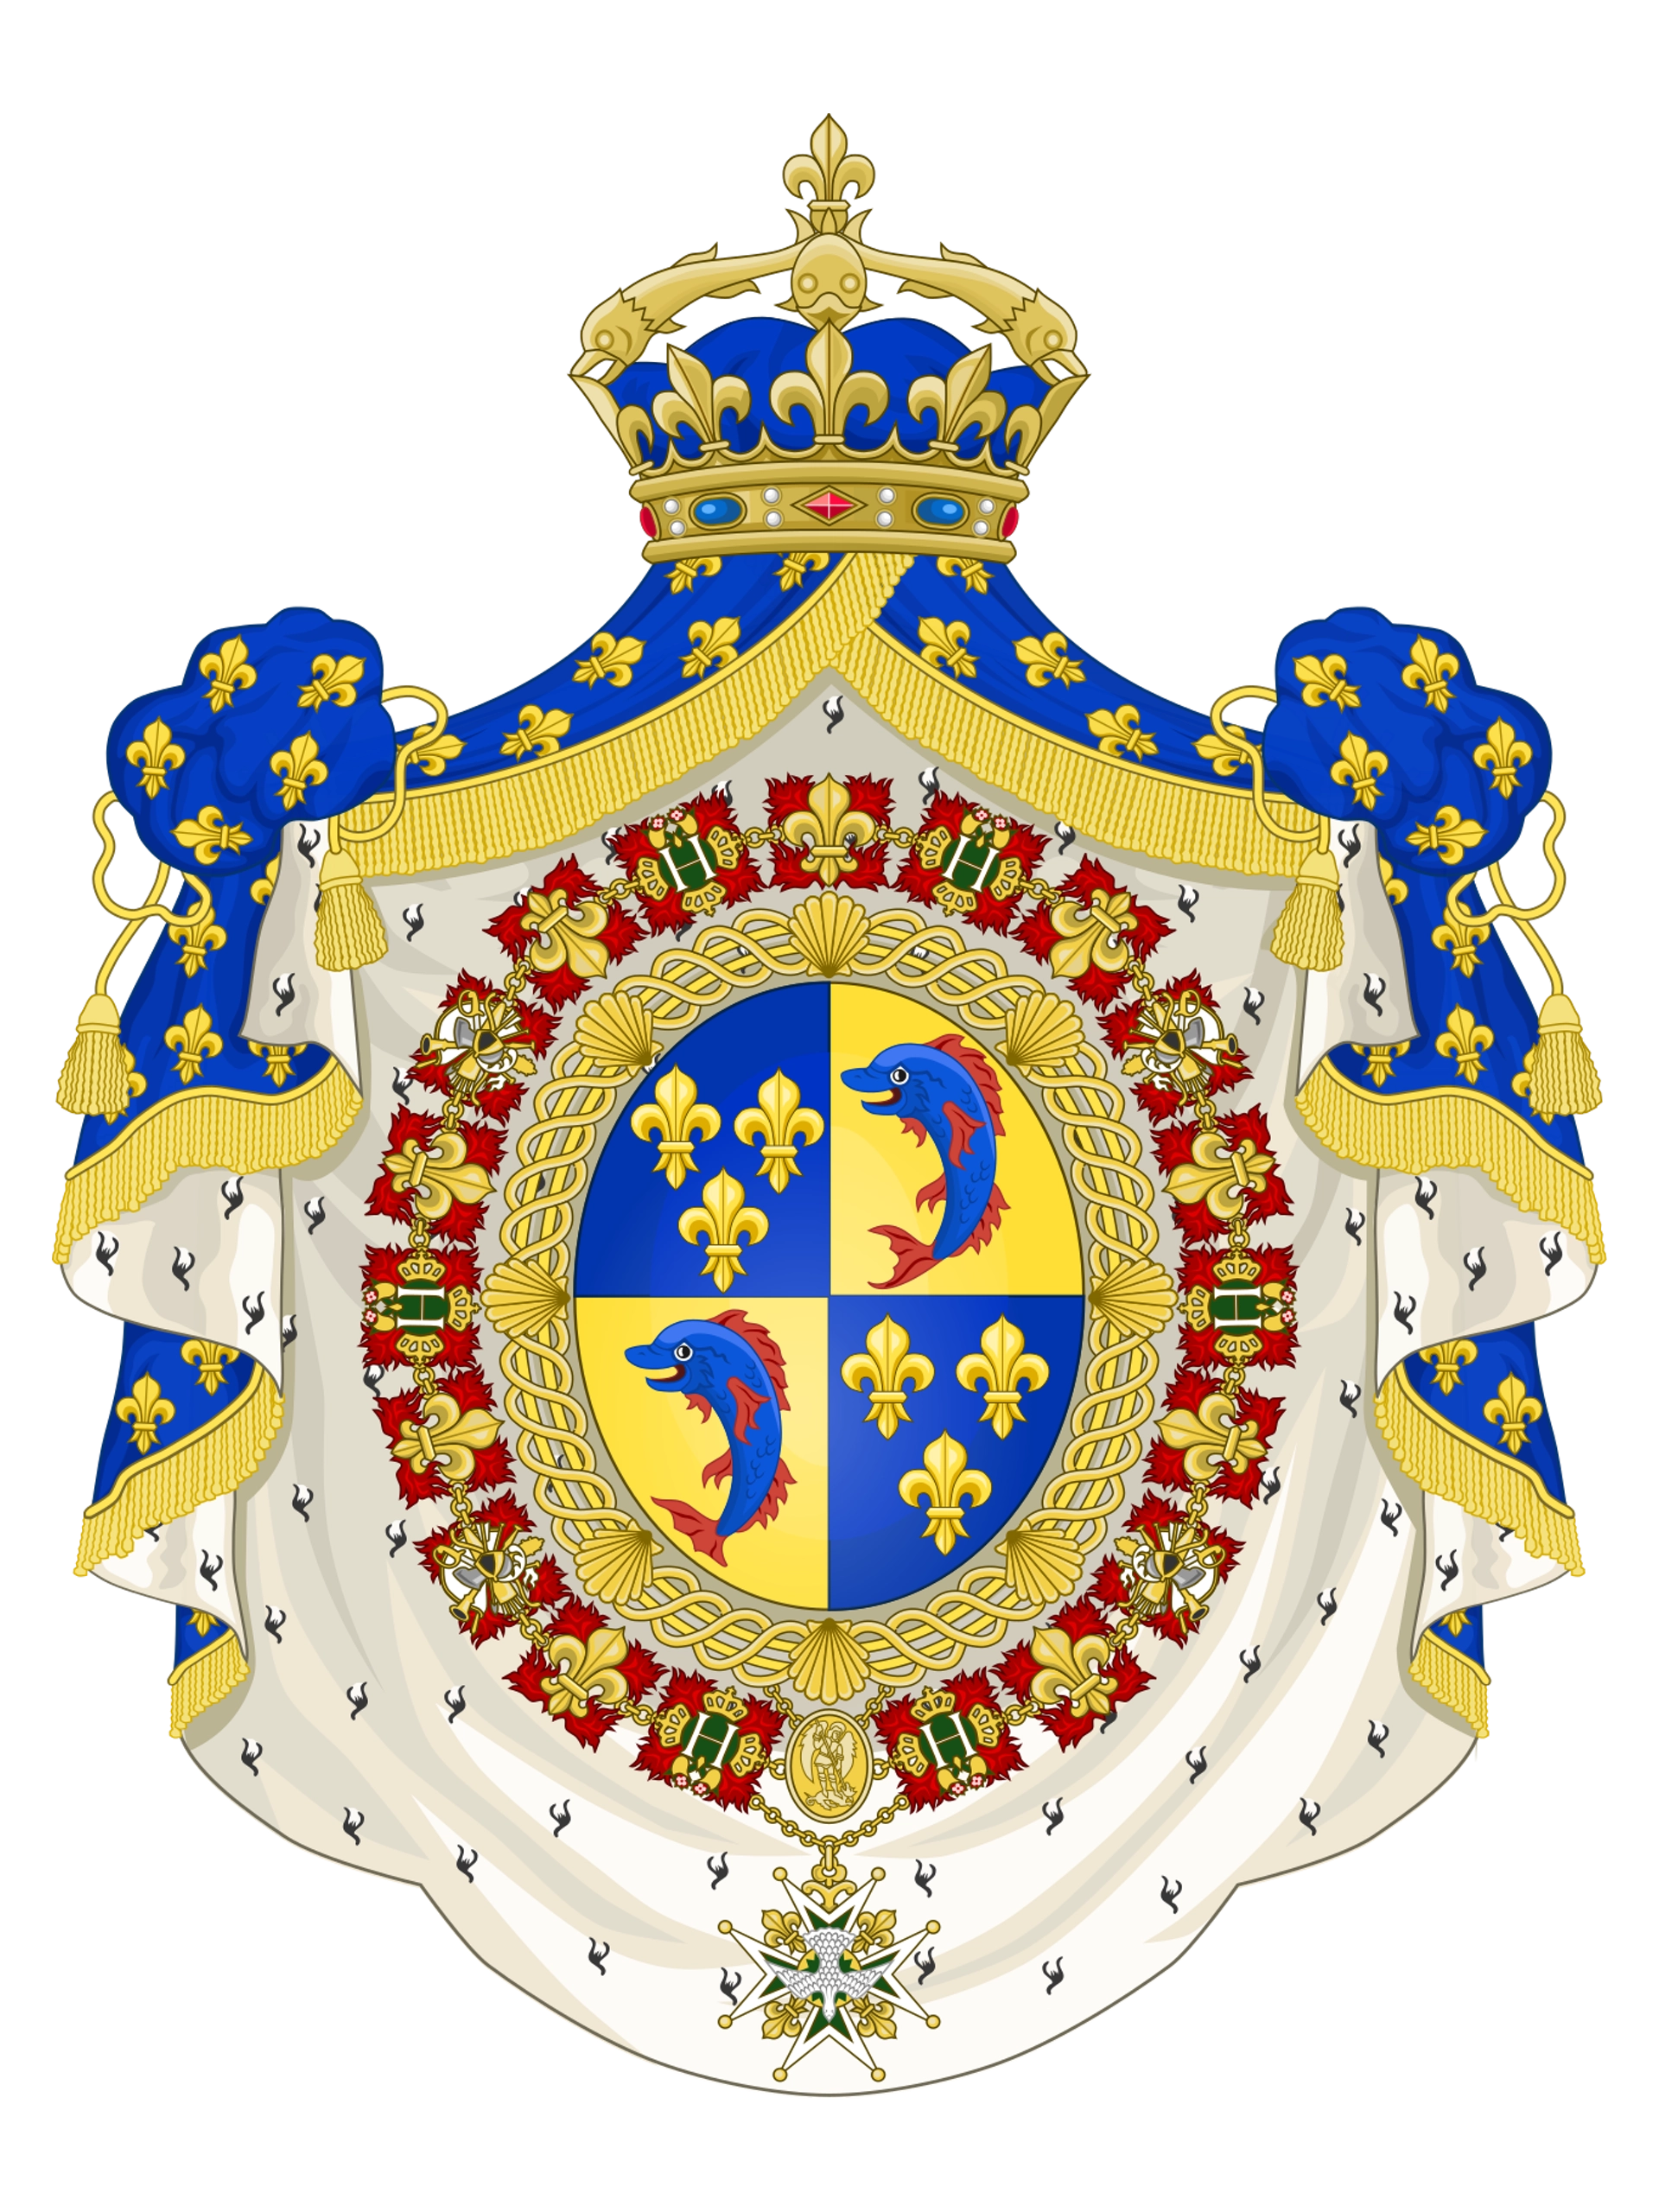
The French word dauphin translates into English as "dolphin" and is pronounced similarly to "doo-fun." For nearly 450 years, le Dauphin was the formal title given to the heir apparent to the throne of France. According to the story, it all got started with the Count of Vienne, Gigues IV, being nicknamed "Dolphin" as his coat of arms prominently featured the mammal. Today's departments of Drôme, Isère, and Hautes-Alps, located in southeastern France, and once known as the province of Dauphiné, all continue to sport a dolphin on their respective flags and coats of arms. At some point, a very wise Dauphin of France added the fleur-de-lis to the dolphin, and the official coat of arms of the Dauphin of France was born.
Perhaps you can see the shape of the playful dolphin in the lines of my Shoulder Port.
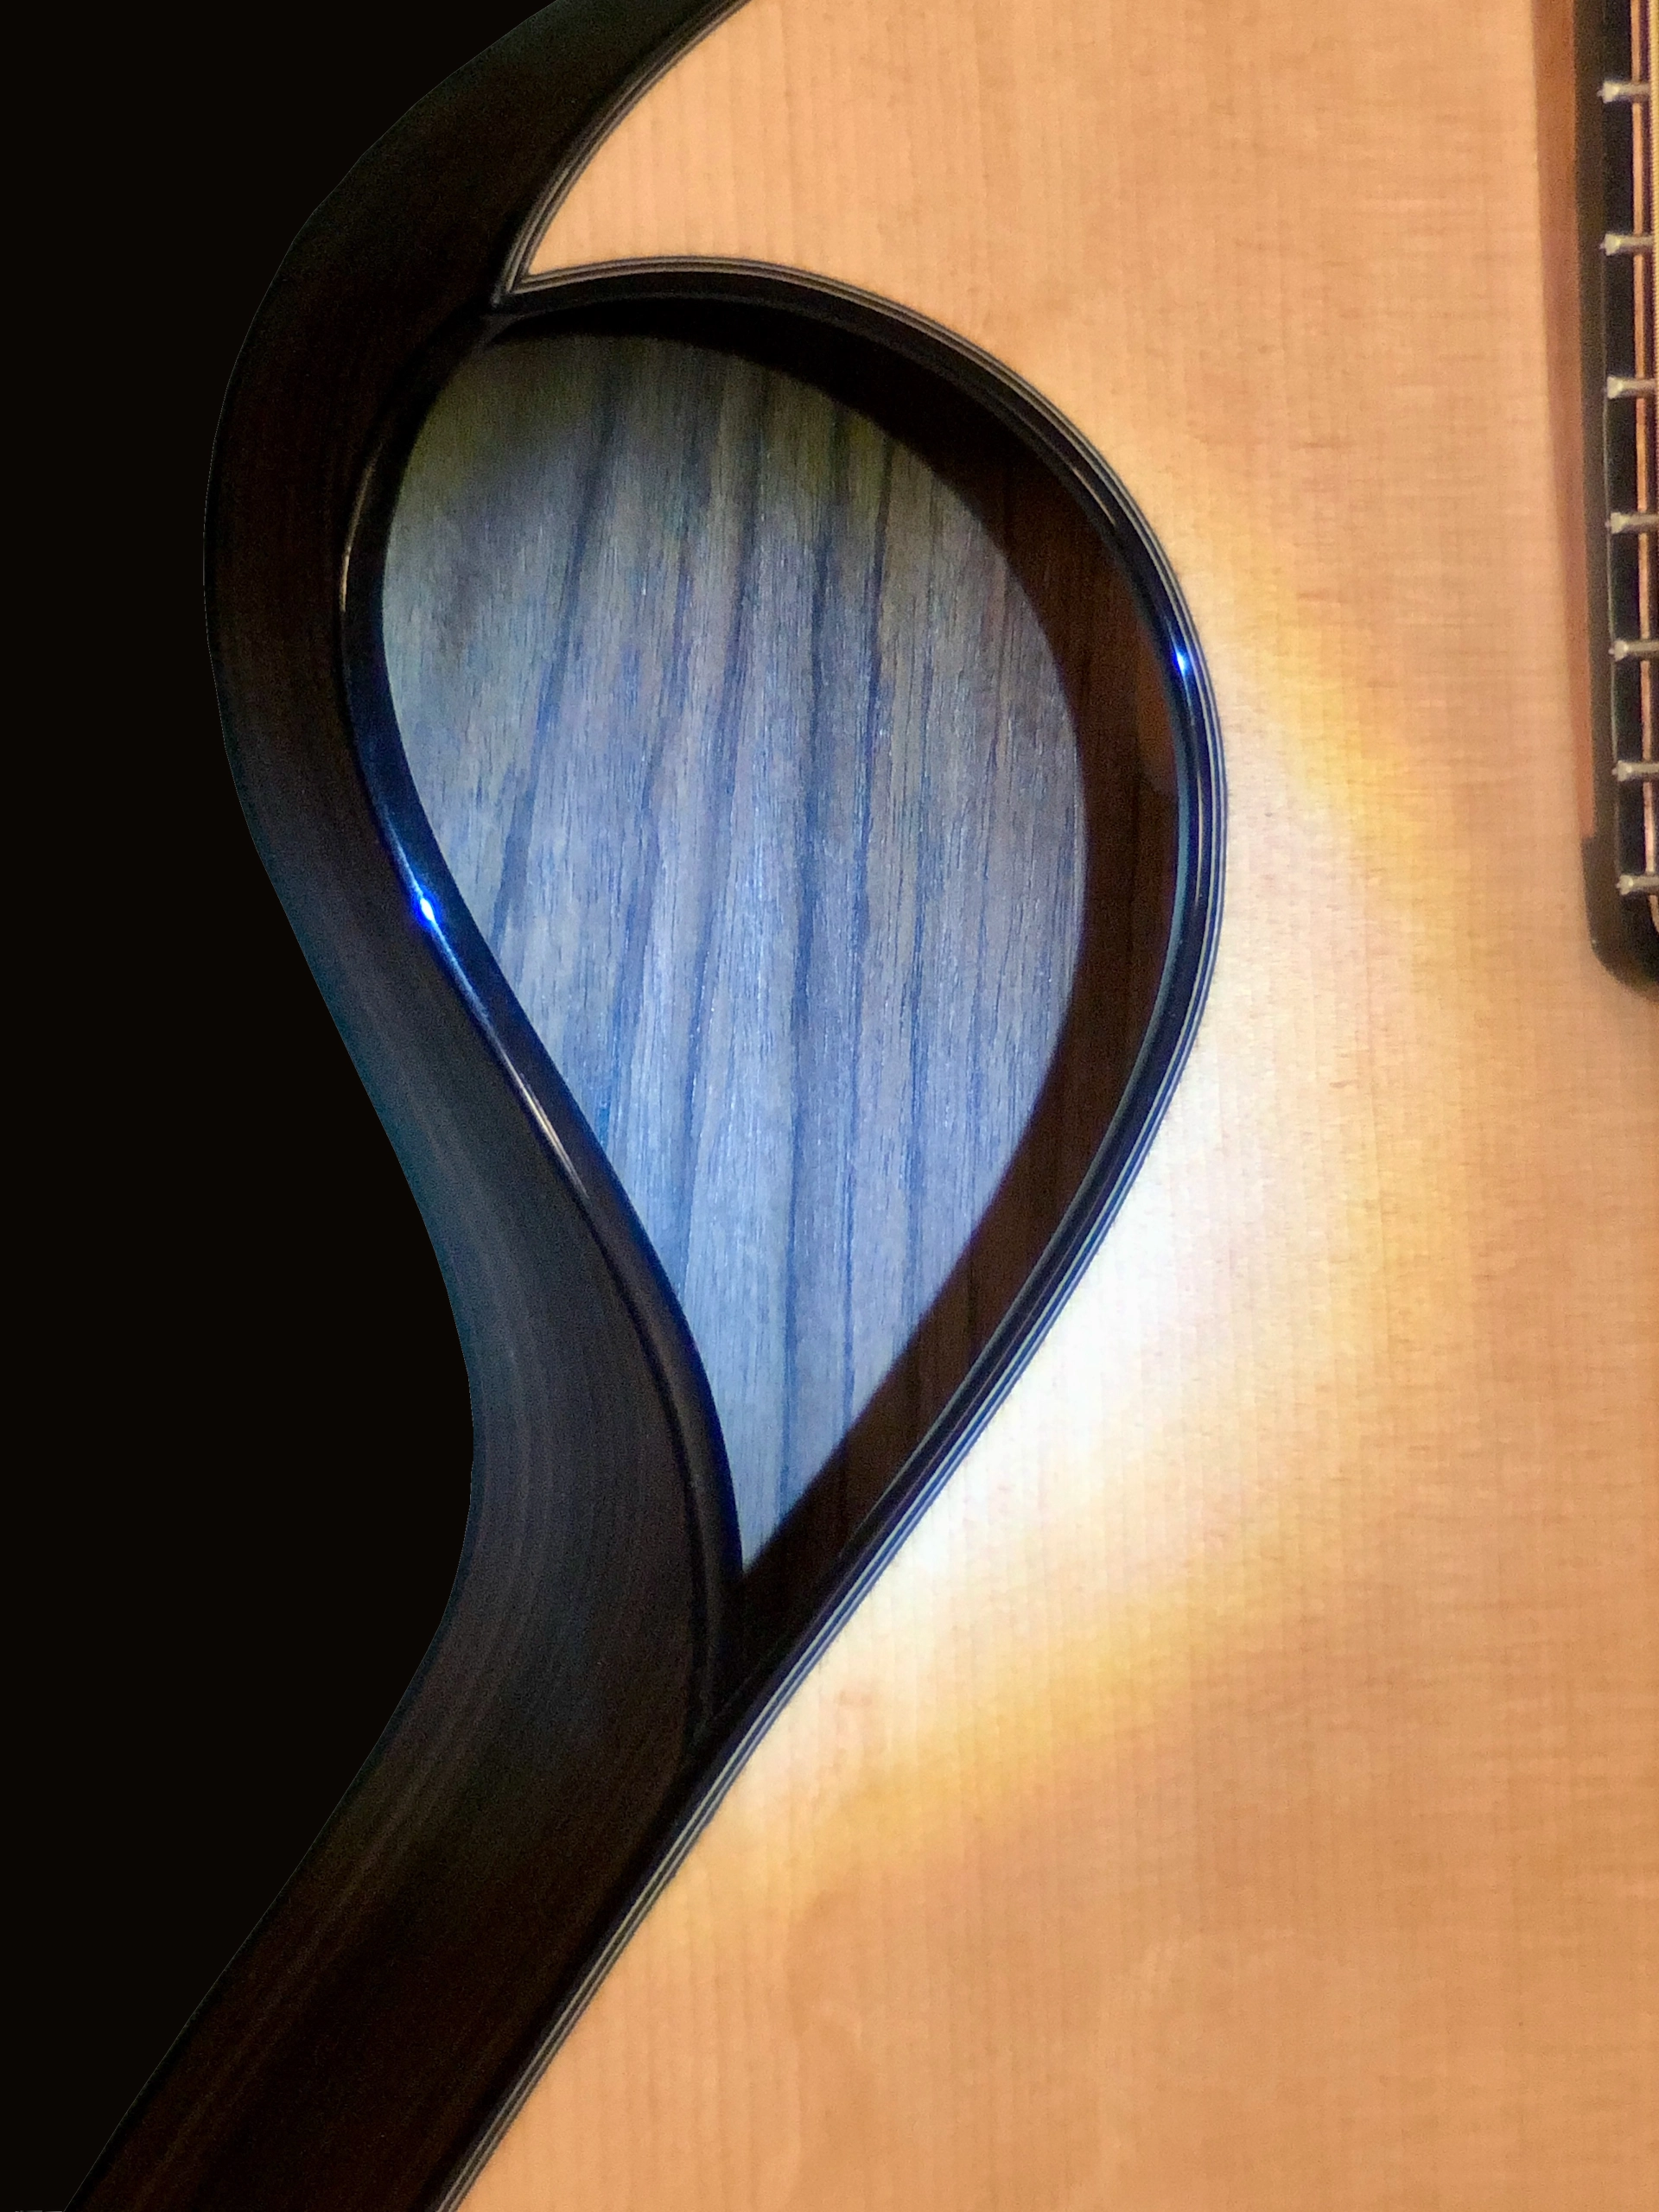
Dauphin Shoulder Port
If not, surely you will recognize the fleur-de-lis inlaid into the back.
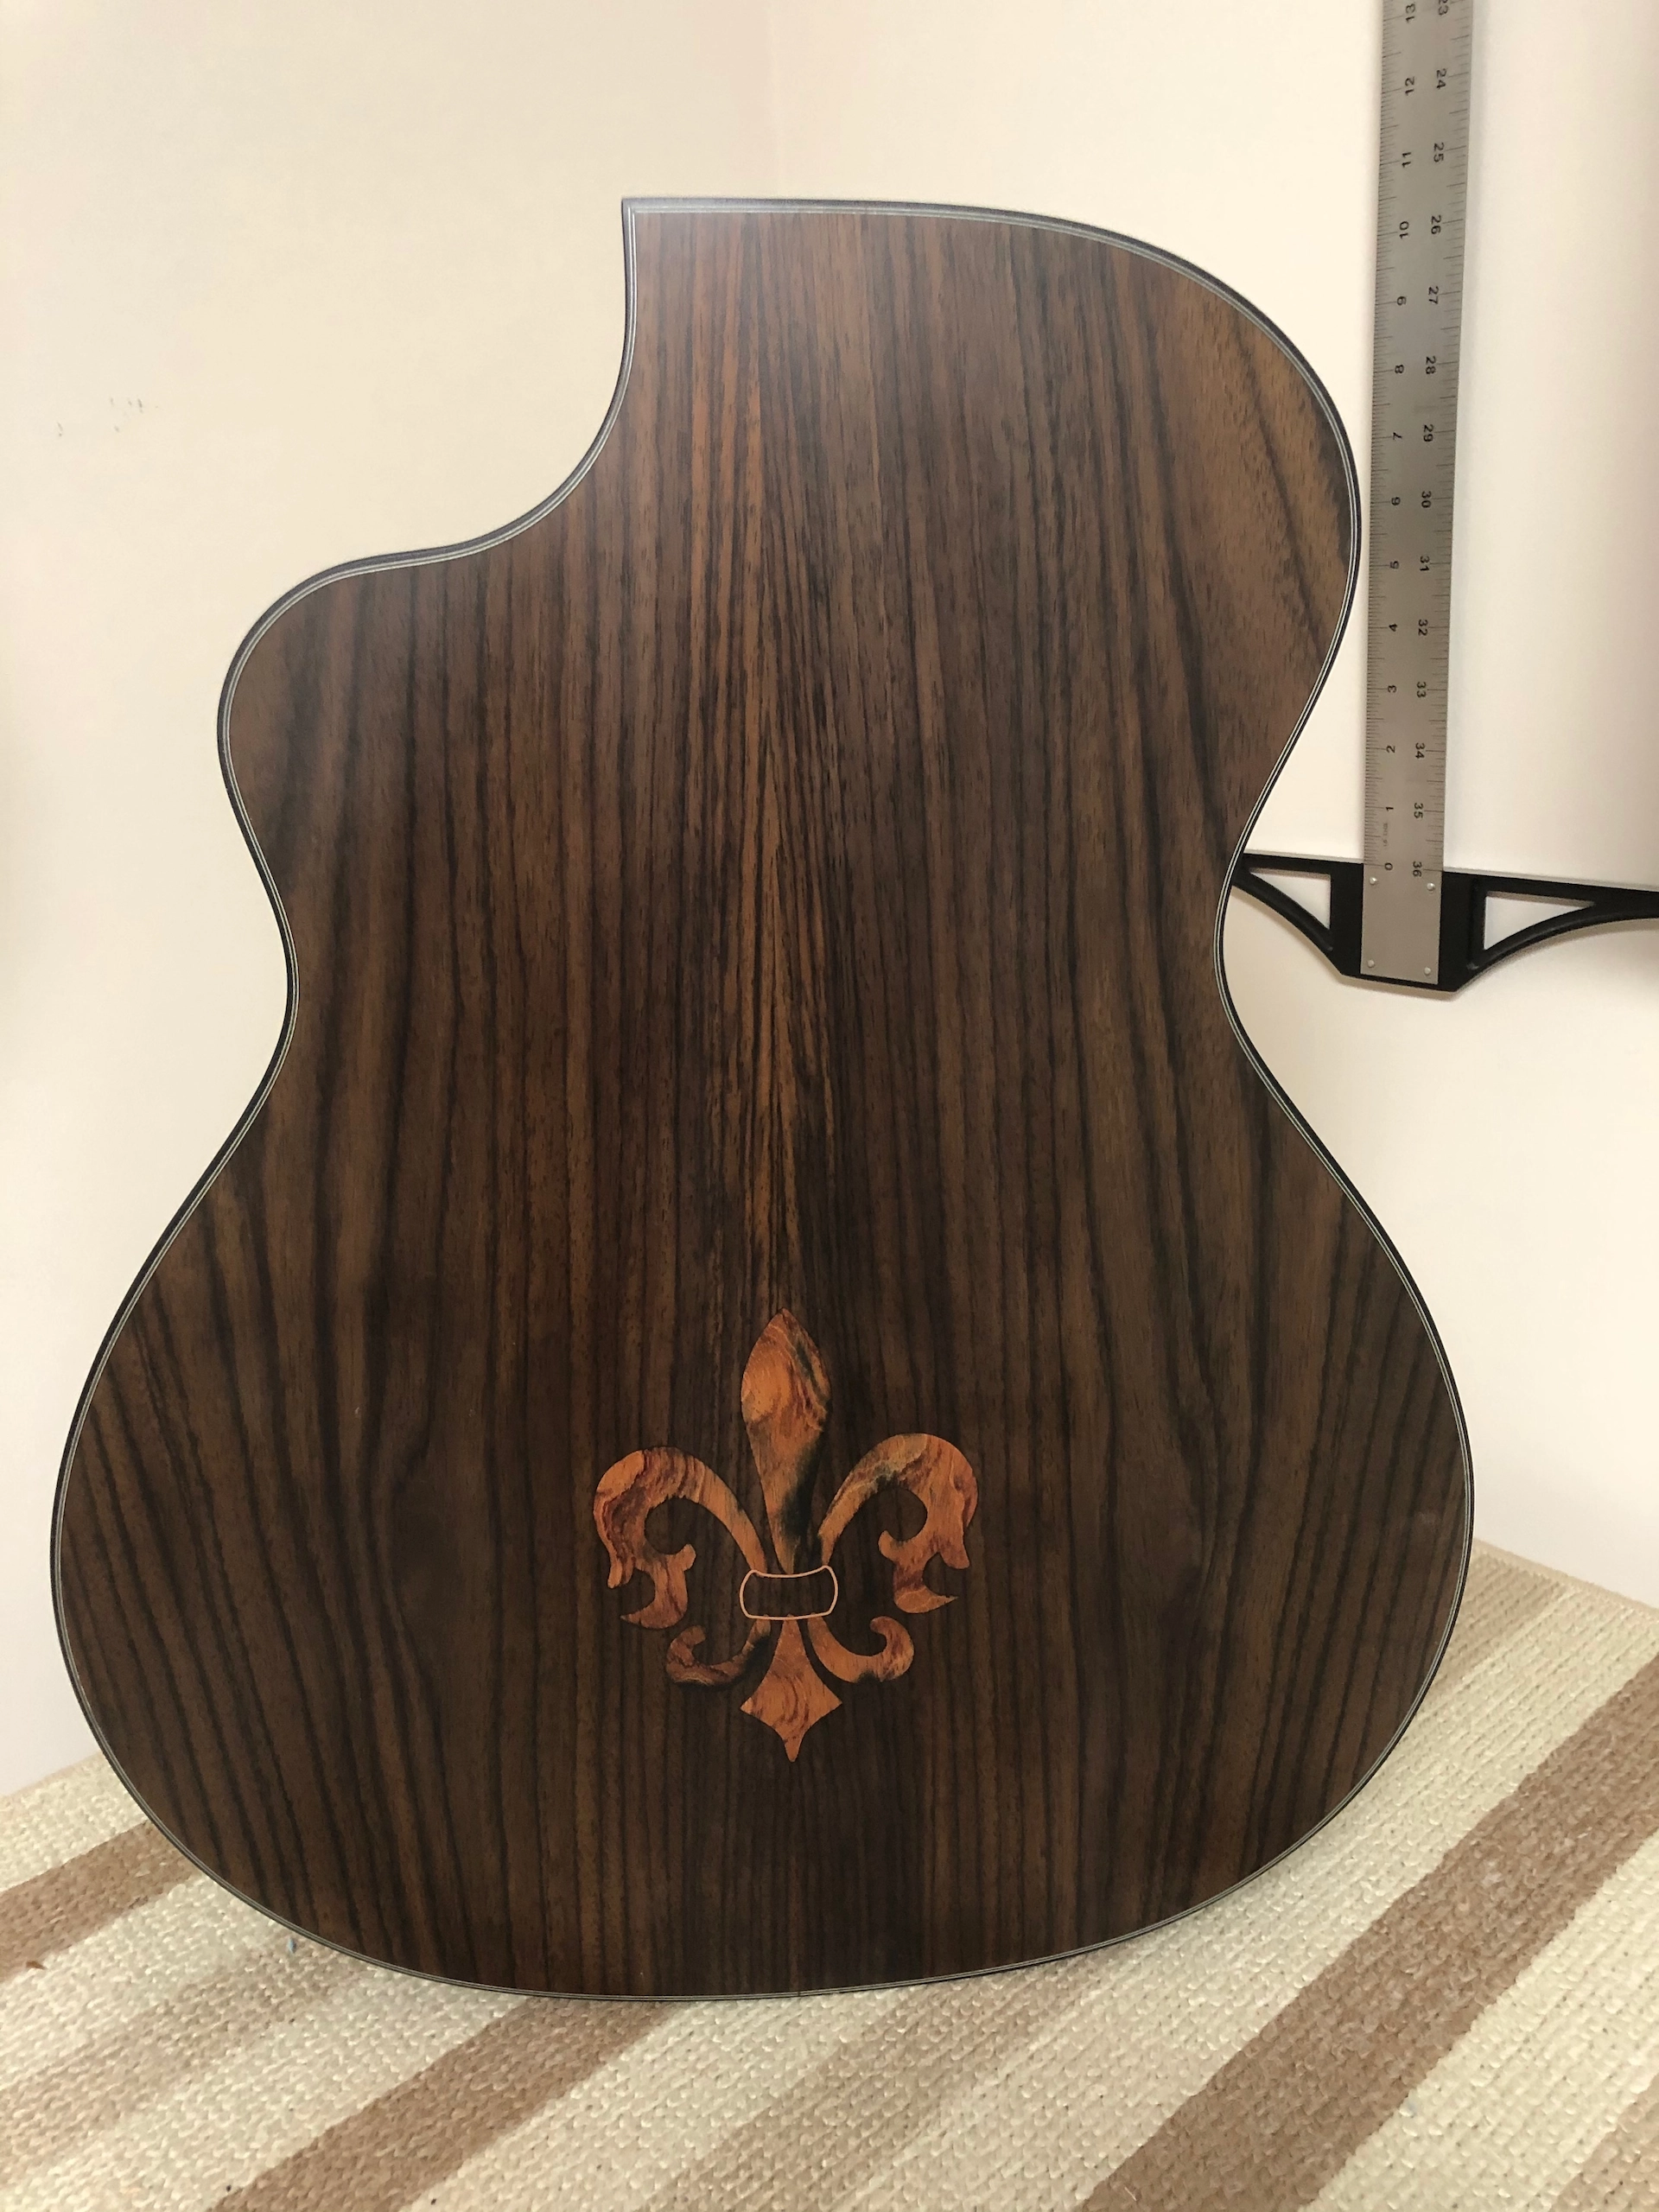
Dauphin Fleur-de-lis
For this build I have selected a highly figured Claro Walnut for the back and sides.
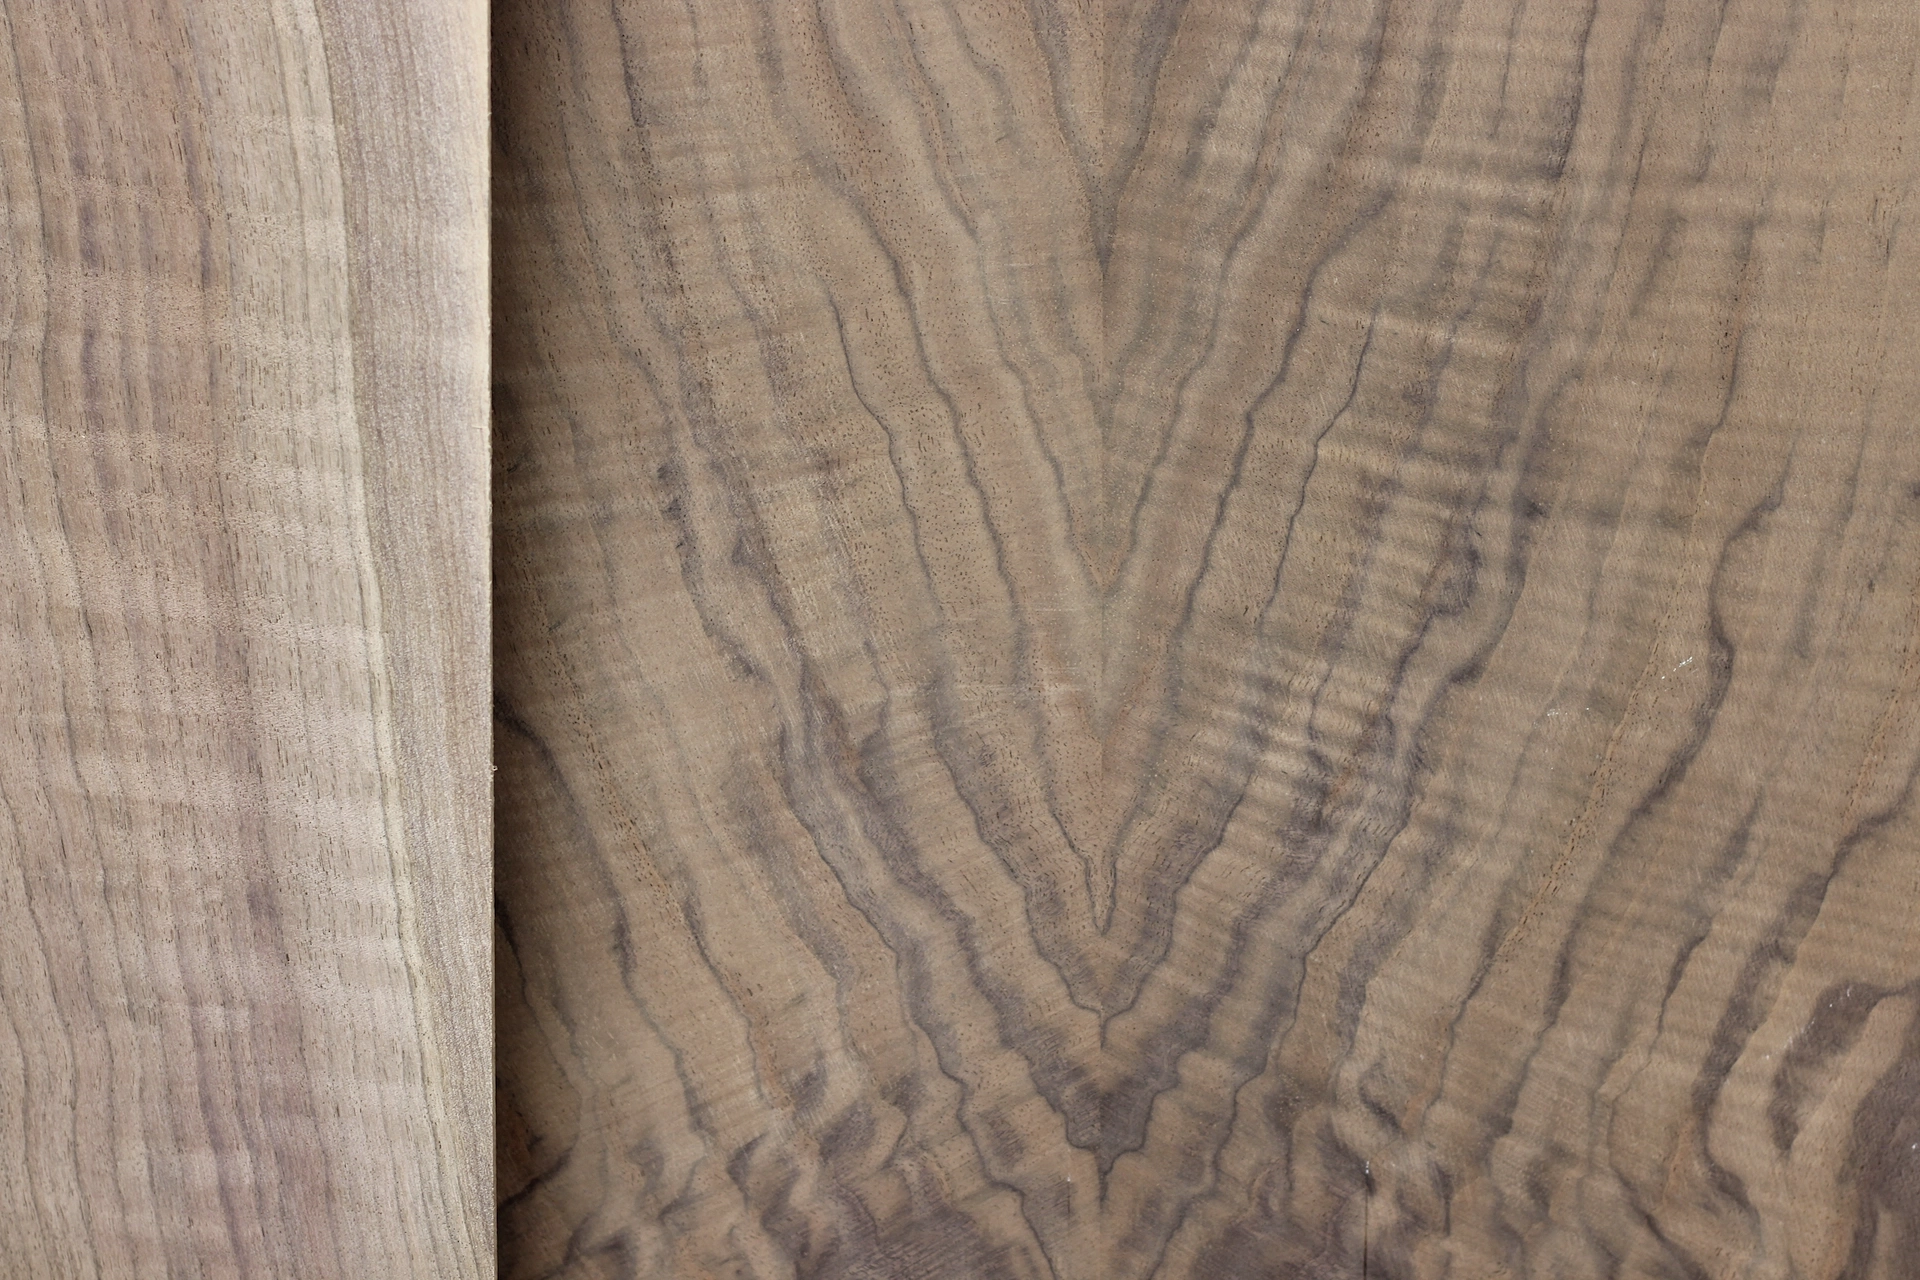
Claro Walnut Back and Sides
For the soundboard I have selected a lovely Sinker Redwood that is simply alive with sound.

Sinker Redwood Soundboard
Aesthetically, the straight grain nicely offsets and balances the figure of the Claro Walnut.
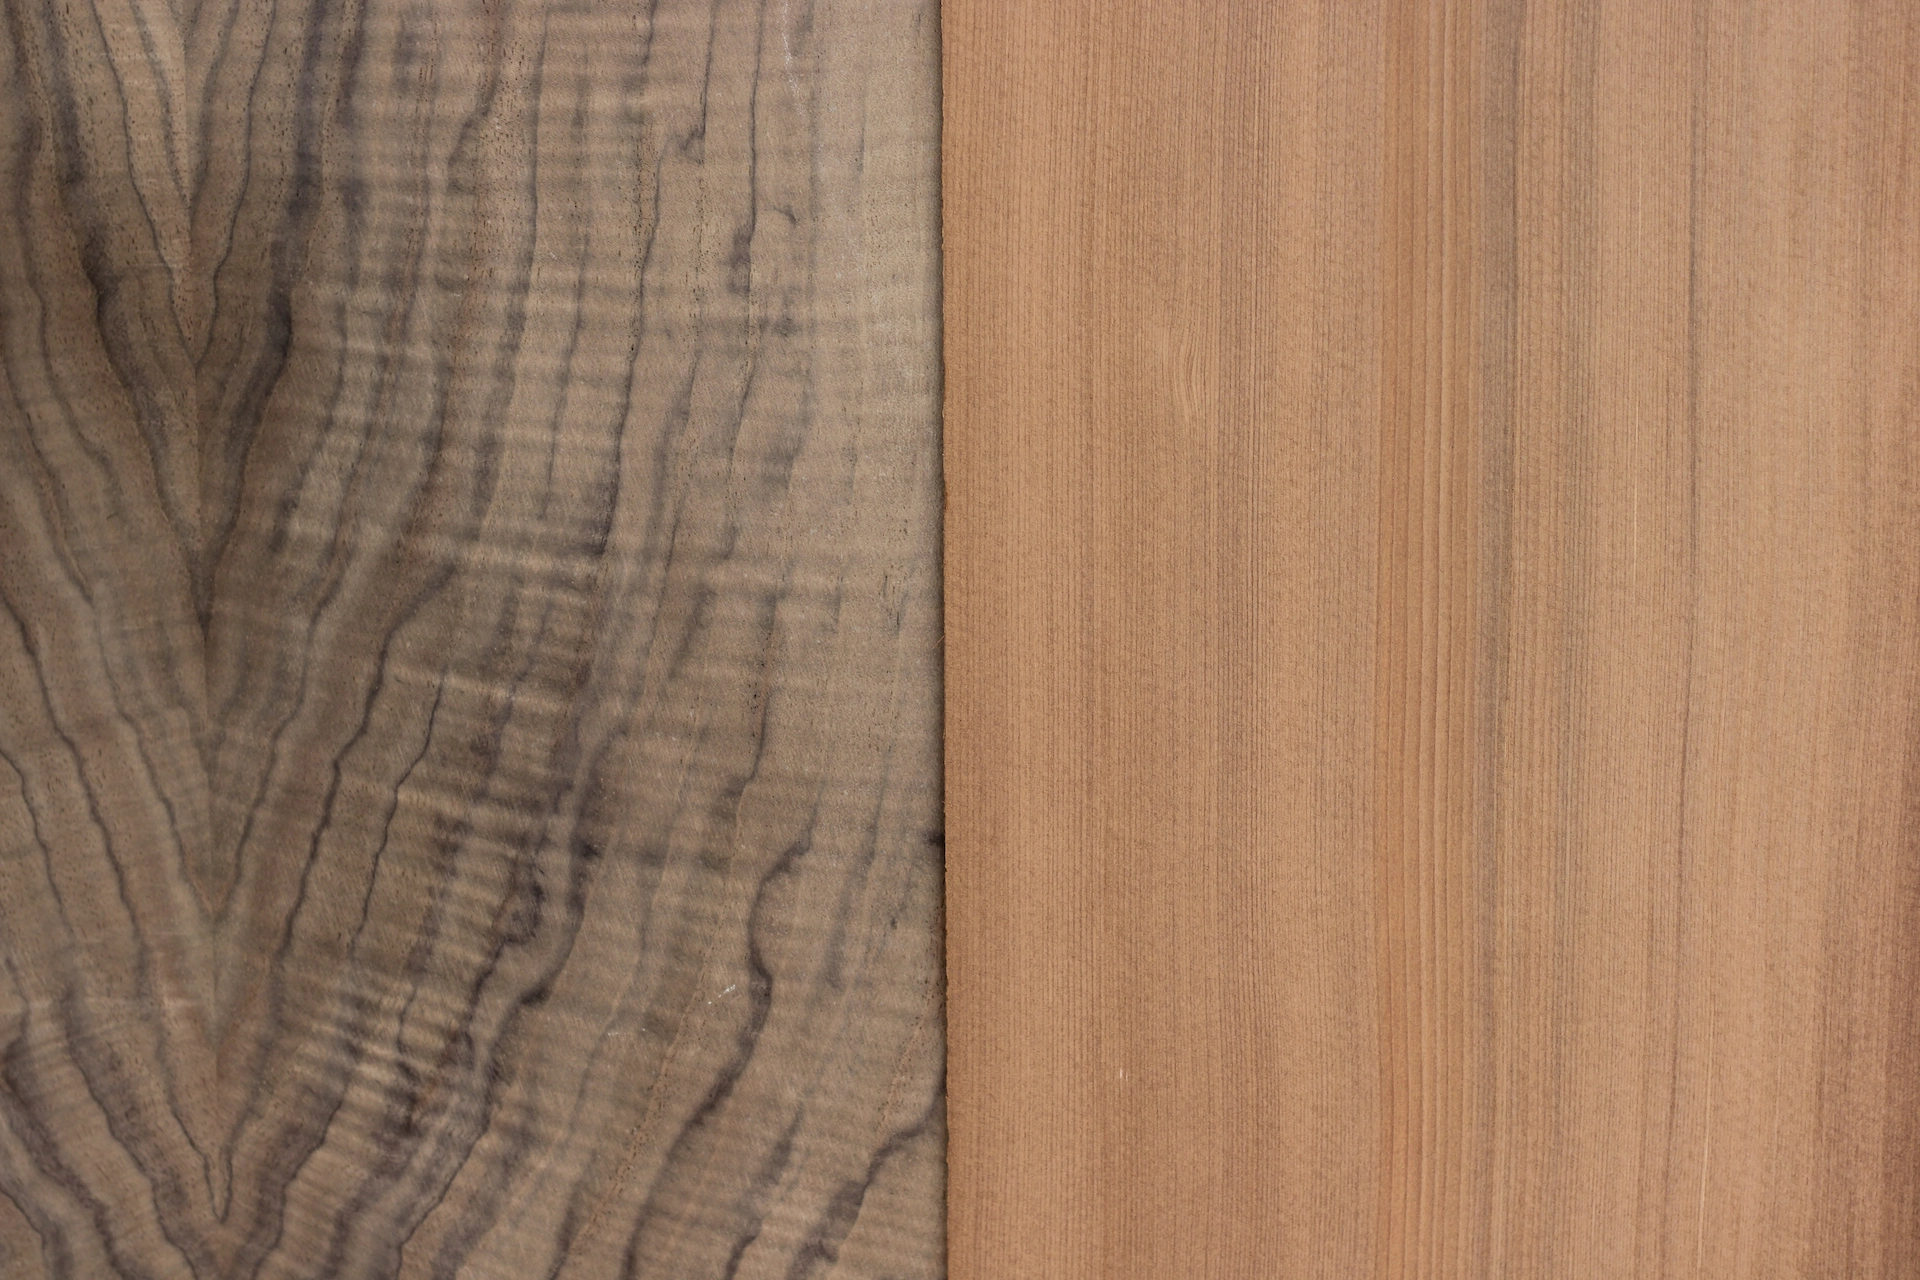
Calro Walnut and Sinker Redwood
I am considering a Bloodwood theme for the Bridge, Fingerboard, Headplate and Binding. I am thinking about limiting the purfling to Paua only. Let's see how this develops...
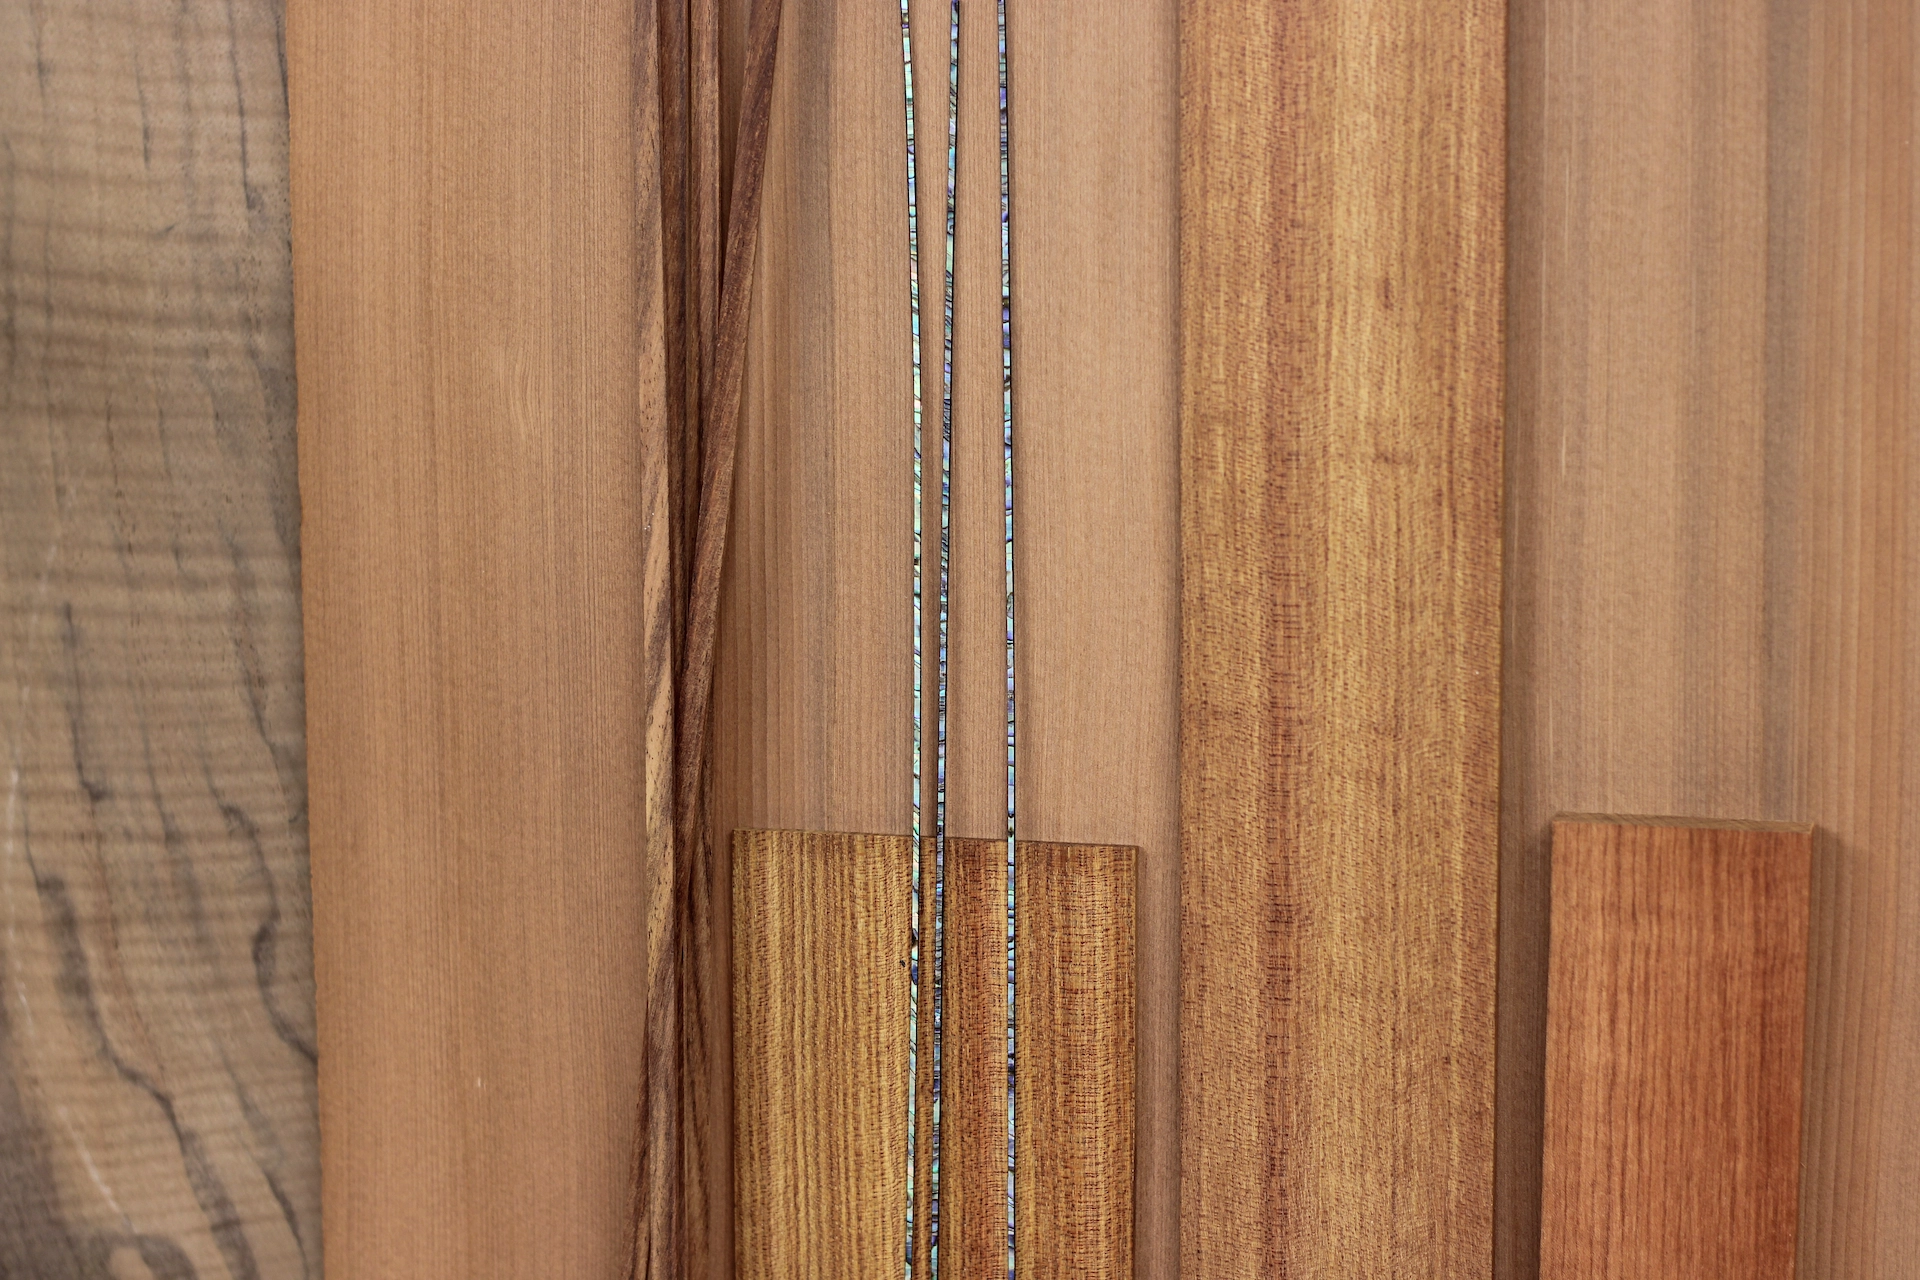
Bloodwood accented with Paua
Walnut is a joy to bend, whether by hand or in a bending machine. The latter simply ensures a more consistent appearance, from guitar to guitar. This instrument is a cutaway design. As a result, the contours of one side differs from the other. I have constructed various forms to accommodate the differing contours.
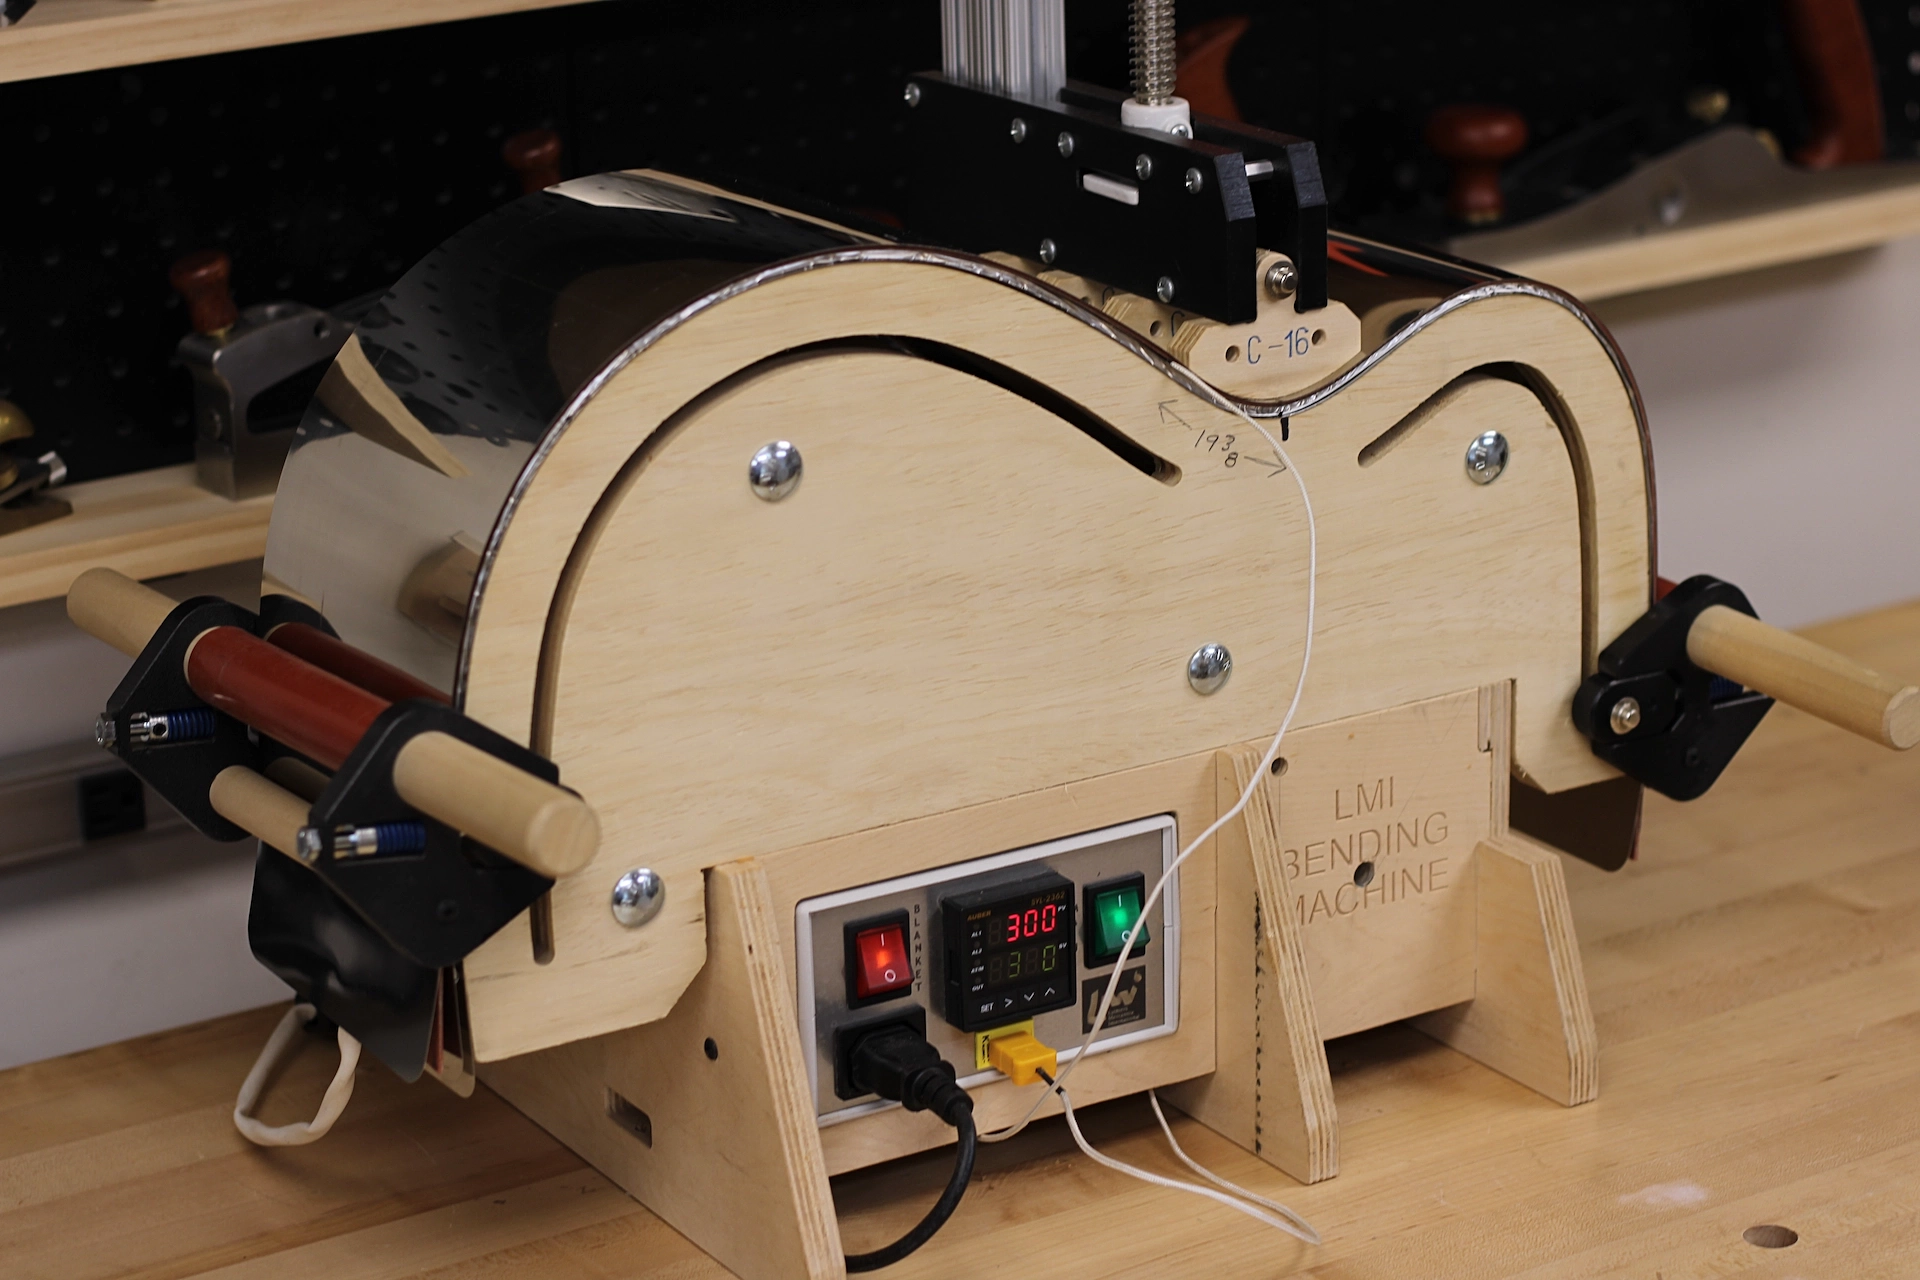
Bending the Side
After the side is bent, it will retain its new shape... for awhile, that is. It is wise to secure the bent sides into a body mold, yet another form that is designed to hold the shaped wood in place throughout the body construction process. Not doing so presents a host of additional challenges, not the least of which being you may end up with a wonky shaped guitar. Of greater concern is that any attempt to correct the shape by forcing attachment to the front and back plates will introduce unwanted tension into the instrument, affecting both its performance and its longevity.
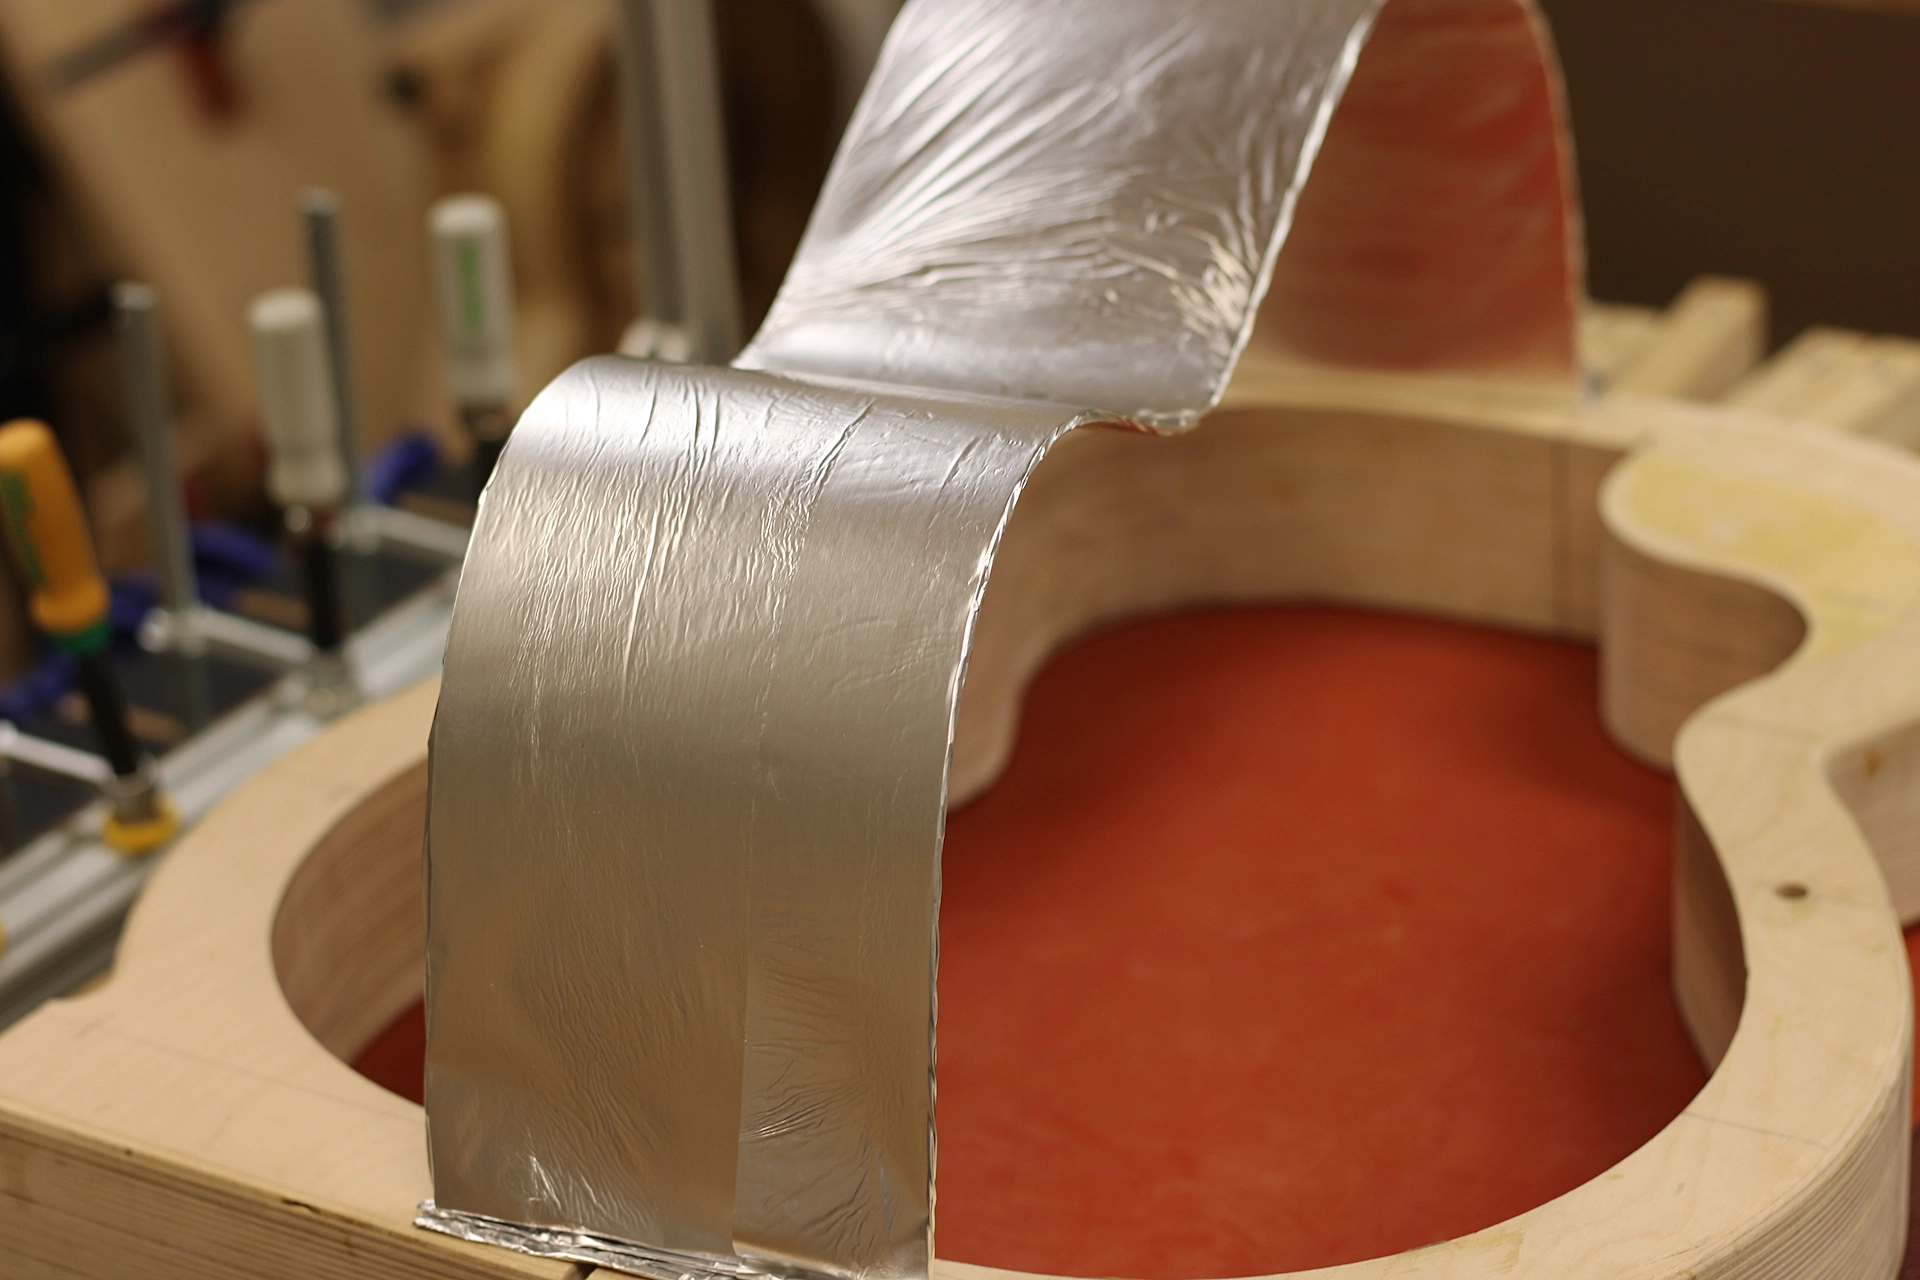
Bent Side with Body Mold
After swapping out the form in my old faithful (and customized by me) LMI side bender, I carefully shape the cutaway side, and let it cool completely before removing it.
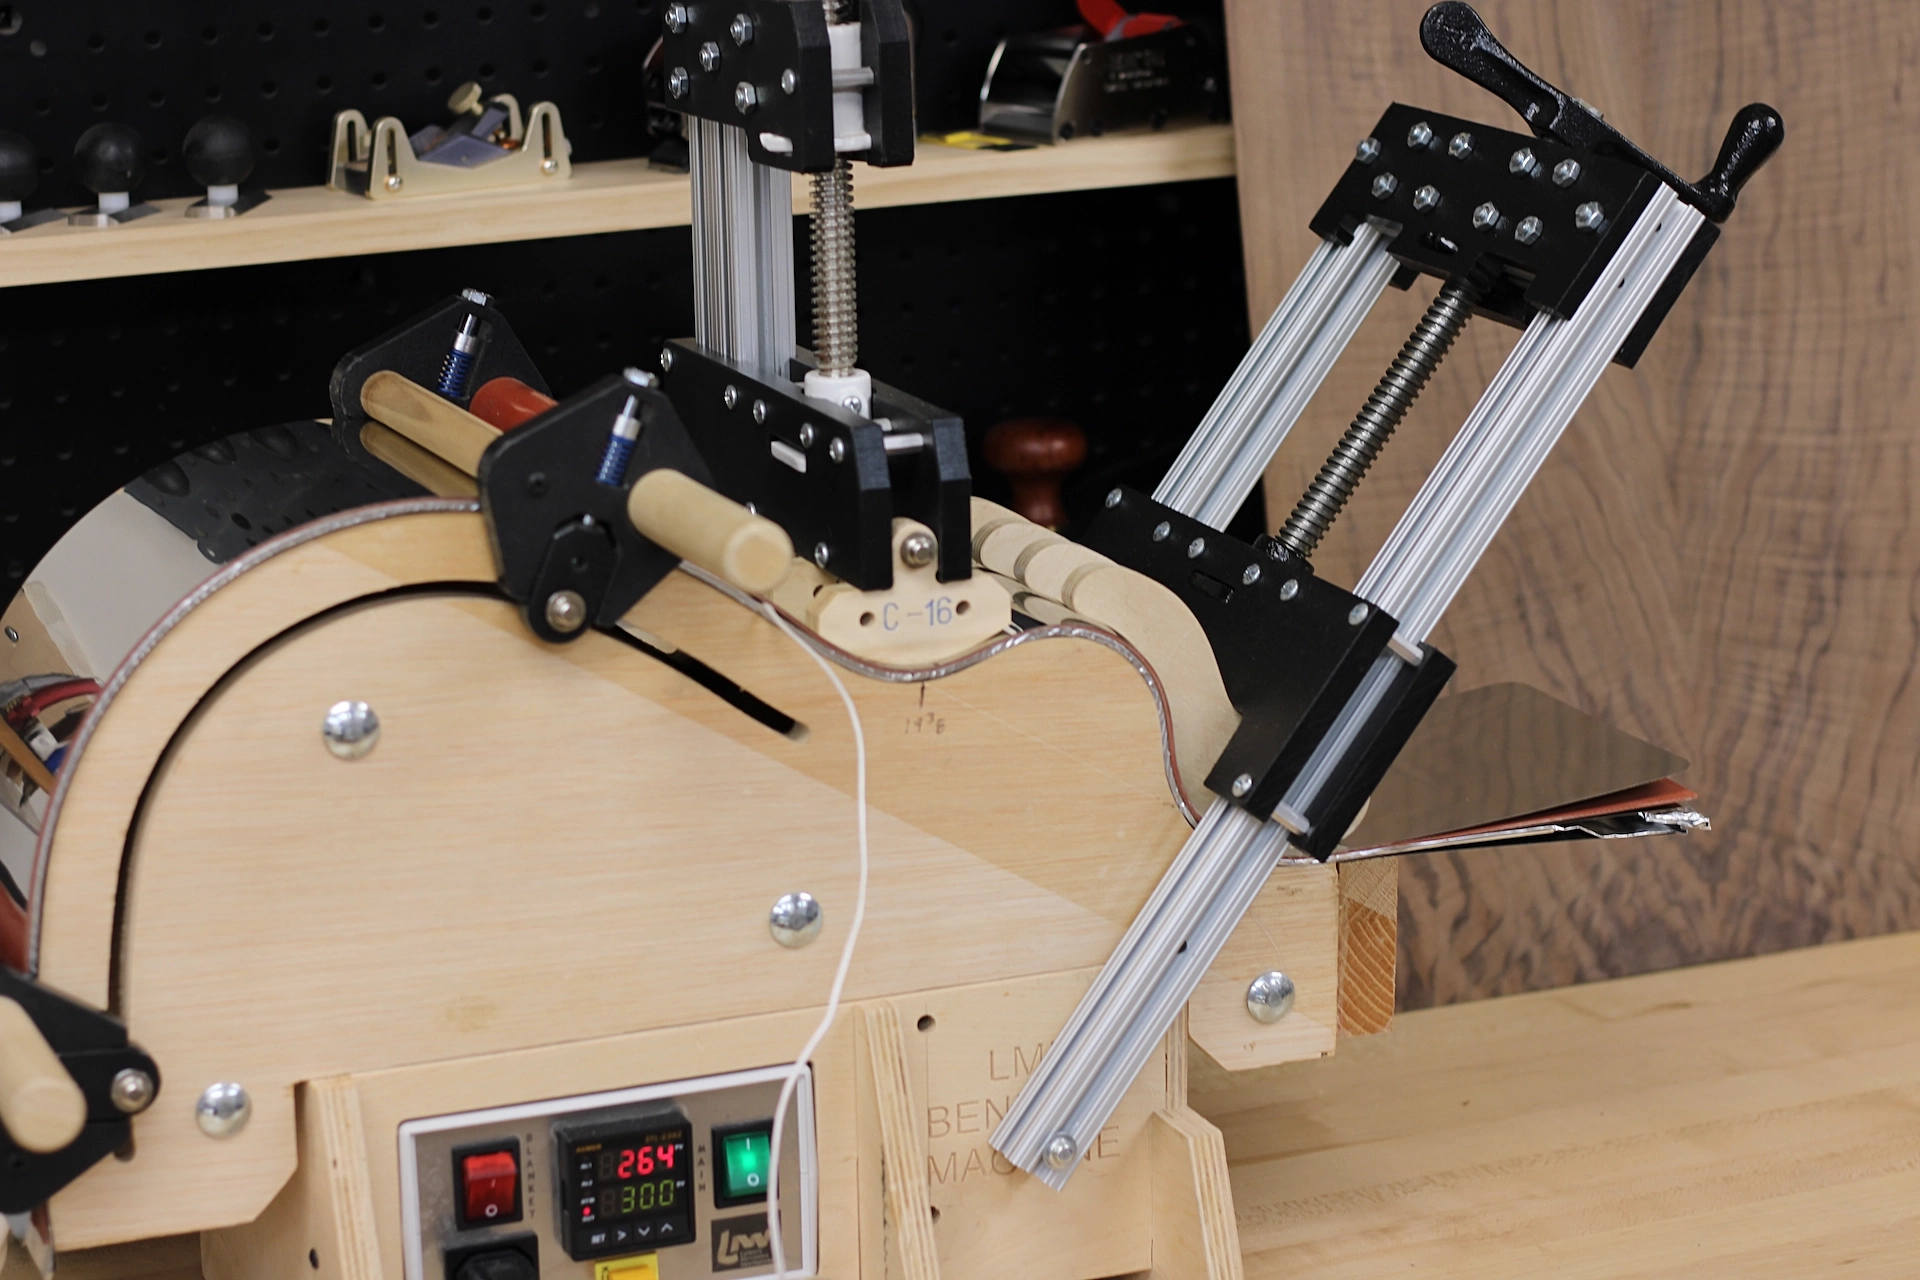
Cutaway Side, Cooling Down
I construct a laminated tail block from Spanish Cedar. I begin with a rectangular block and rip it lengthwise into three pieces. I cut the center slice in half, rotate both pieces 180°, cut a lap joint into them, and sandwich those pieces between the first and third slices.
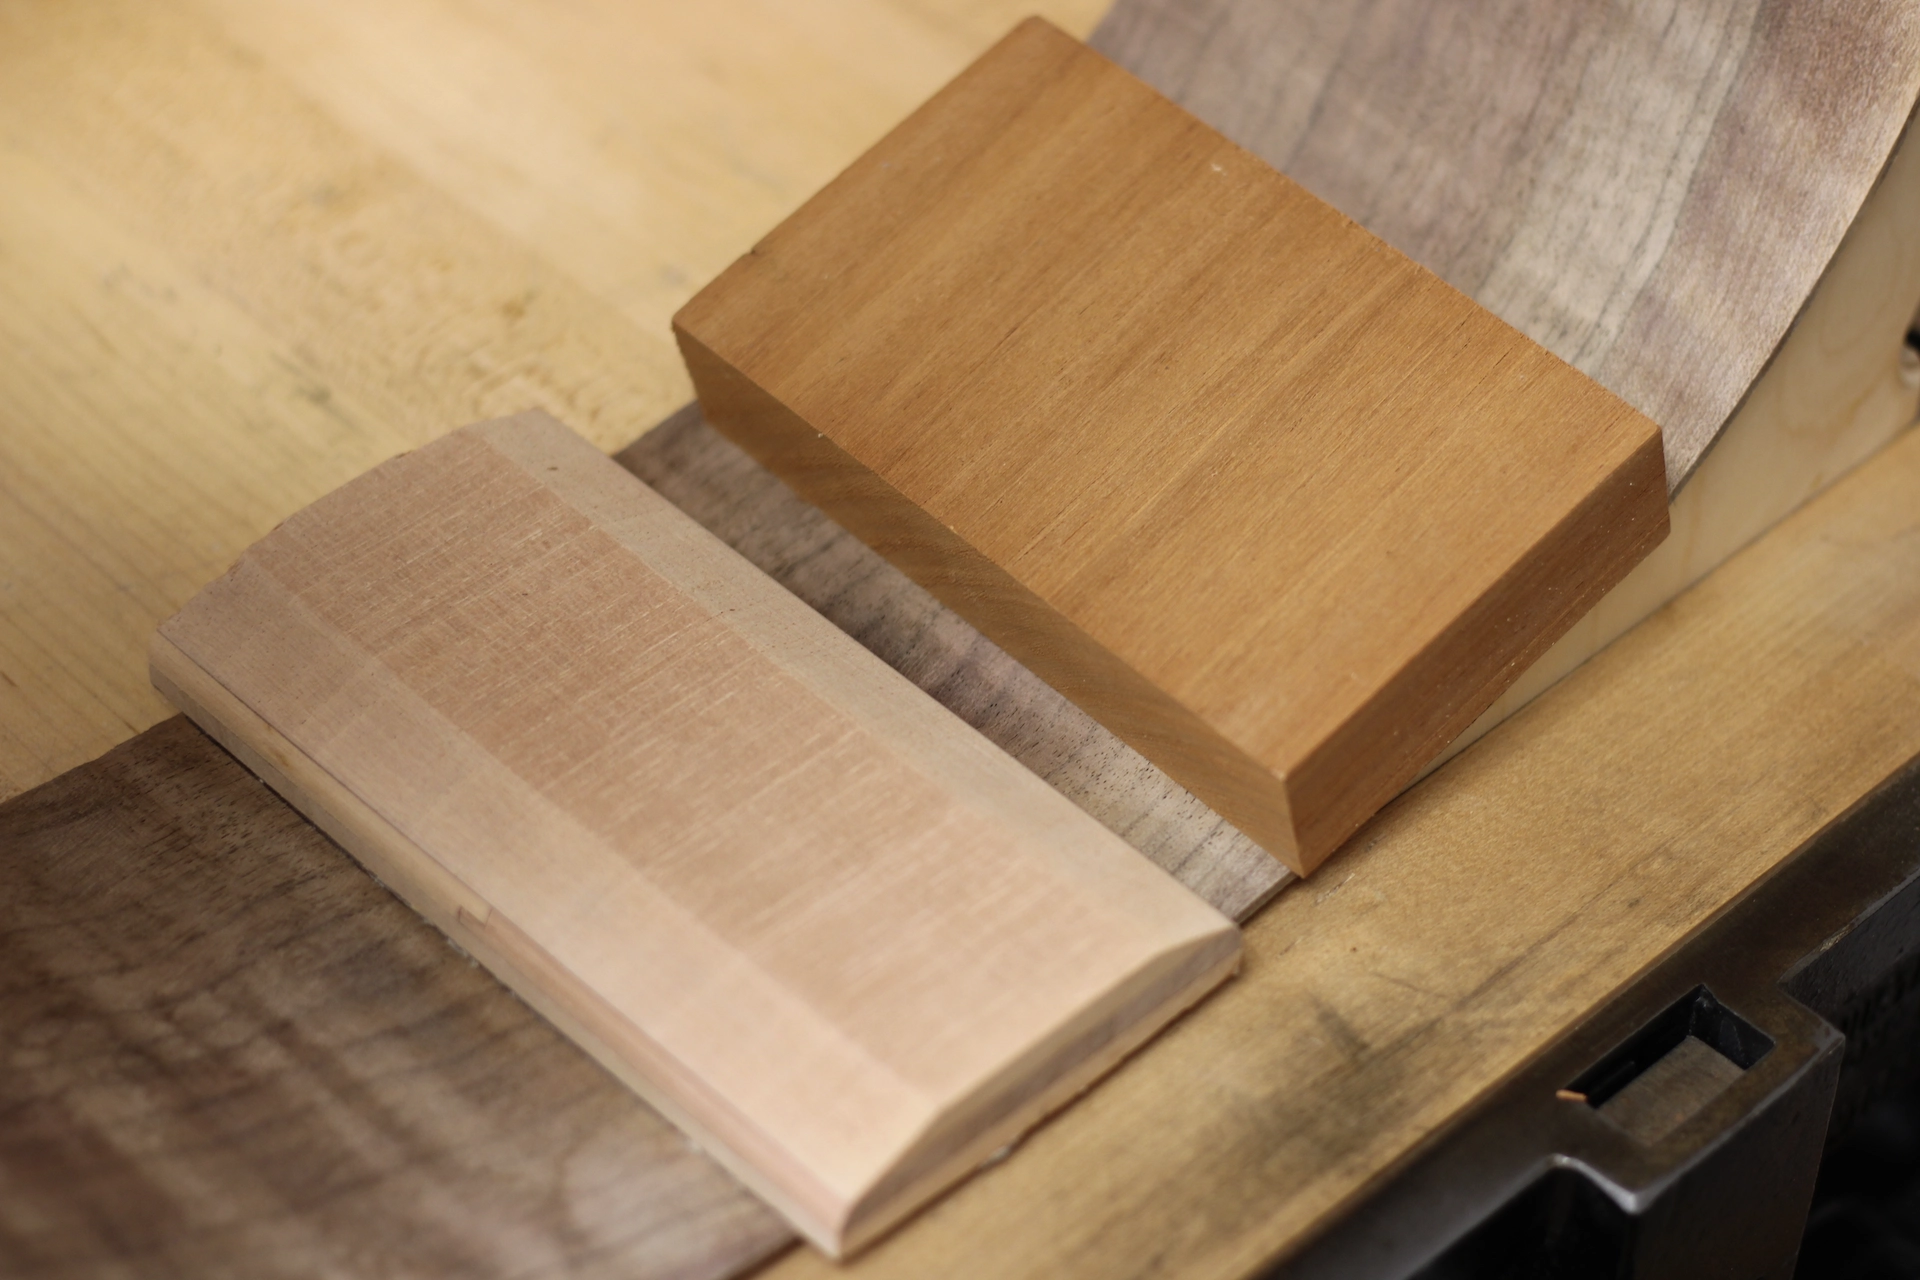
Tail Blocks Compared
The result is a laminated tailblock having cross-grain direction that resists telegraphing its shape into the soundboard.
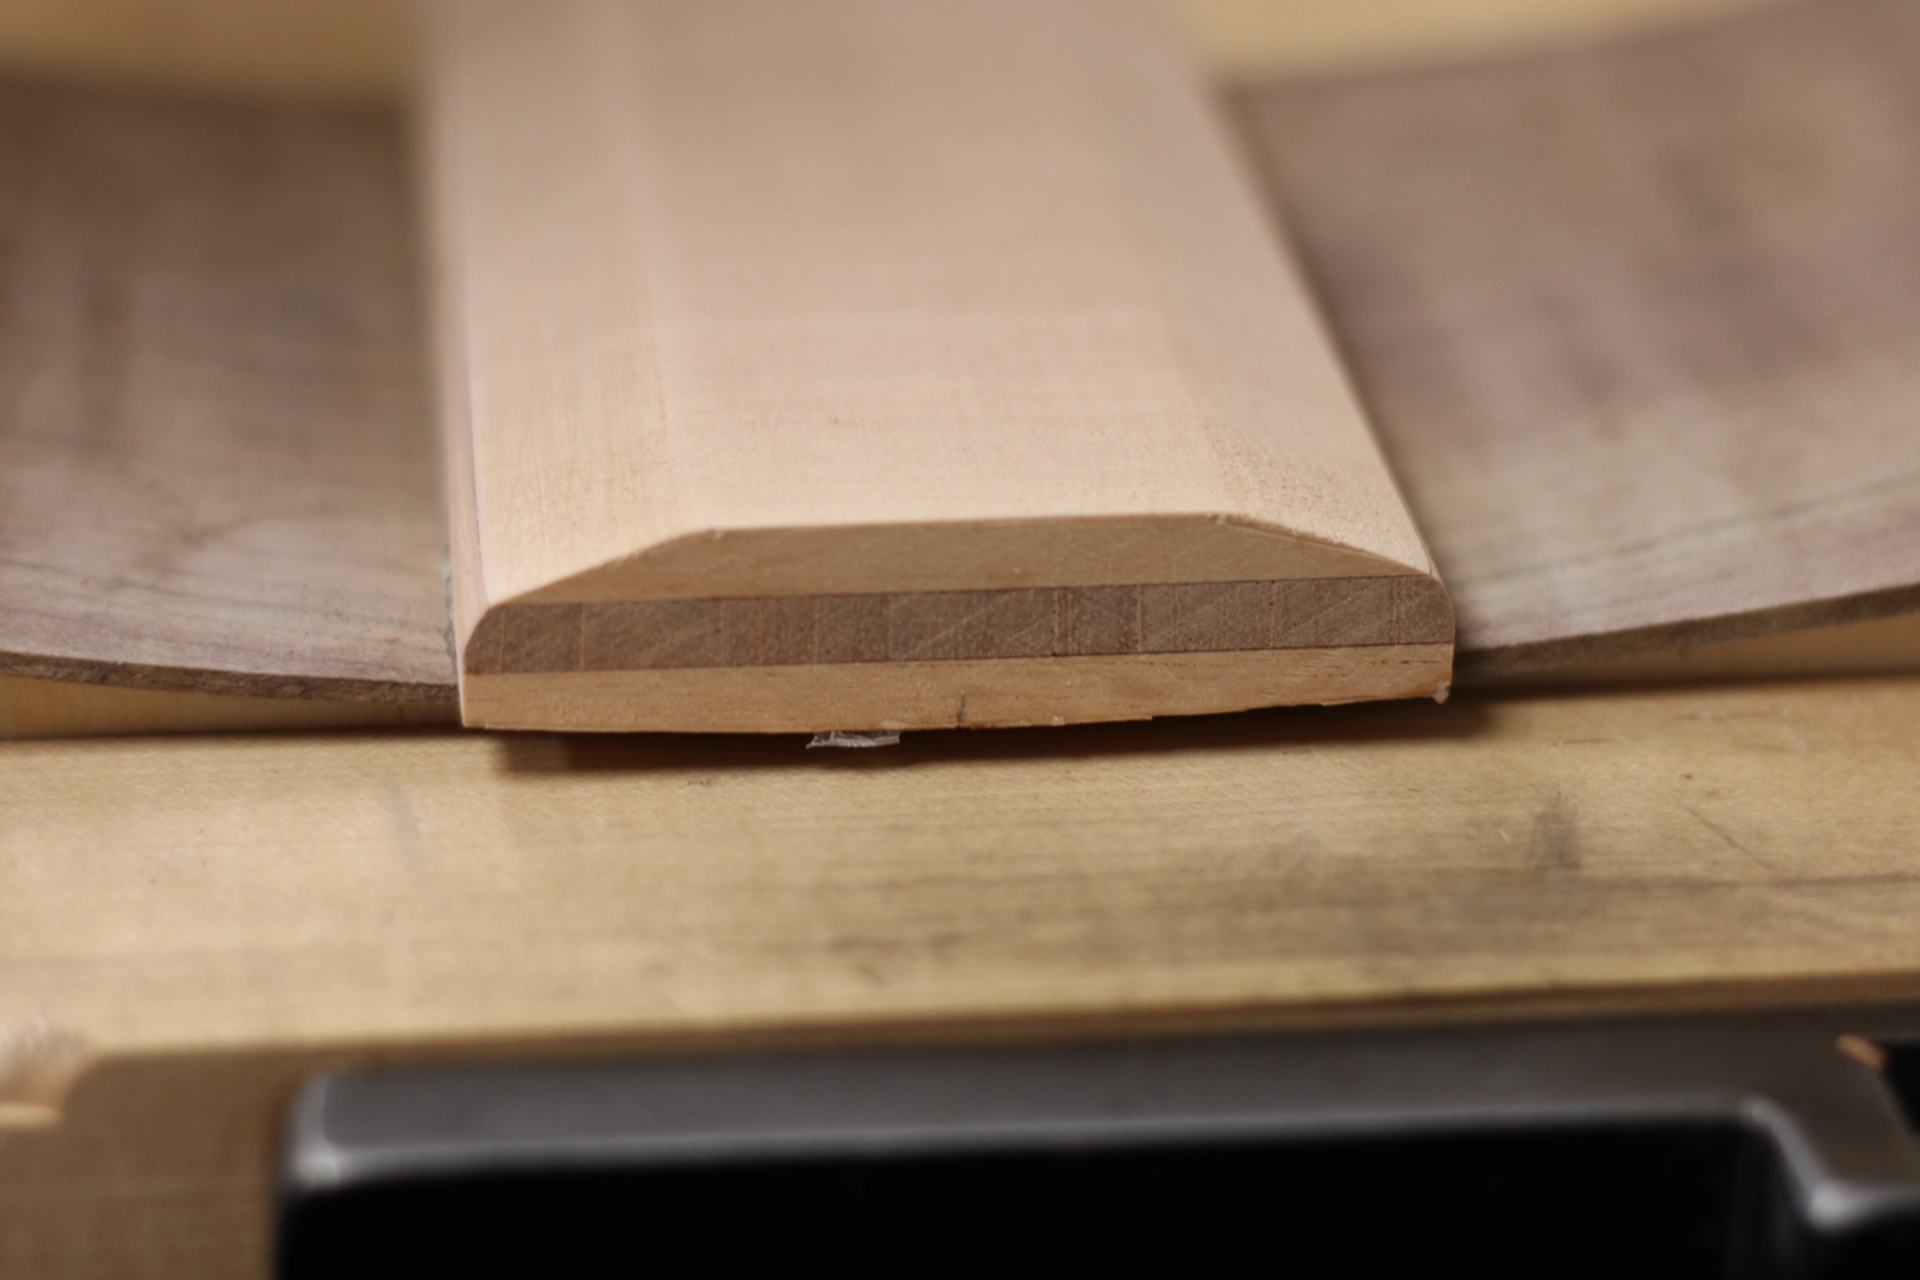
Dauphin Laminated Tail Block
Many (most) acoustic guitars feature a small rectangular Mahogany neck block.
Common Neck Block
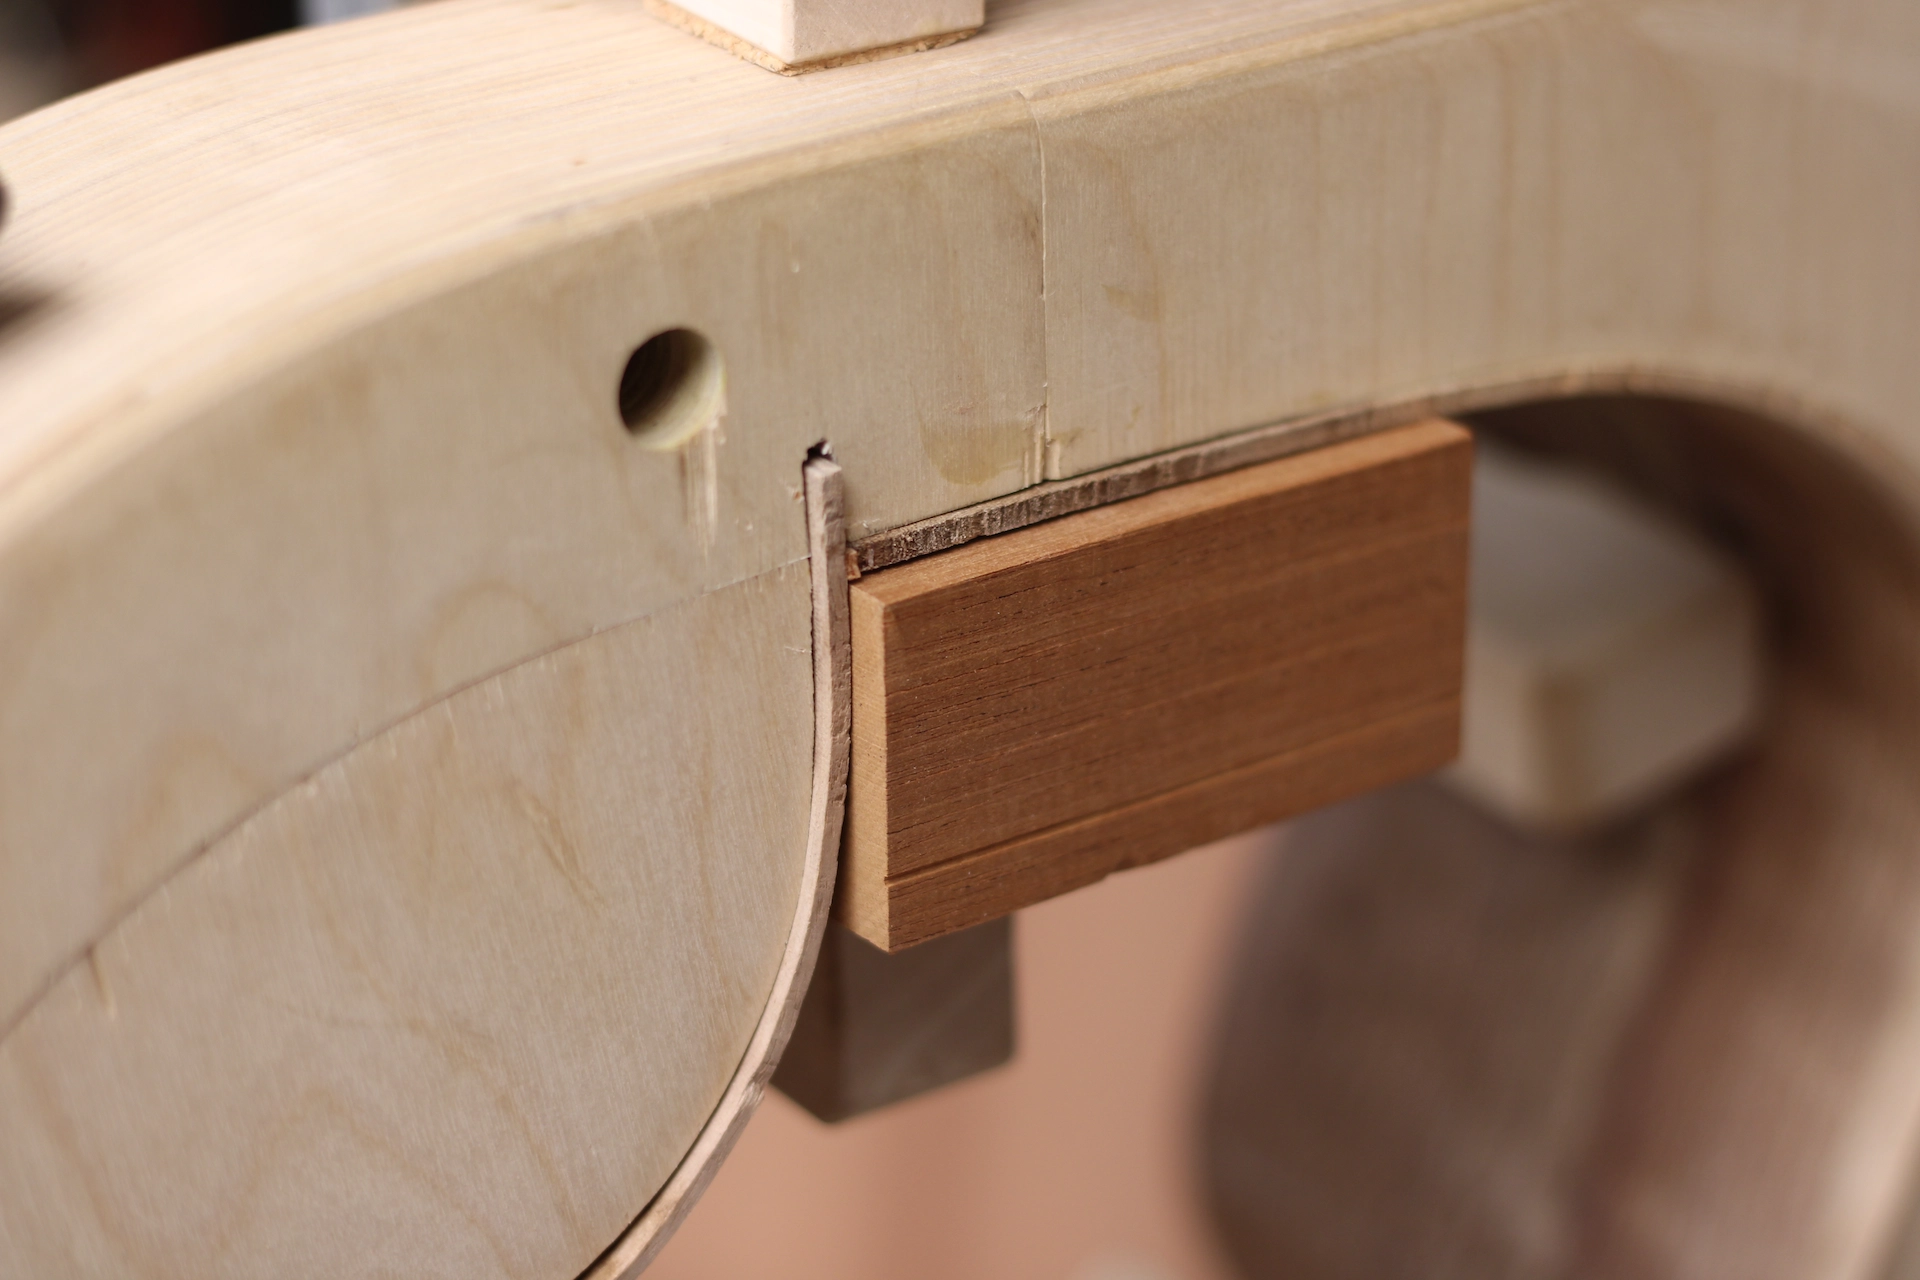
I begin with a much larger block cut from Spanish Cedar. The first step is to let the block into the contoured cutaway, centering its mass on the centerline of the body. It is carefully fitted to match all the contours.
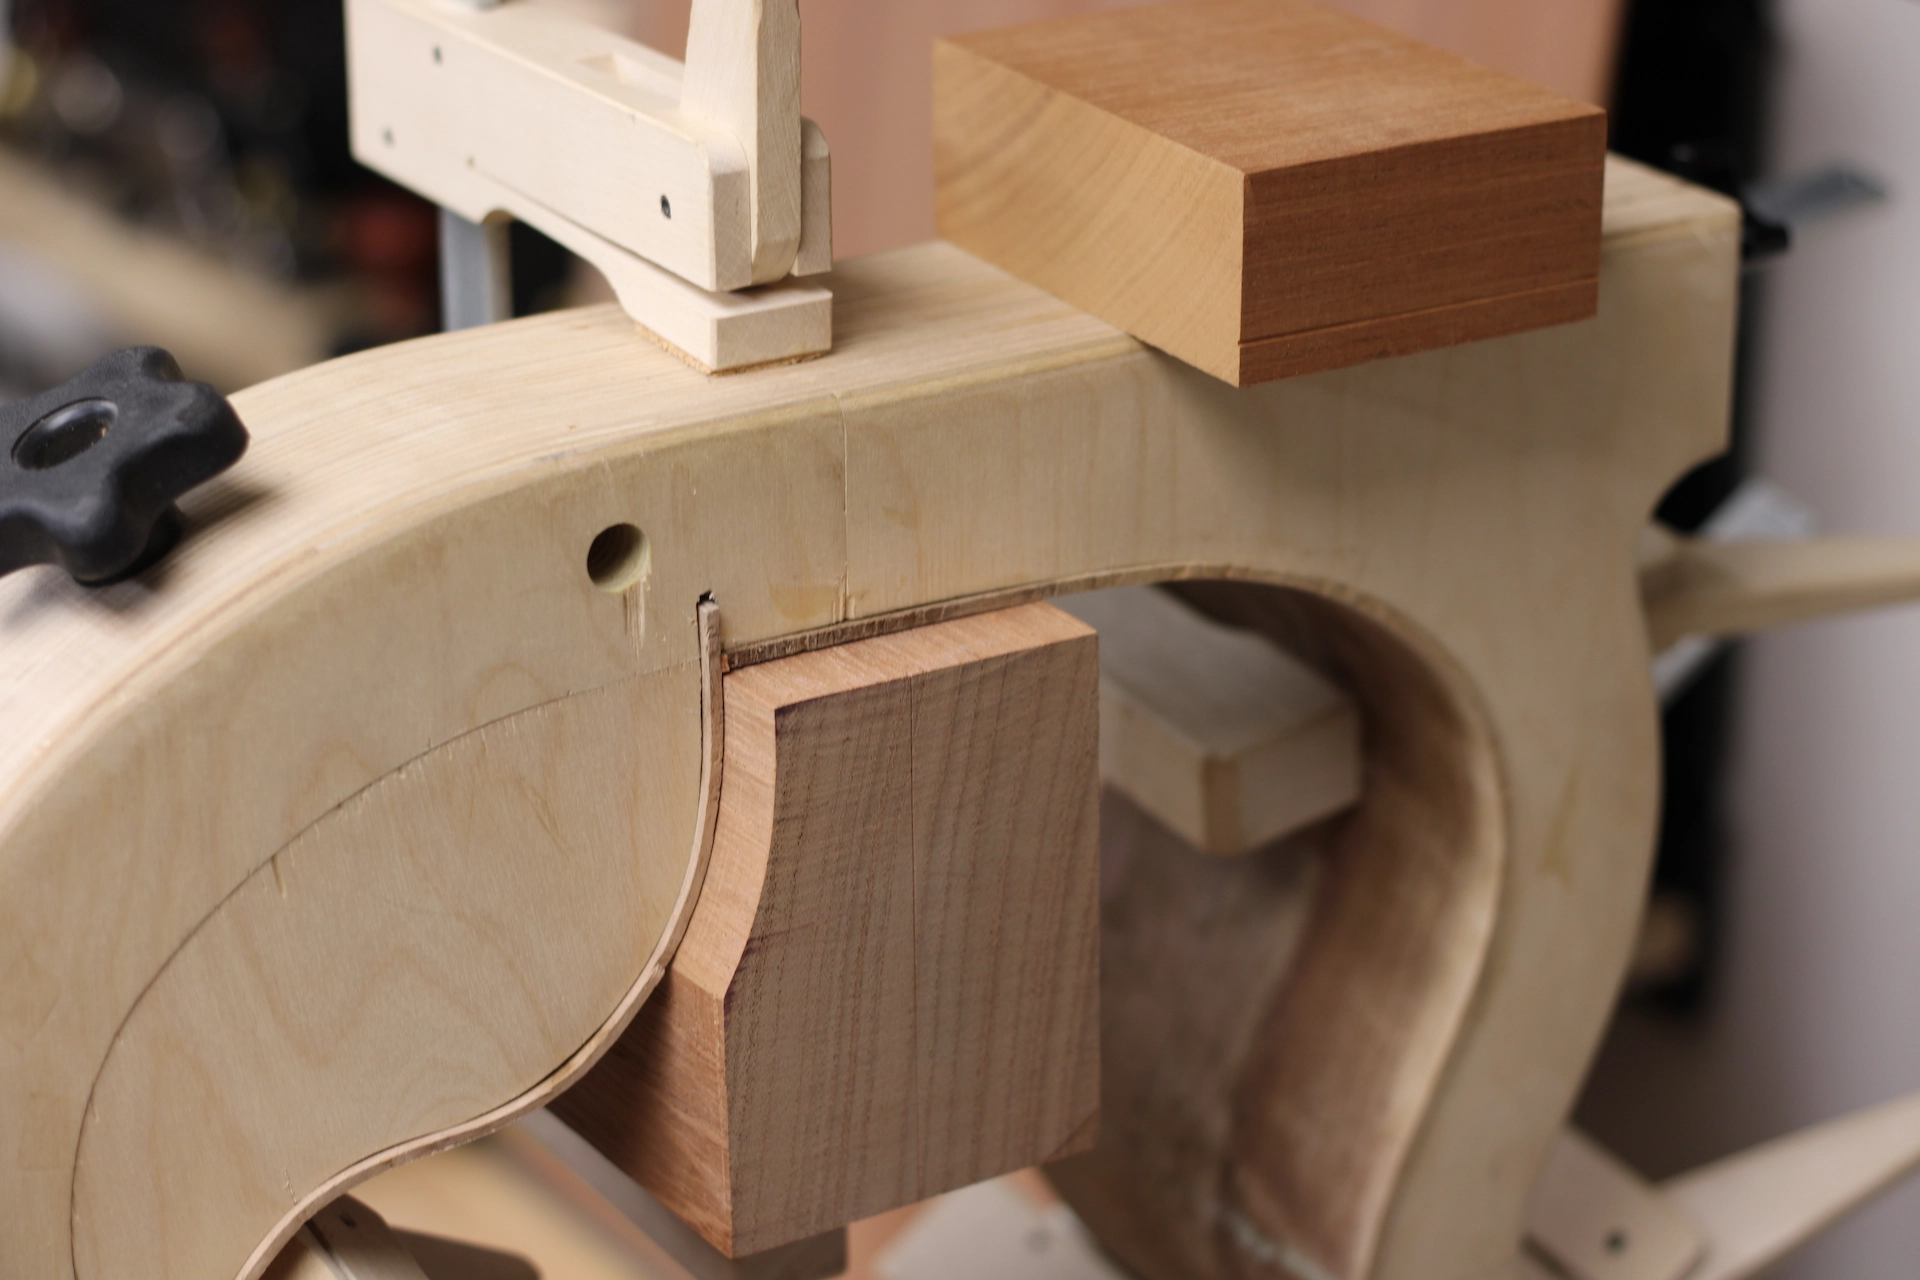
Dauphin Neck Block Blank
Next I remove wood from the center of the block...
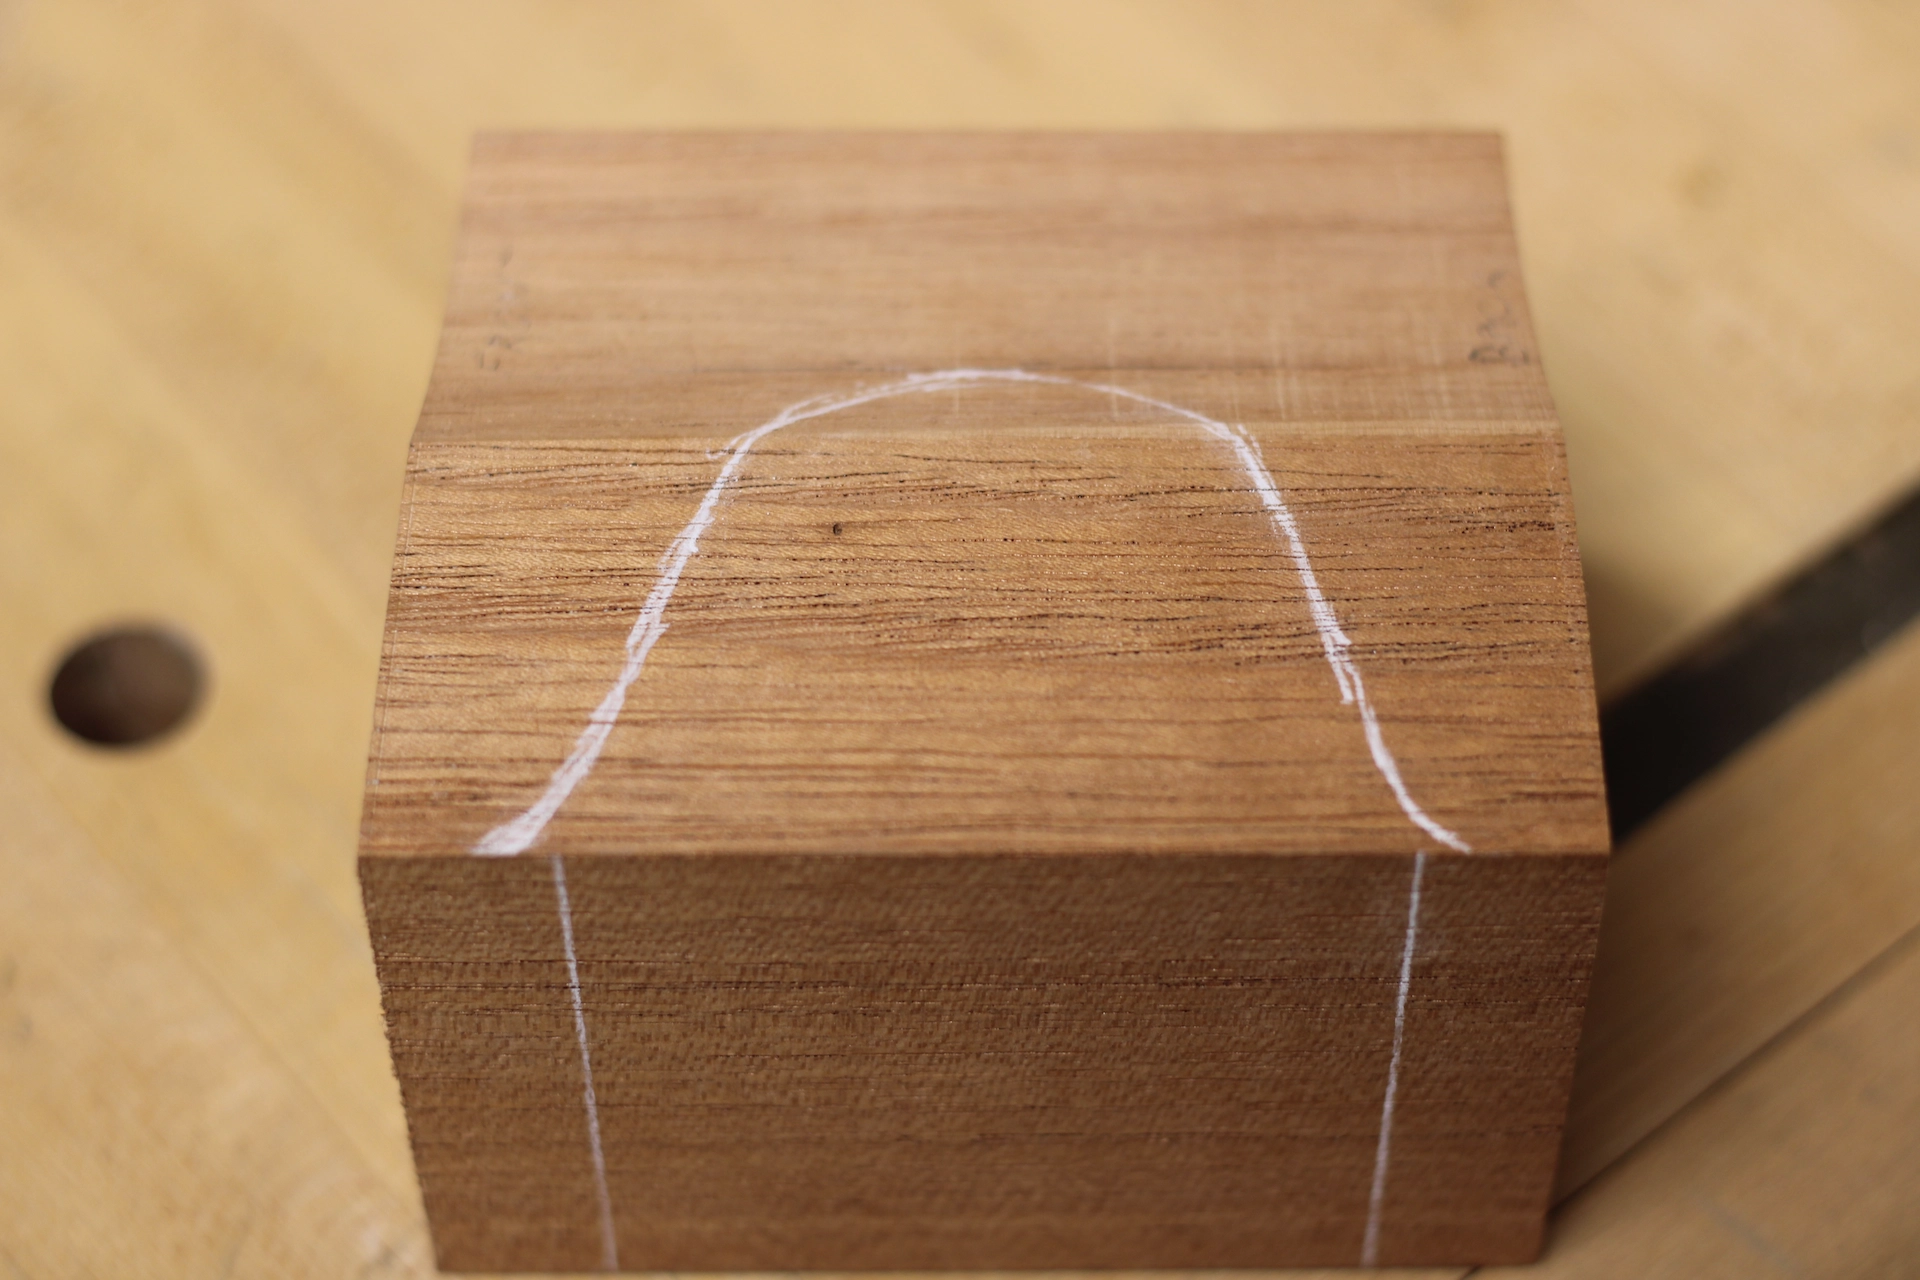
Dauphin Neck Block Design
The neck block is secured to the sides with epoxy.
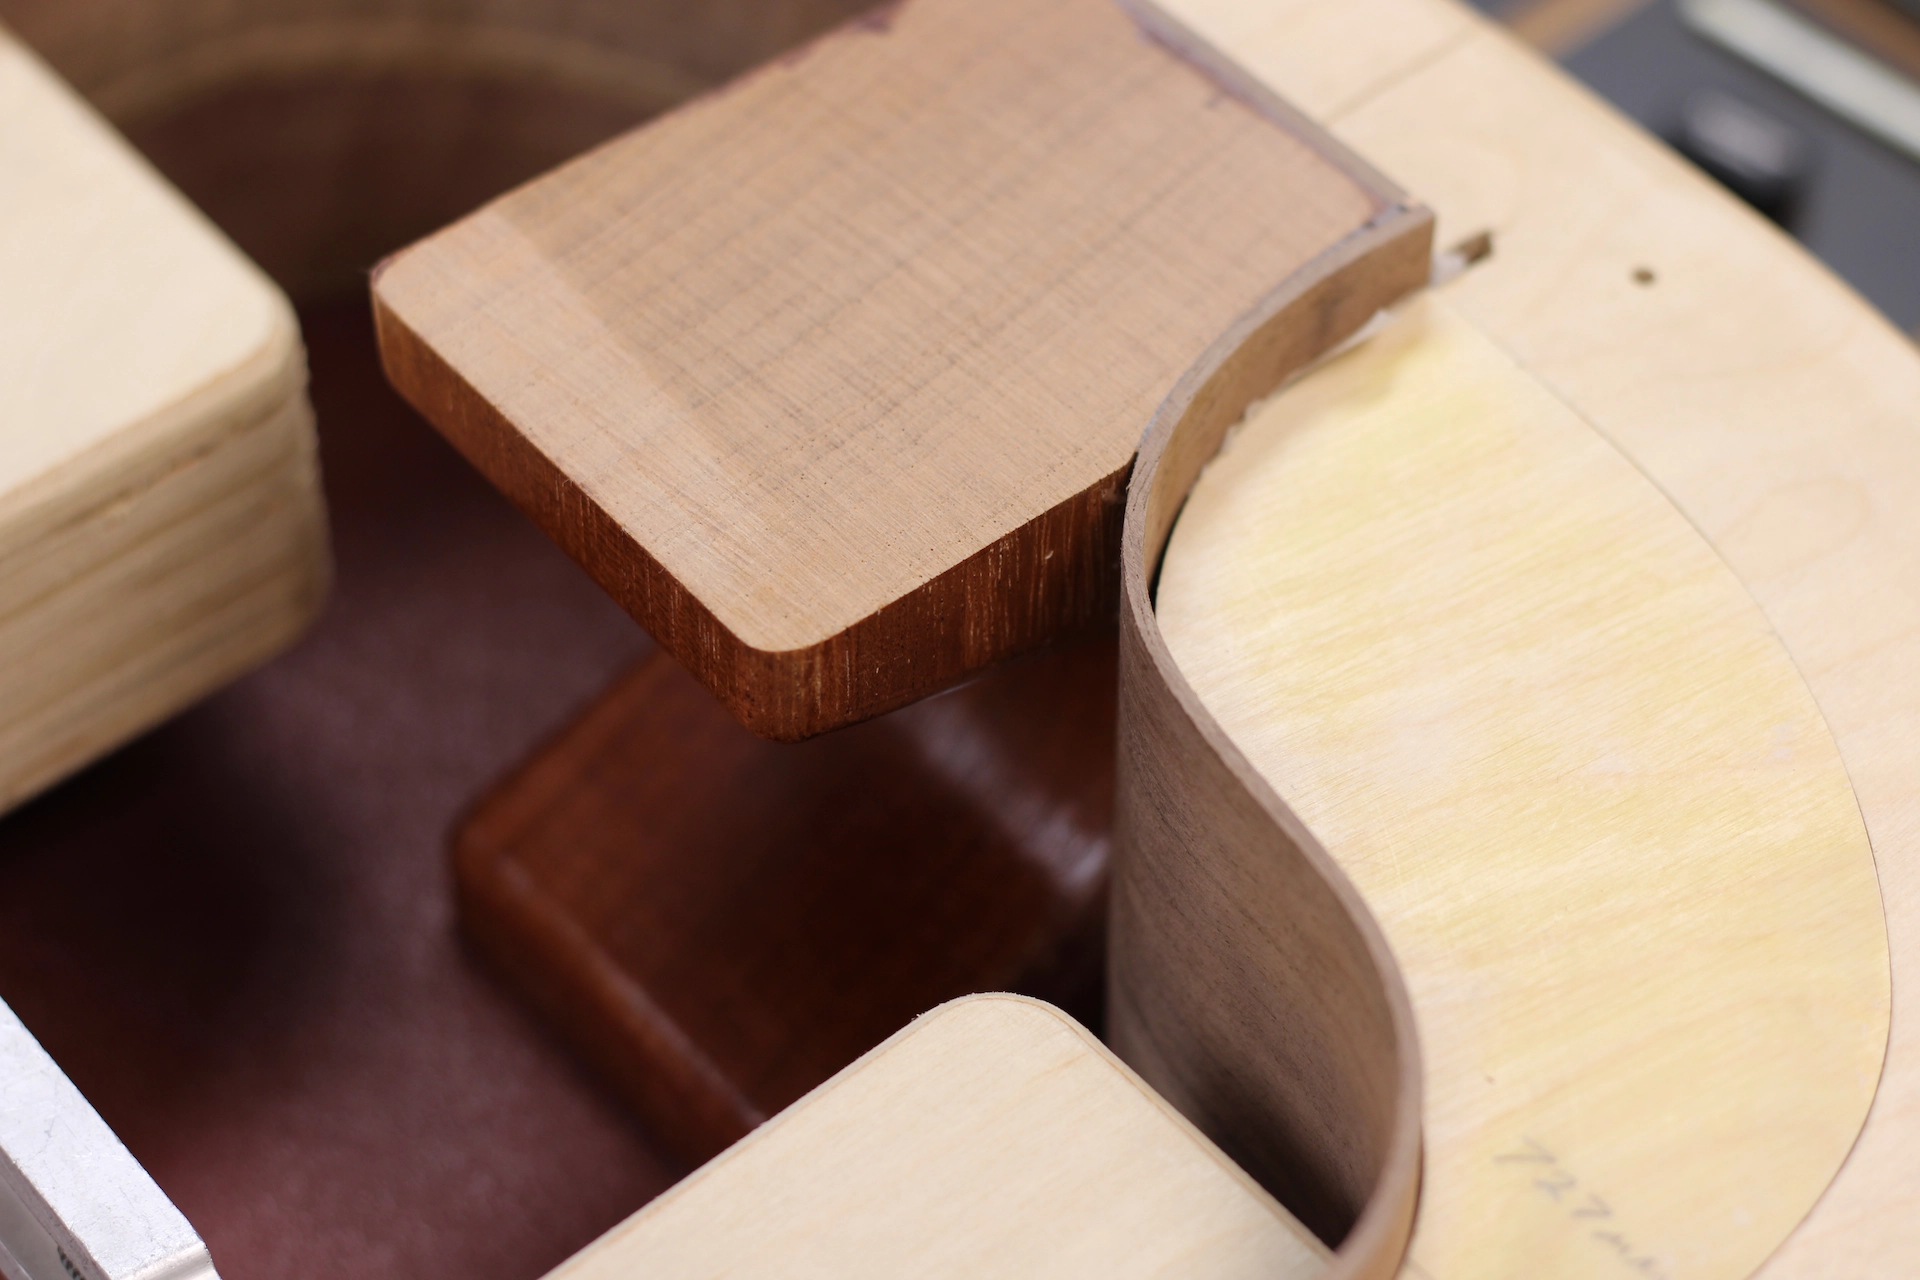
Dauphin Neck Block Installed (Cutaway Side View)
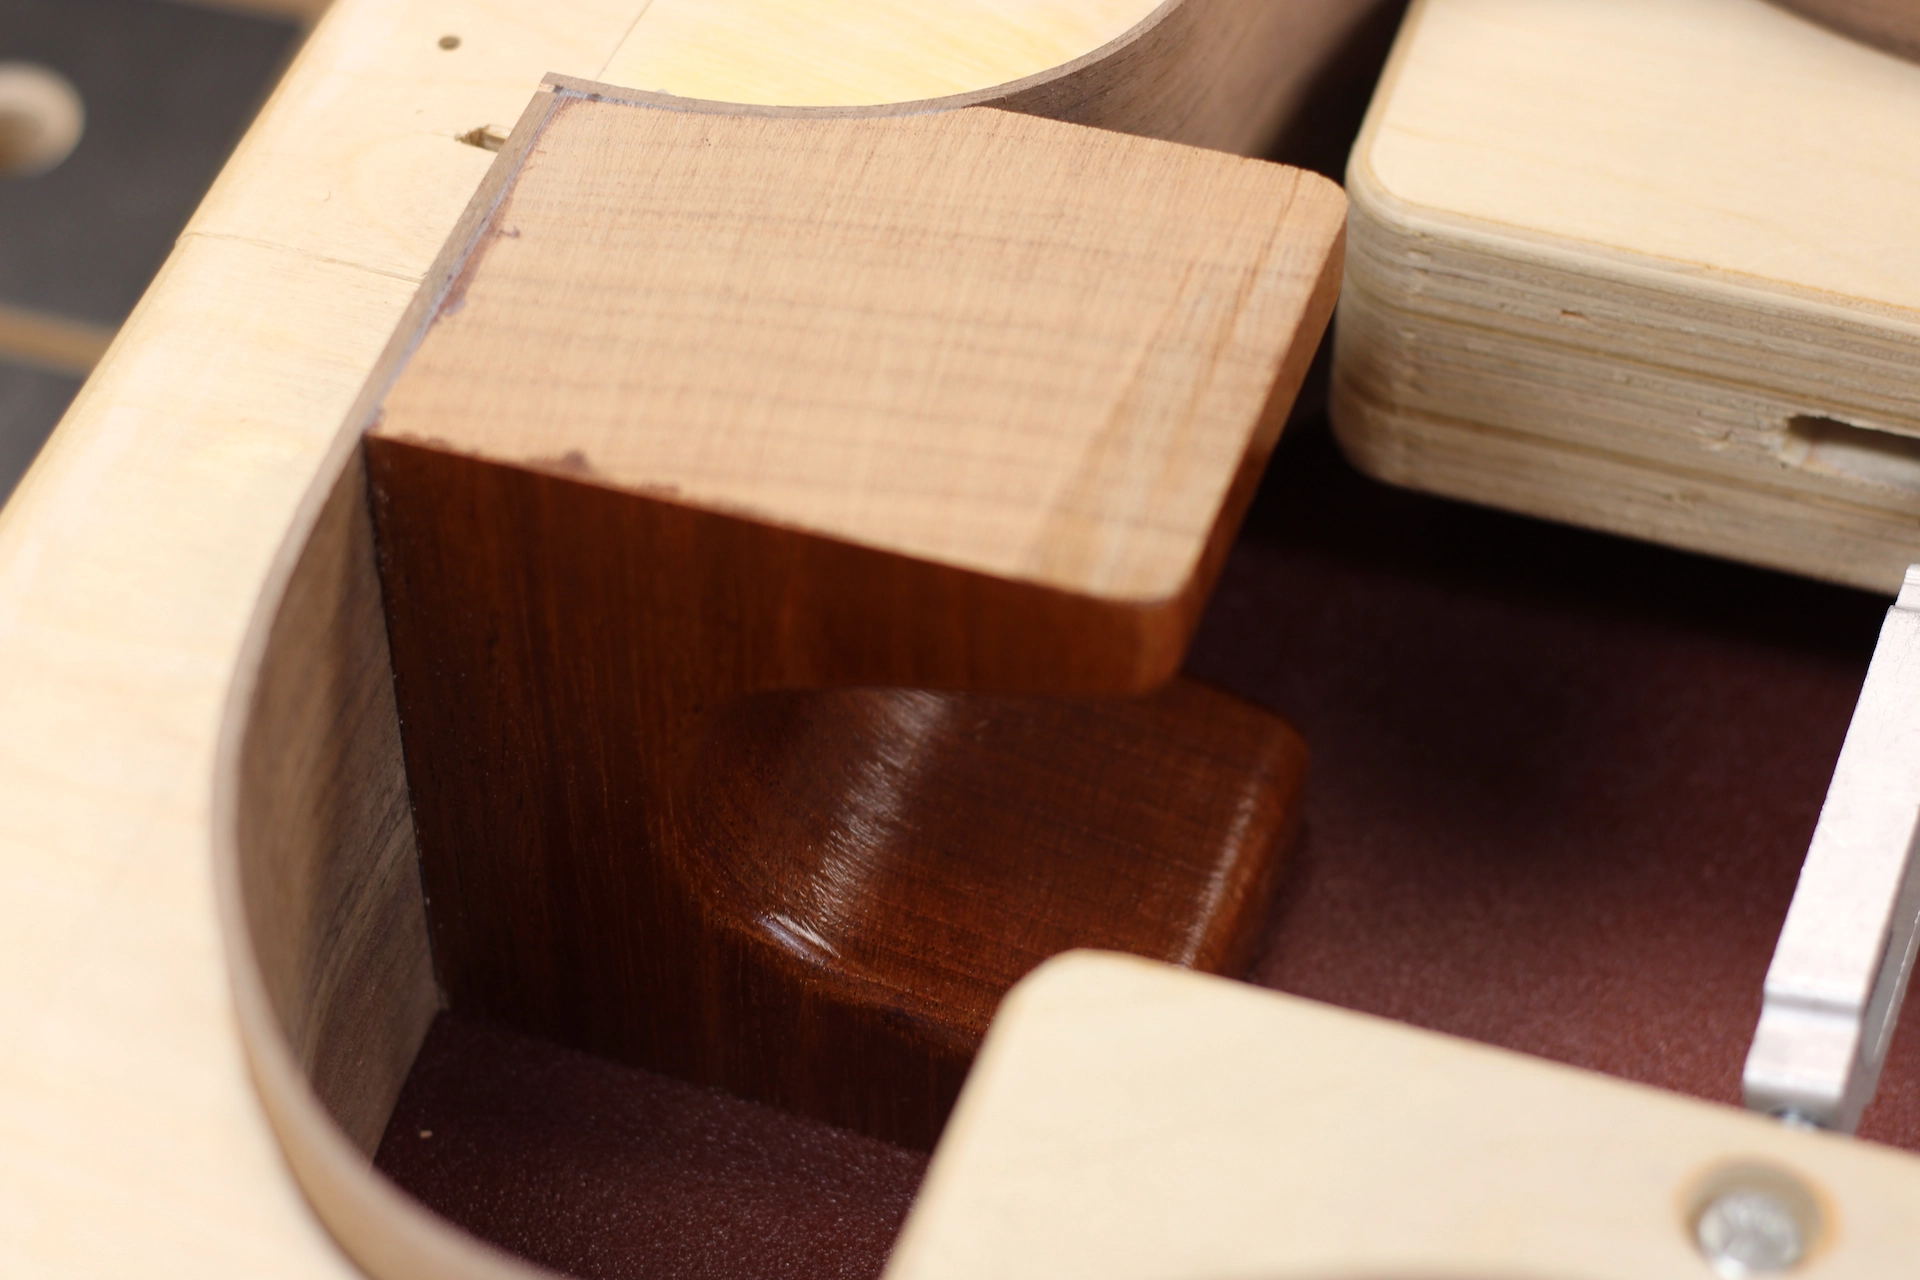
Dauphin Neck Block Installed (Shoulder Port Side View)
If you are not already aware, it is not possible to attach a back or front plate to the sides of an acoustic guitar without first adding a supporting ledge to rest those plates on. Yes, with modern epoxies, one *could* force a connection between the back or soundboard and the thin edge of the sides. However, the moment you cut into that sharp edge to add protective and decorative binding, you sever the connection. Leaving the side material thick enough to survive the addition of binding leaves you with a very heavy instrument; that is *if* you can even bend such thick wood.
The earliest practical approach to solving the issue is seen in the Spanish tentallones, small triangles of wood that are painstakingly glued into place right next to one another all around the inside edges of the body. The guitar can then be assembled with confidence, and works very well for gut and nylon string guitars, as is evidenced by the myriad Spanish-style guitars built using this approach over the centuries. While providing ample support for the plate joinery, tetallones do very little to prevent the body from flexing. This is of significant concern when steel strings are in use.
Whether it was to add increased rigidity, or to speed up the installation process, or both, some clever soul introduced kerfing, also called kerfed lining, or linings. Beginning with a thin, triangular-shaped strip of wood, such as Mahogany or Basswood, thin perpendicular slits, known as "saw kerfs" are cut into the wood using equidistant spacing. Those thin kerfs do not quite go all the way through the wood, resulting in a very flexible wooden strip. Installation results in an appearance that closely resembles tentallones.
So-called "reverse kerfed linings" are not triangular, and the kerfs are placed up against the sides where they all but disappear from sight. In addition to a cleaner visual appearance, reverse kerfing is much easier to install. More significantly, this style of lining adds more rigidity to the sides, resulting in even greater sustain. The more rigid the sides become, the less energy is lost in damping. Many (most) acoustic guitars are built using triangular kerfed lining, with many builders preferring reverse kerfed lining, and some makers still use tentallones.
Having used the above for many years, I have come to prefer a different approach, that of solid linings, also called "rigid rims". I begin with thin strips of Spanish Cedar, and laminate them into a very rigid rim onto which both the front and back plates can then be glued. They can be laminated straight and then bent into shape, or laminated in a form such that once the glue dries or cures, they need only be installed. The first technique is very practical for the builder having many body shapes and sizes, as constructing multiple forms can become its own career path. Laminating in place (to a form) has a speed advantage (it takes the same amount of time to glue up an straight board as it does a shaped one, and you don't have the additional time requirement of bending the already shaped lamination). This approach also benefits from zero springback, and a perfect fit.
...
...
...
...
...
...
...
...
...
...
...
...
...
...
...